First of all, thank you for purchasing one of our kits and we hope you enjoy building it as much as we did creating it. As always, please send us your feedback and a picture of your completed building on your track.
Quick note before we get started
Always dry assemble a part before applying glue, this way you are confident that the part fits easily and there is no worry that the glue will dry before you have the part fully fitted. Our tolerances are tight, so if you come across a tight lug you’ll need to scrape a sharp craft knife along the top and bottom surfaces of the male lug as this produces a small chamfer to help you guide the part in. Having said that, the parts are generally very accurate and we have left clearances where we can, so in most cases this isn’t necessary.
We also recommend using a super glue GEL, as this helps to hold the pieces in position as they dry and doesn’t get absorbed by the MDF; however most types of glue will work and your personal preference will be fine. Usually a small amount of glue will suffice and hold the part it place

When gluing two parts at right angles to each other use another unused part in the kit as an angle gauge pressed up against both parts. This way you will get them glued squarely to each other.
It is advisable to sometimes use a small piece of tape or pegs to help hold pieces together while drying as a piece that slides even 1mm or 2mm out of place can really effect later steps in the build.
If your wanting to paint this item then you may want to pause at certain steps to paint.
Lets Get Started….
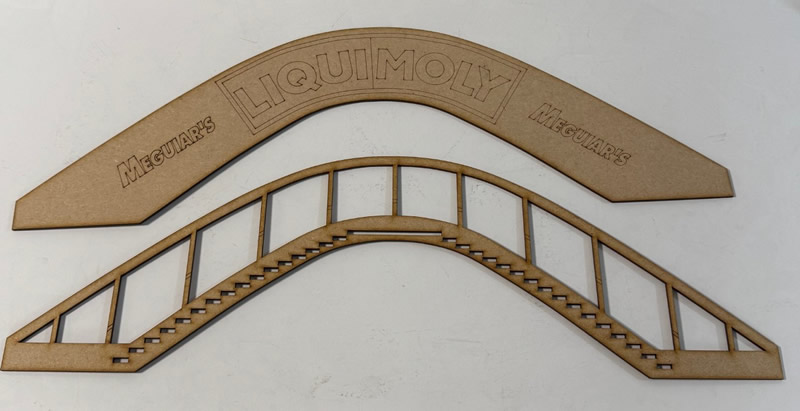
Get these 2 pieces,
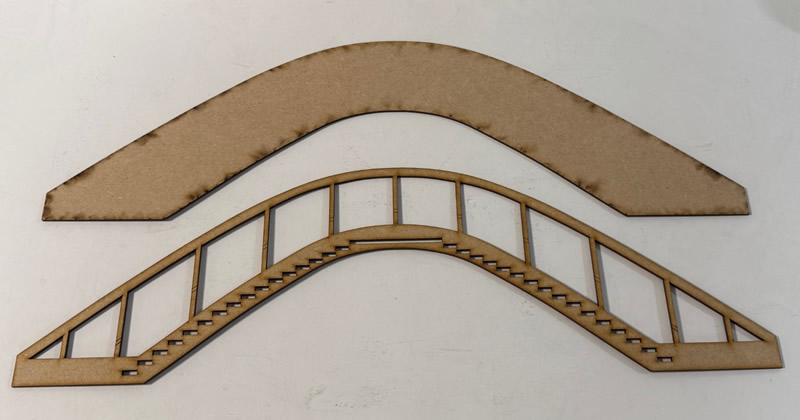
turn the advert board over
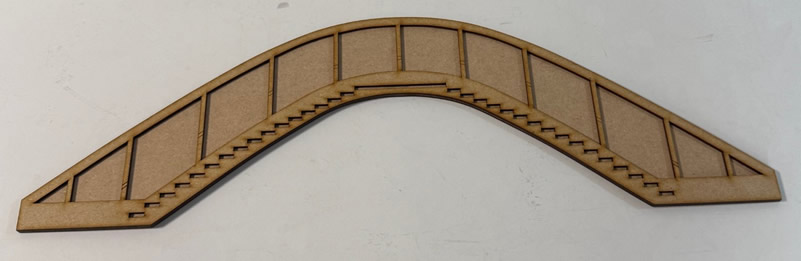
Add the inner part to the back of the advert board

Now get your steps and top floor
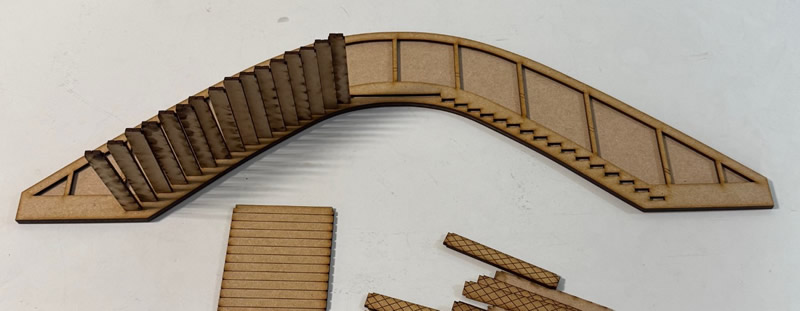
start adding some of the steps
add the top floor
add the last of the steps
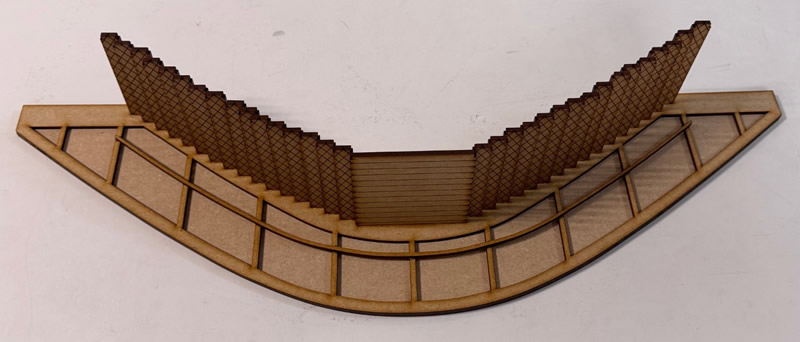
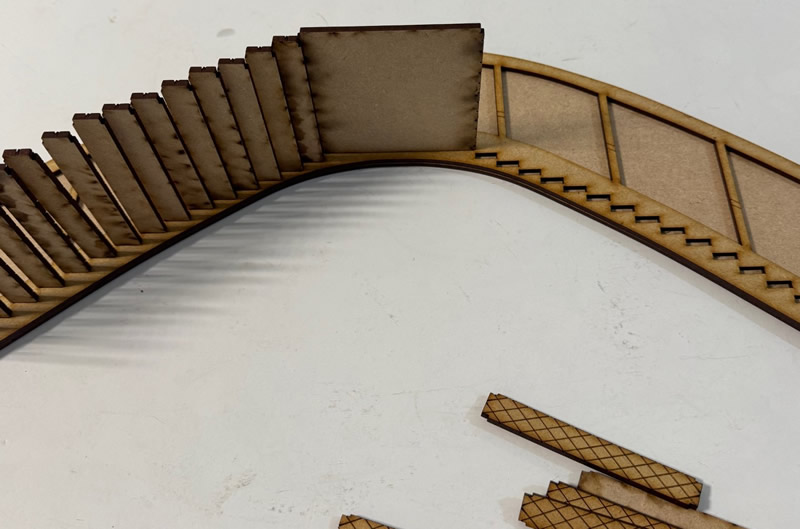
now add the first hand rail, there are etched marking to show you where to put it
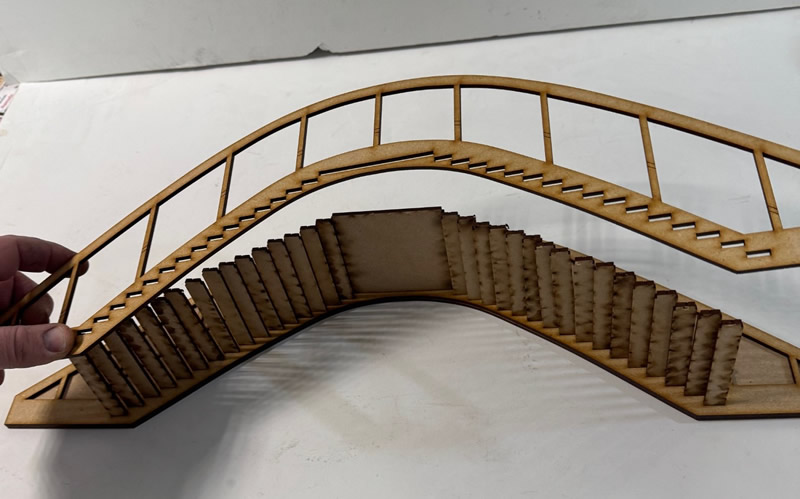
Now this bit takes time, be patient I put it on the wrong way round on this picture.
Start at one end, every other hole is slightly bigger to make this easier.
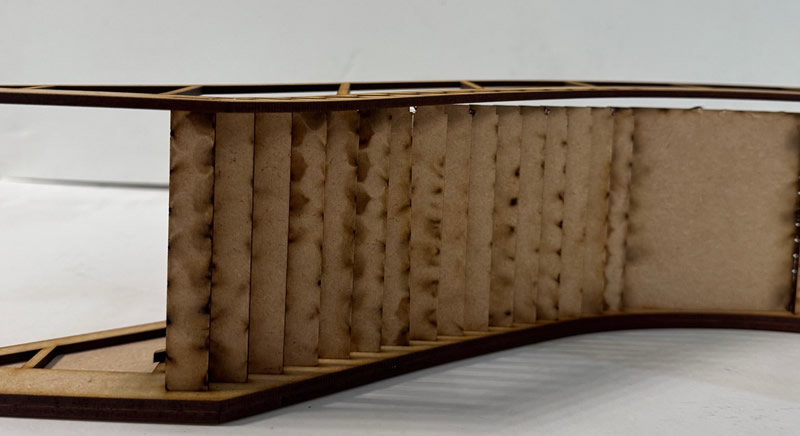
line up the steps, you will only be able to fully push each one in once you have lined up the next 5 of 6 steps.

Take your time slowly lining up each step
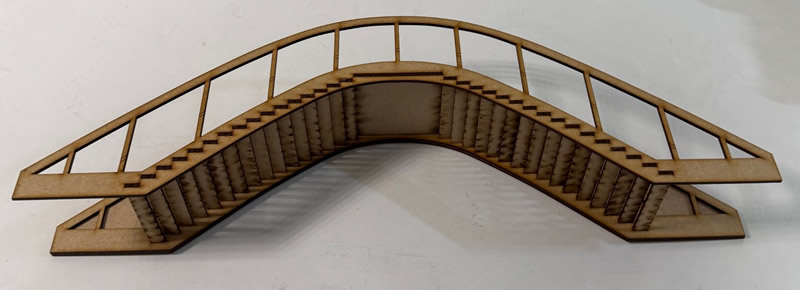
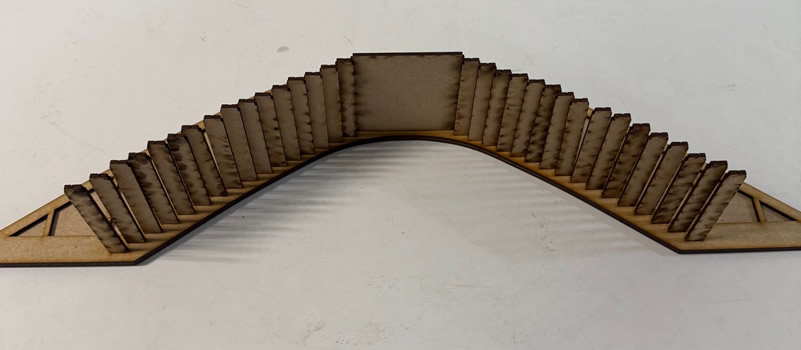
once you have put it on fully its just time to add the other advert board.
Add the other hand rail now, the same way we did the first one
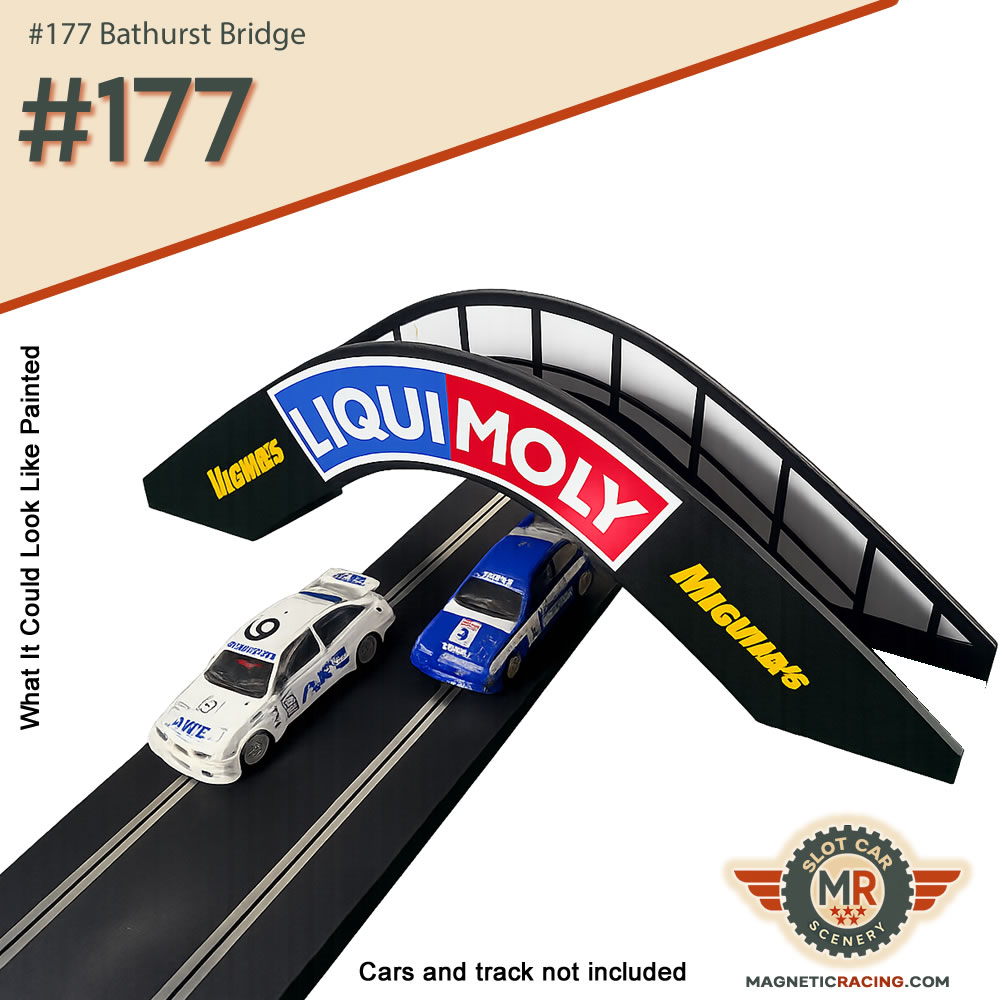
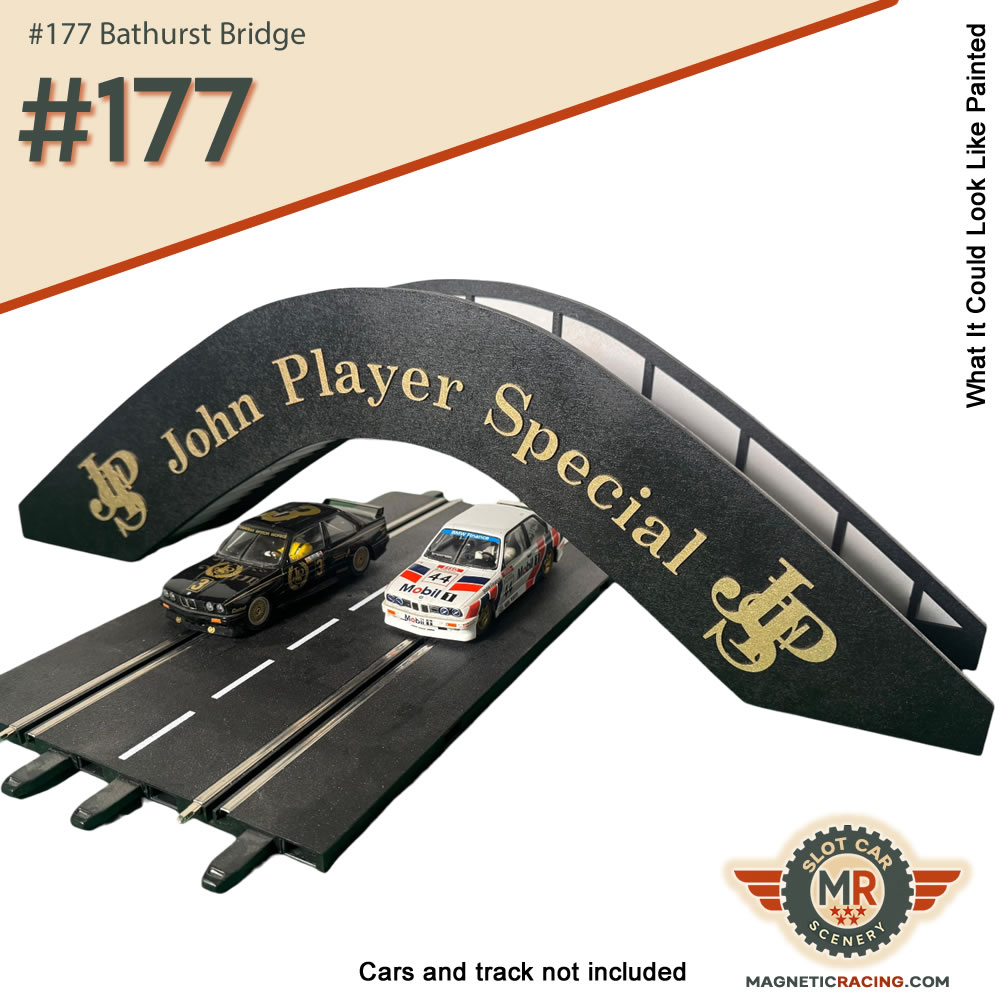
Now time to add all the adverts. paint all the pieces first,
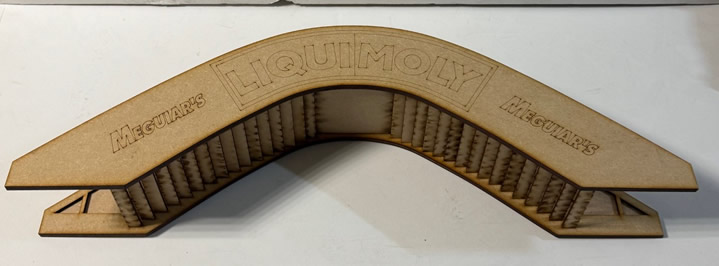
LiquiMoly tips, the two L’s are different sizes so don’t mix them up, don’t forget the inside of the Q and the O too.
CONGRATULATIONS!!!!!!! We hope you enjoyed creating your Bathurst Bridge, please make sure to send us pictures of it on your track to Sales@magneticracing.com, as we love to see where they’re living and also tag us on one of the many social media platforms
Instagram/Facebook: @magneticracing
Twitter: @magnetic_racing)
Instagram/Facebook/Twitter: @thinkscalextric
Thank you again for purchasing from us.
Any feedback, good or not so good, is welcome. If there is a building you would like to see in our range please do let us know.