THIS HAS HAD A FEW MODIFICATIONS IN MAY 2025, SO IF YOU HAVE ONE THAT WAS MADE BEFORE MAY 26TH 2025, THERE ARE A FEW VERY SLIGHT DIFFERENCES, IT WILL STILL WORK, WE JUST MADE A FEW CHANGES TO MAKE IT EASIER TO BUILD.
First of all, thank you for purchasing one of our kits and we hope you enjoy building it as much as we did creating it. As always, please send us your feedback and a picture of your completed building on your track.
Quick note before we get started
Always dry assemble a part before applying glue, this way you are confident that the part fits easily and there is no worry that the glue will dry before you have the part fully fitted. Our tolerances are tight, so if you come across a tight lug you’ll need to scrape a sharp craft knife along the top and bottom surfaces of the male lug as this produces a small chamfer to help you guide the part in. Having said that, the parts are generally very accurate and we have left clearances where we can, so in most cases this isn’t necessary.
We also recommend using a super glue GEL, as this helps to hold the pieces in position as they dry and doesn’t get absorbed by the MDF; however most types of glue will work and your personal preference will be fine. Usually a small amount of glue will suffice and hold the part it place

When gluing two parts at right angles to each other use another unused part in the kit as an angle gauge pressed up against both parts. This way you will get them glued squarely to each other.
It is advisable to sometimes use a small piece of tape or pegs to help hold pieces together while drying as a piece that slides even 1mm or 2mm out of place can really effect later steps in the build.
If your wanting to paint this item then you may want to pause at certain steps to paint.
Lets get started…….
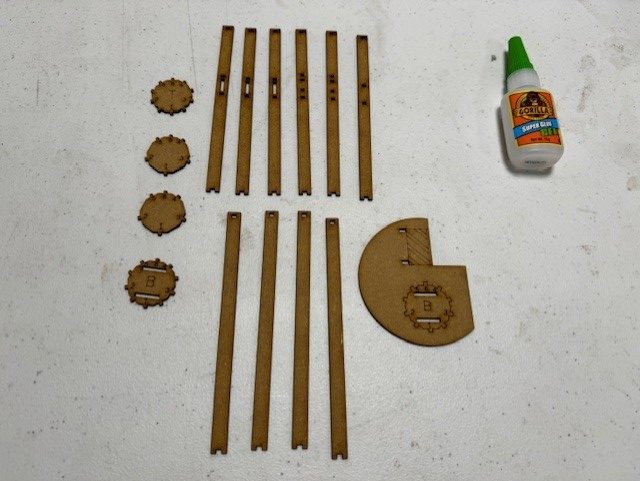
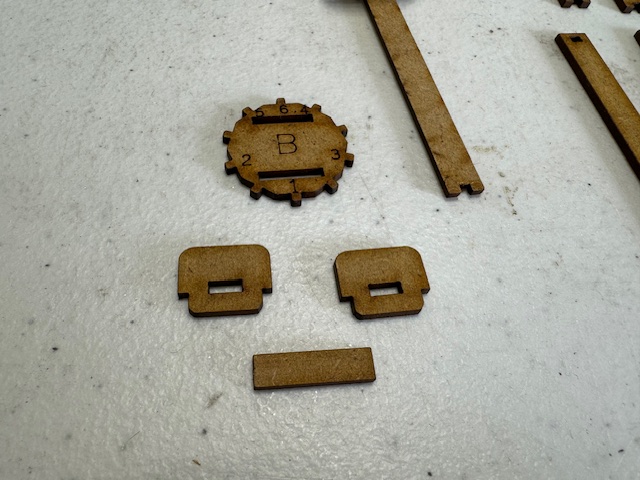
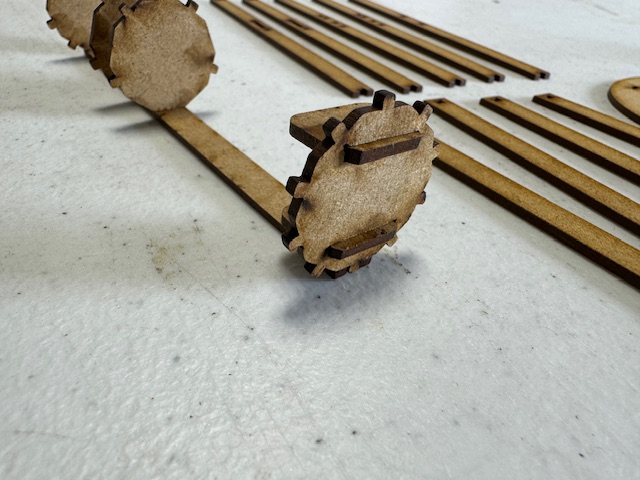
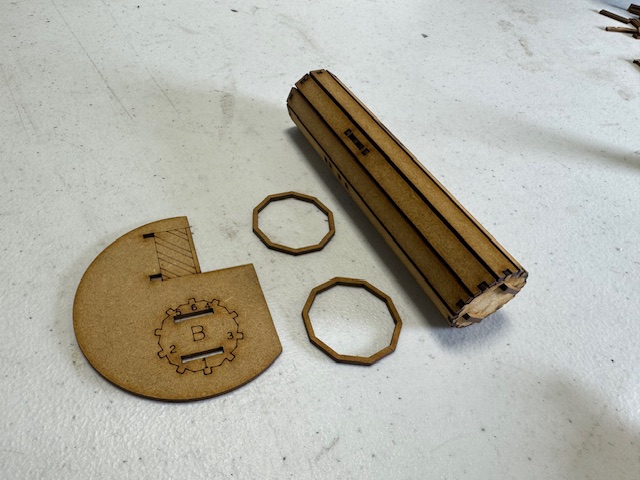
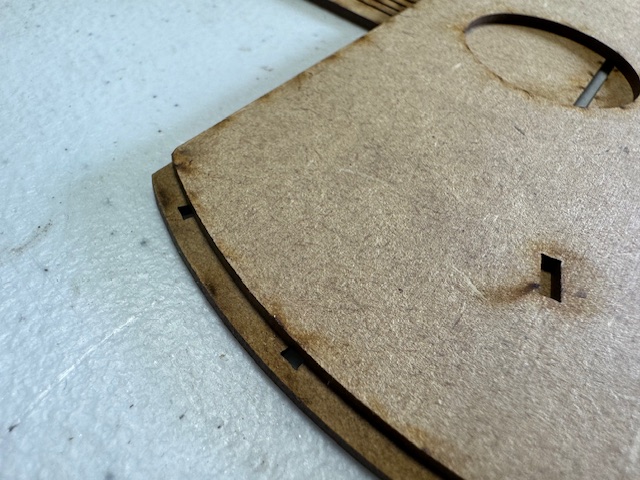
Get these parts
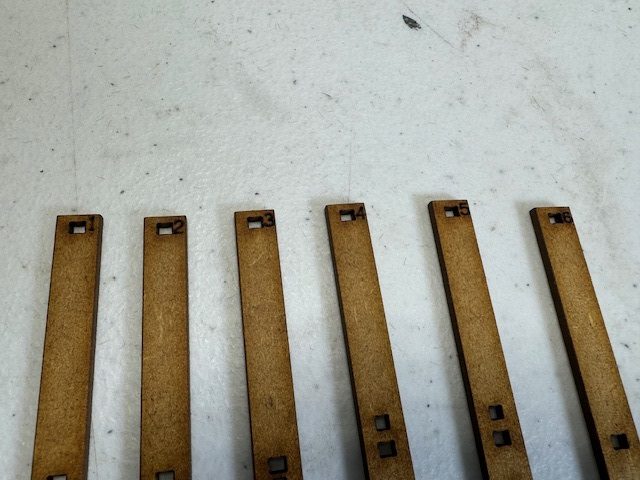

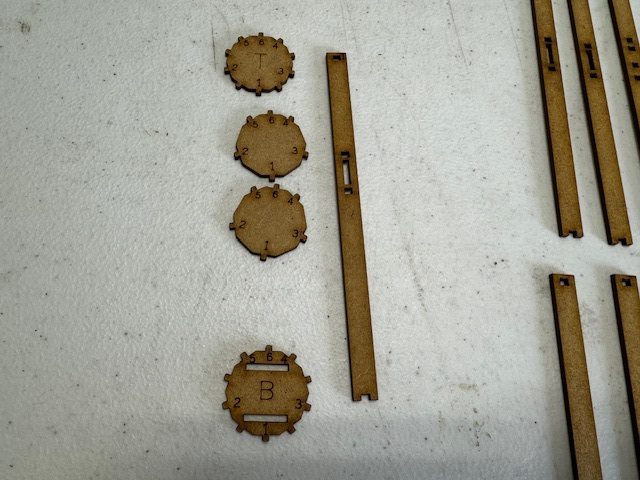
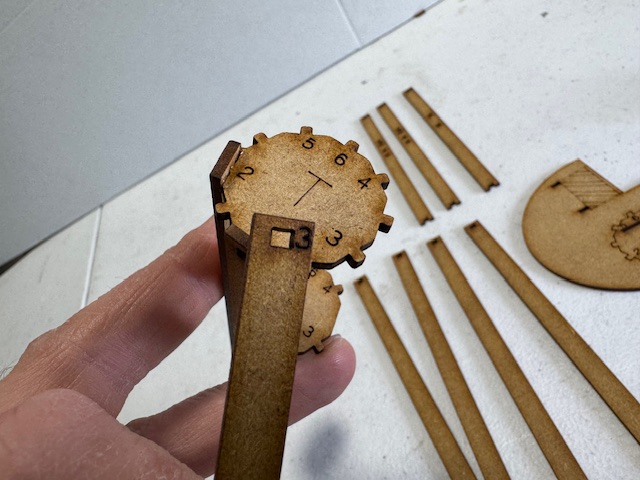
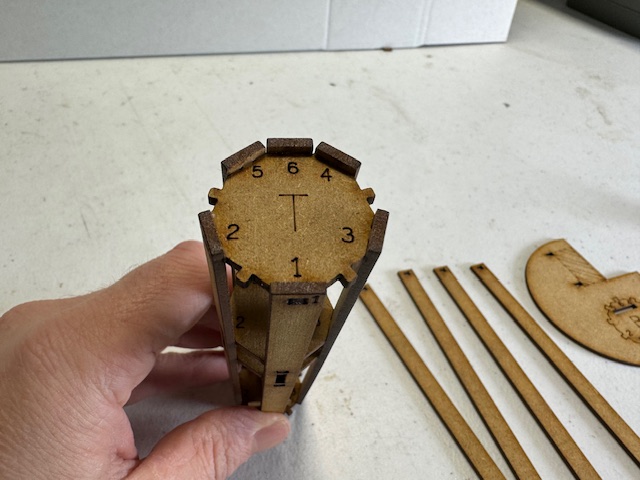
The first piece we put on has a “T” in the middle
and put put it on piece 1 in position 1, on the end that has the whole square cut out with the number 1 next to it
Then add the 2 middle ones again on position 1 , these 2 pieces have not big letter in the middle.
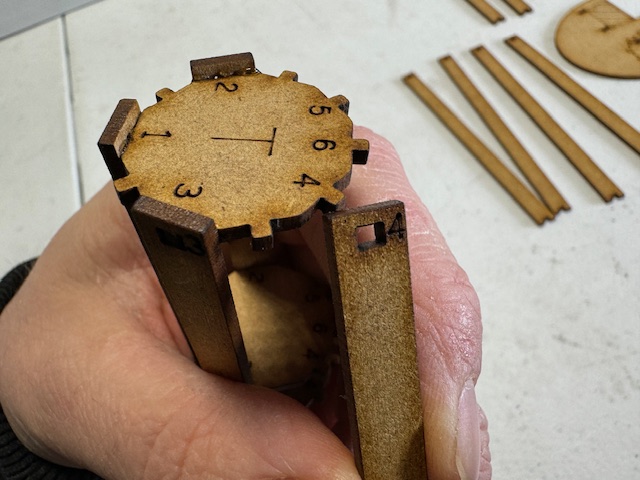
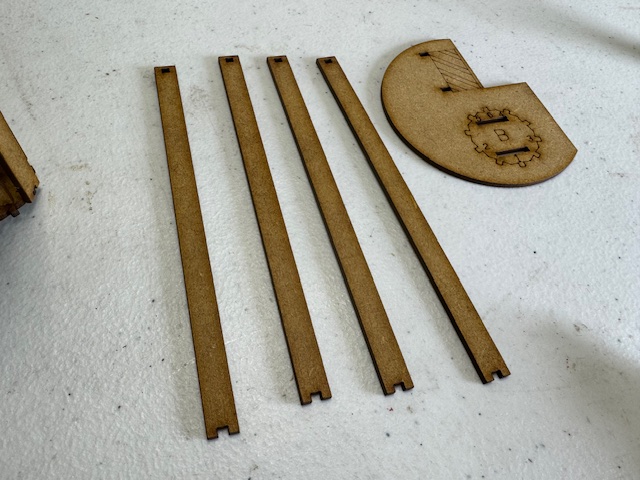
Now get these 4 pieces
Then put this on the end in position 1.
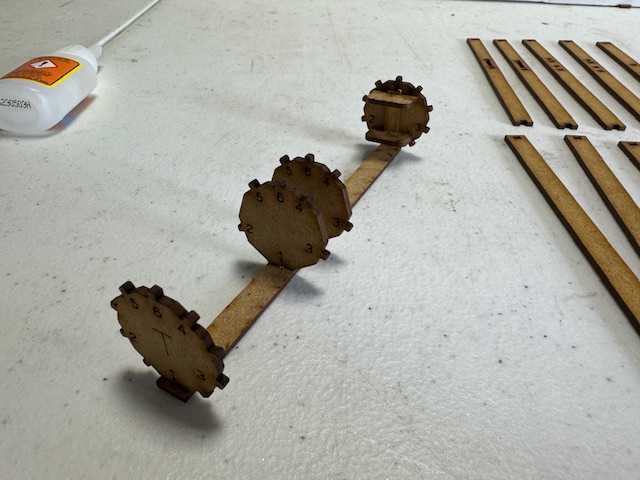
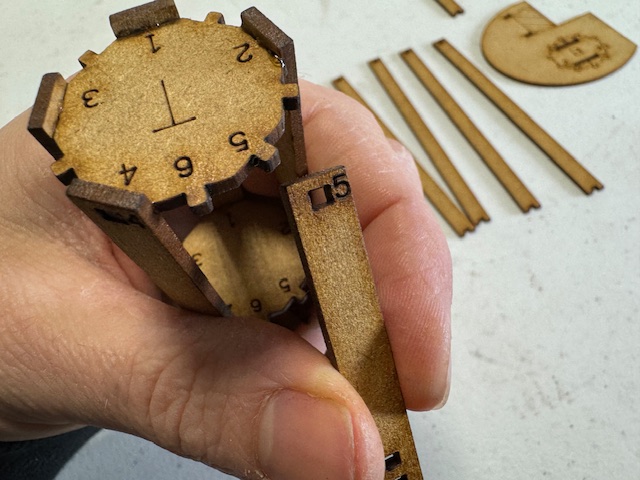
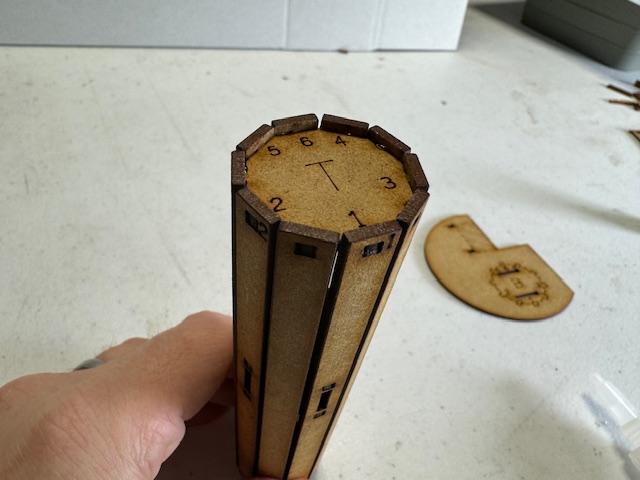
Now lets add the next few number parts
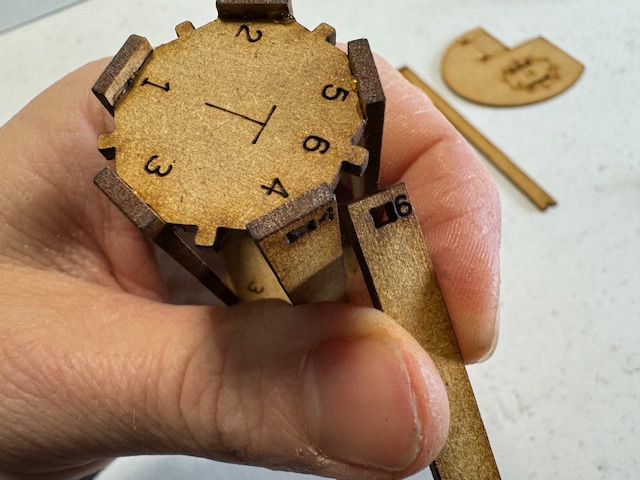
And now the last 4 that don’t have numbers on.
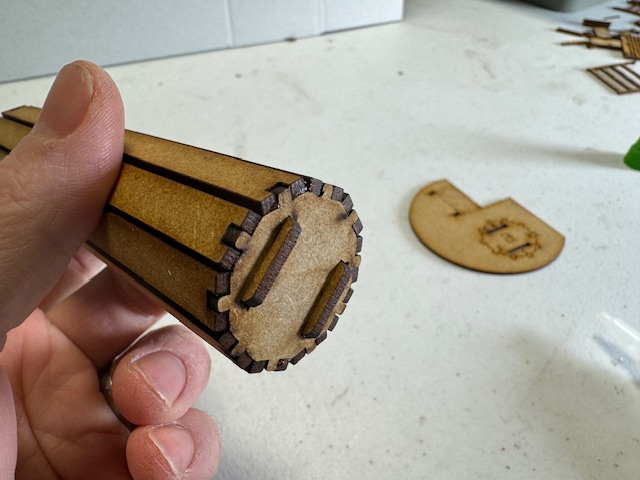

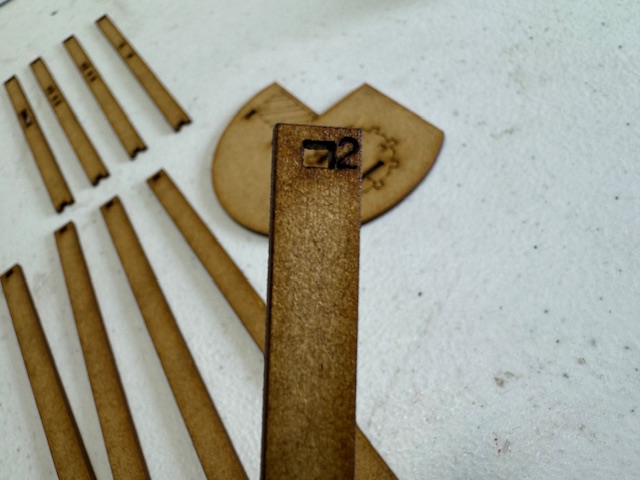
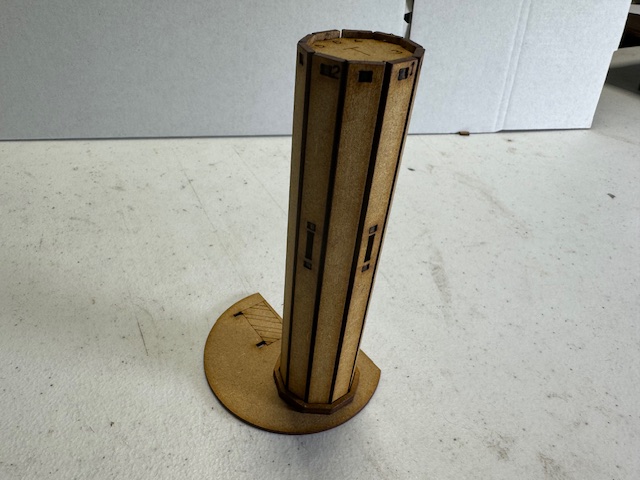
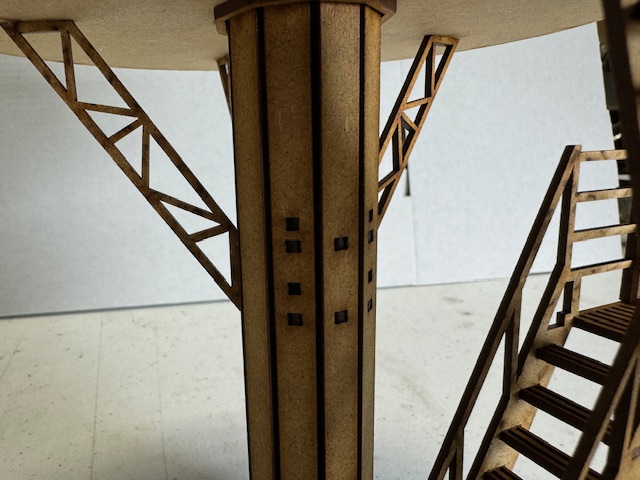
Time to add the pole to the base, make sure the numbers on top of the pole are the same way round as they are on the base then you pug it in,
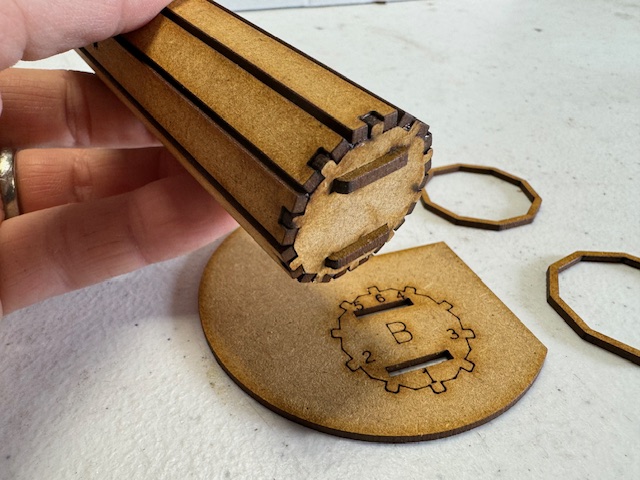
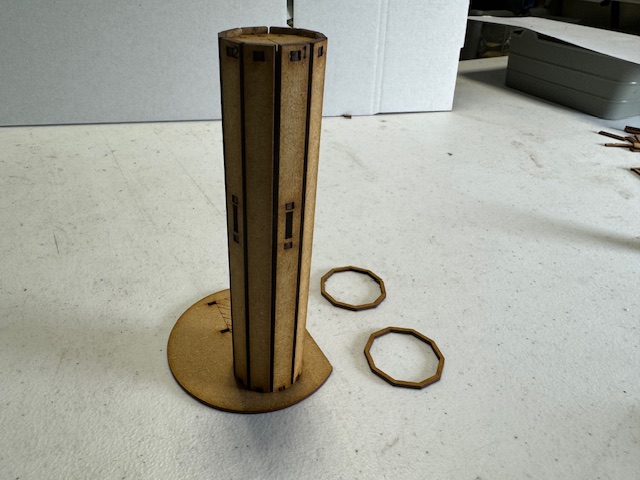
These can be quite tight so take your time.
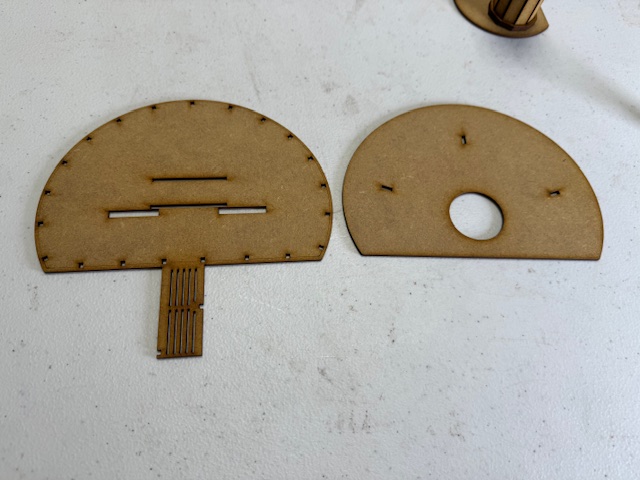
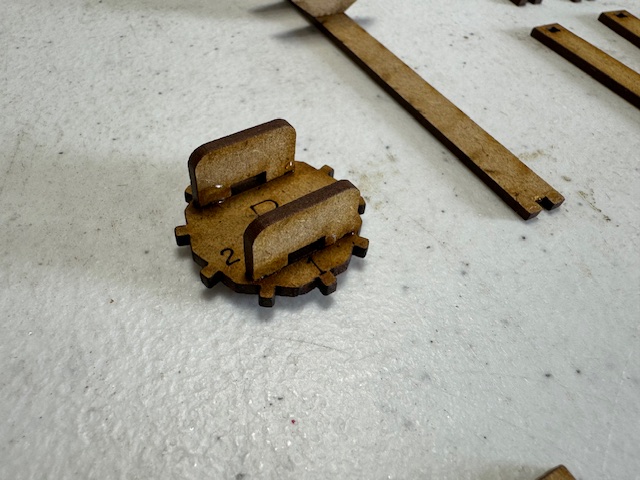
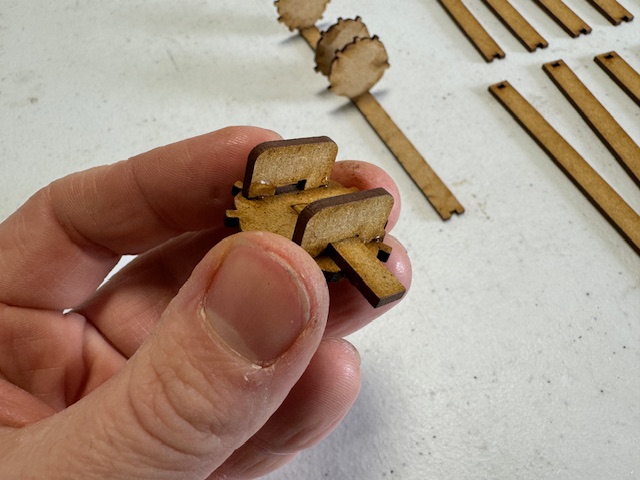
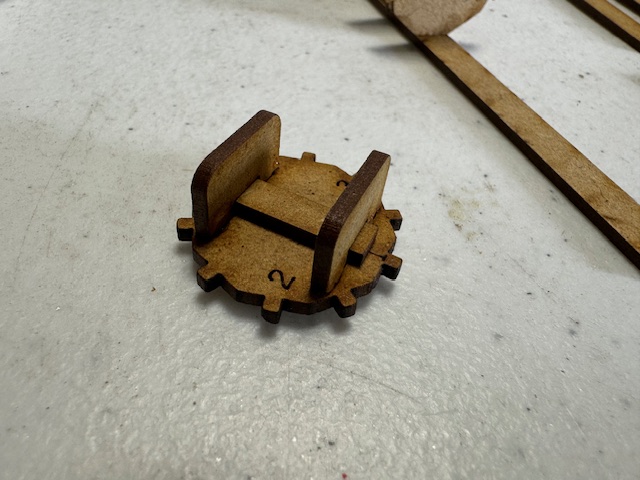
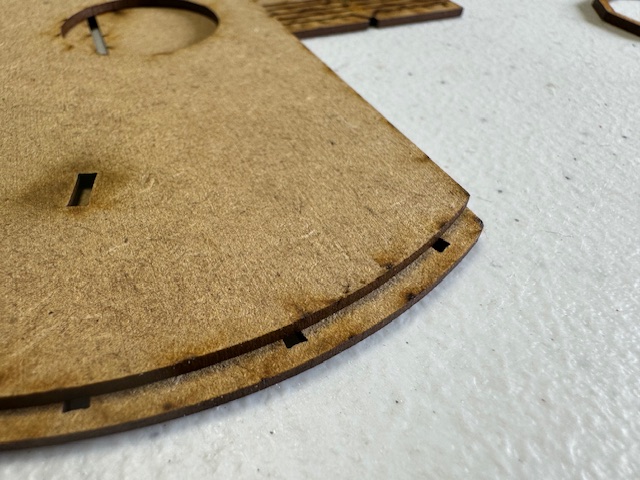
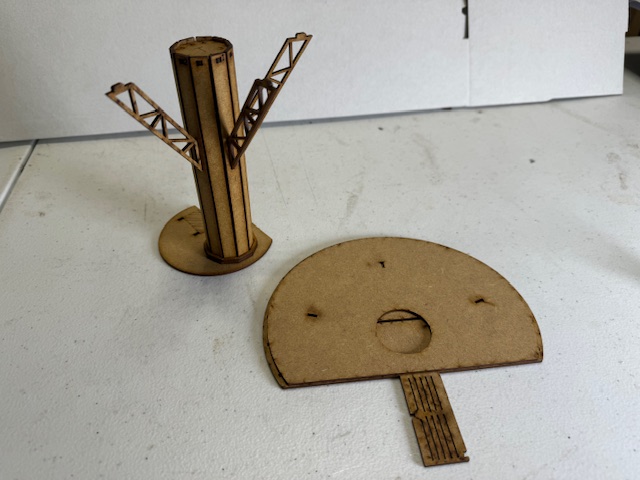
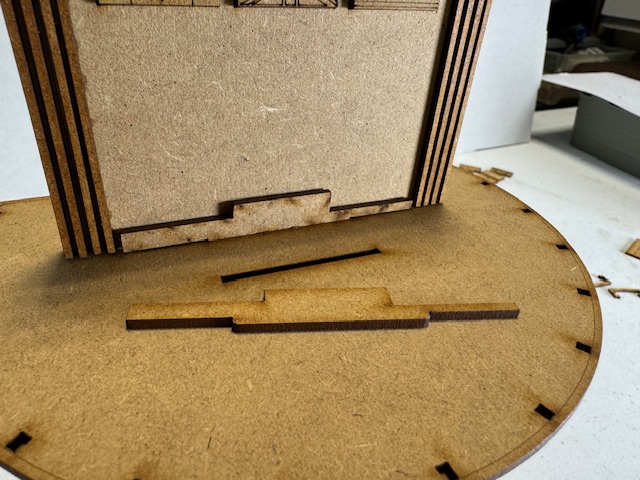
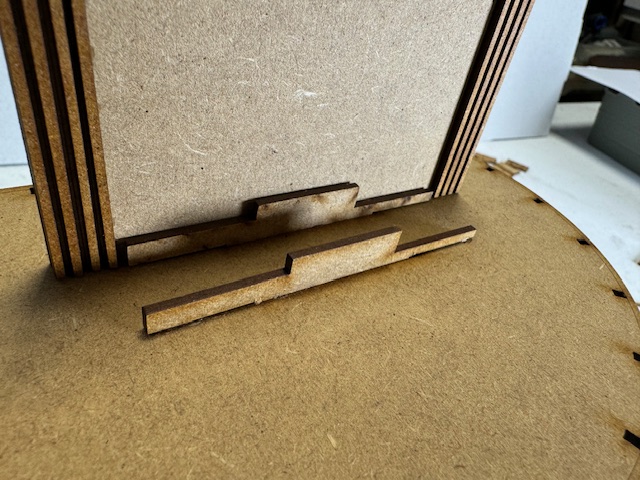
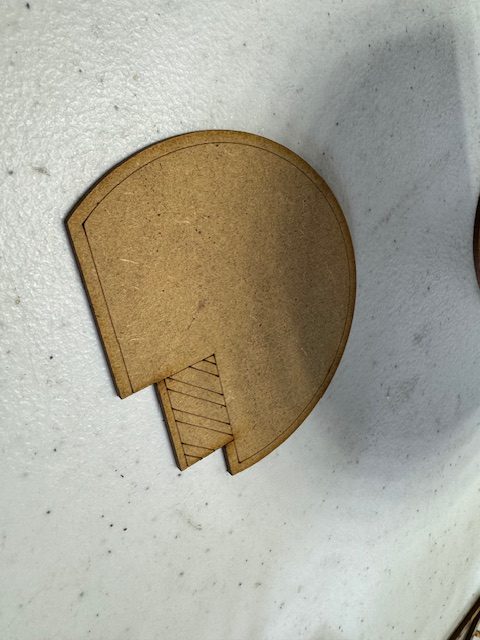
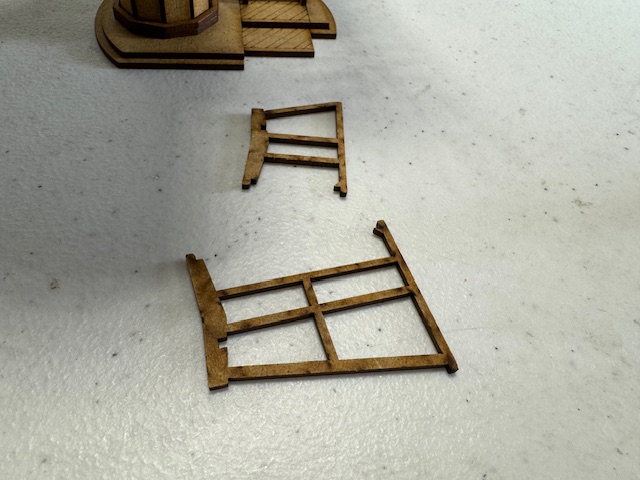
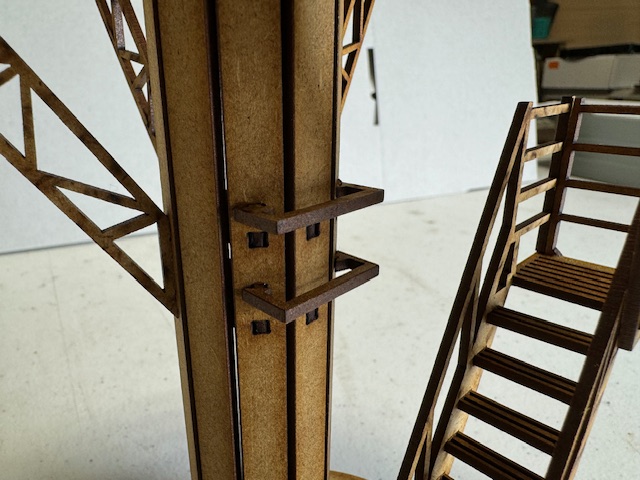
Get these 2 bits
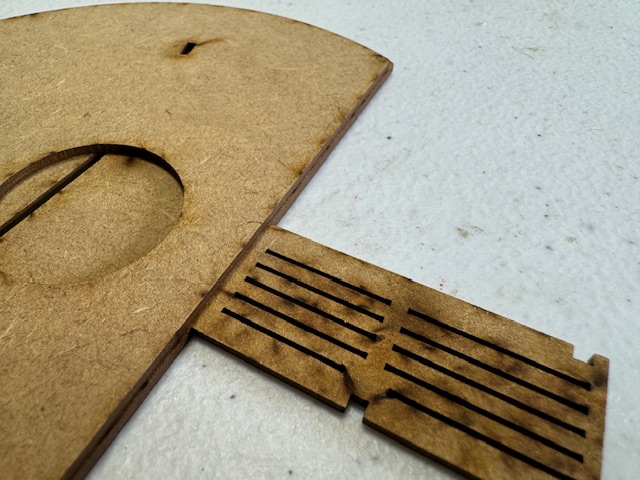
The smaller piece goes under the big piece, the big piece should have the etched marking still facing up and visible

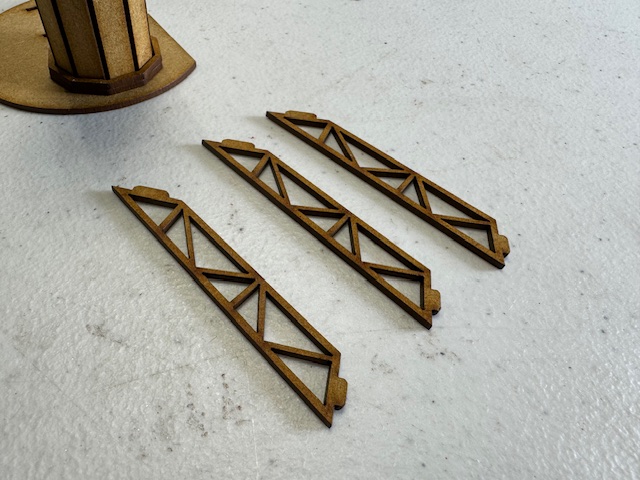
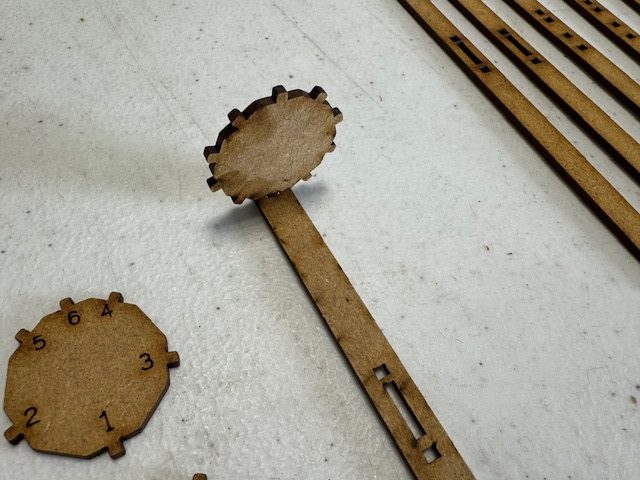
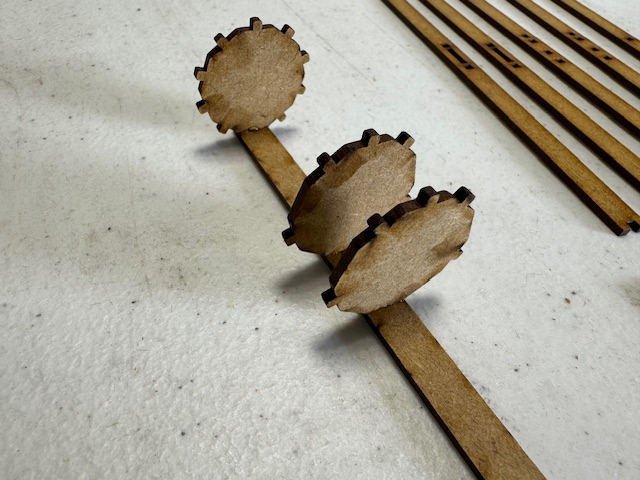
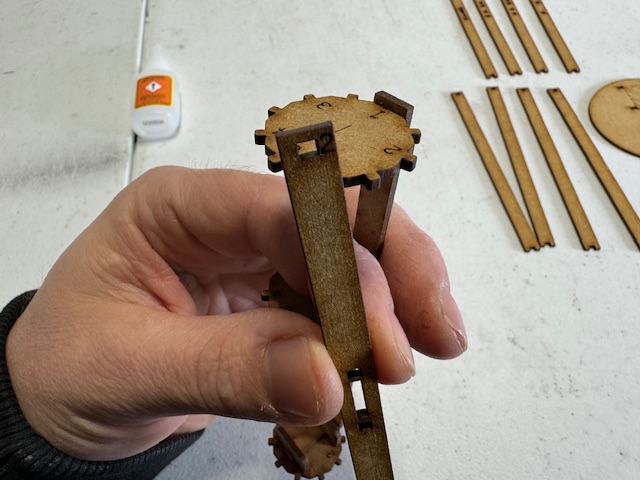
Now get these 3 pieces,

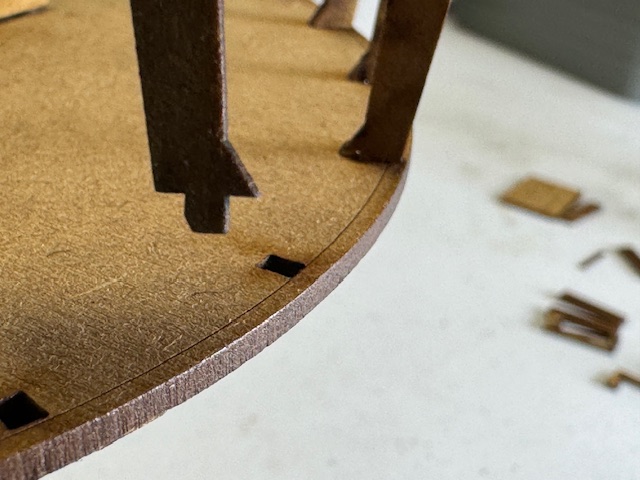
The bigger node goes into the pole like this, do all 3
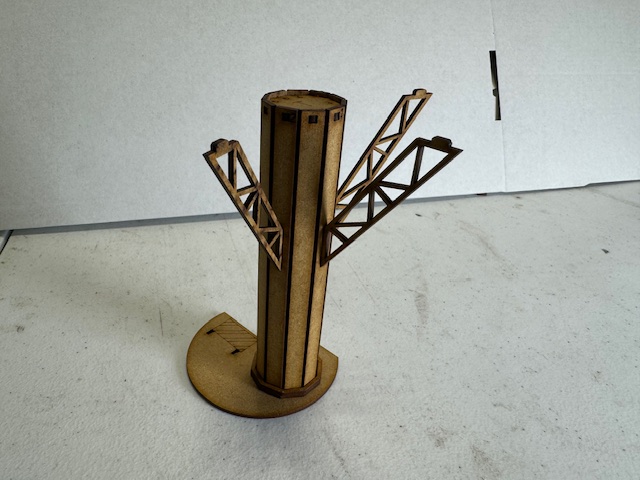
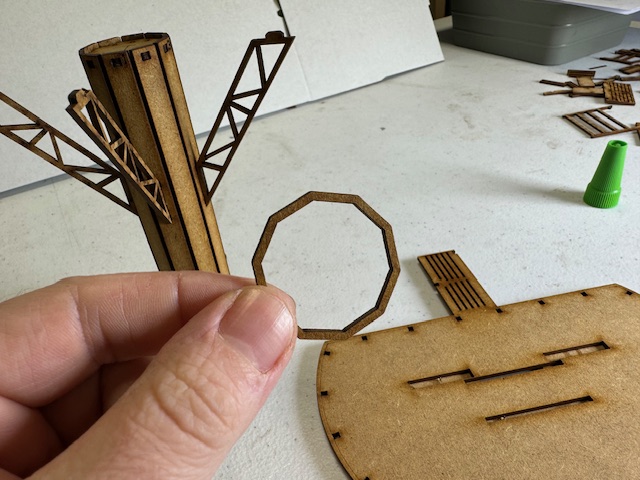
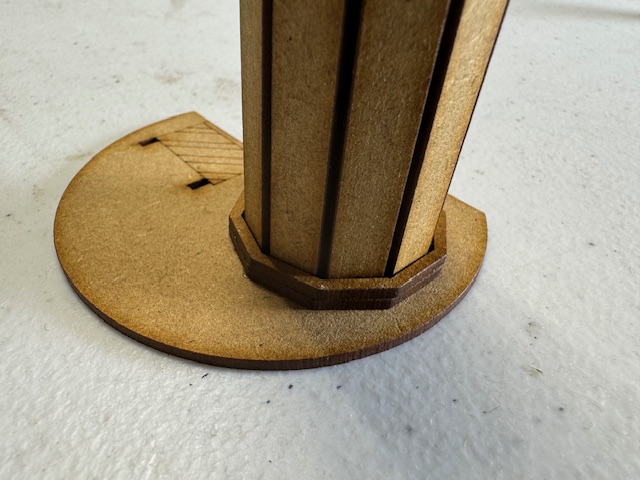
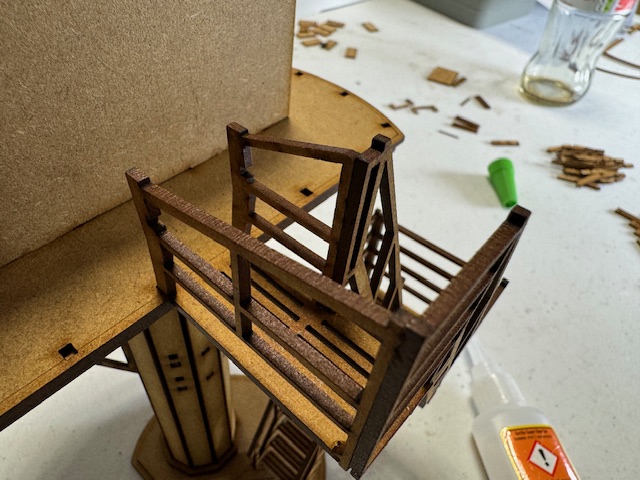
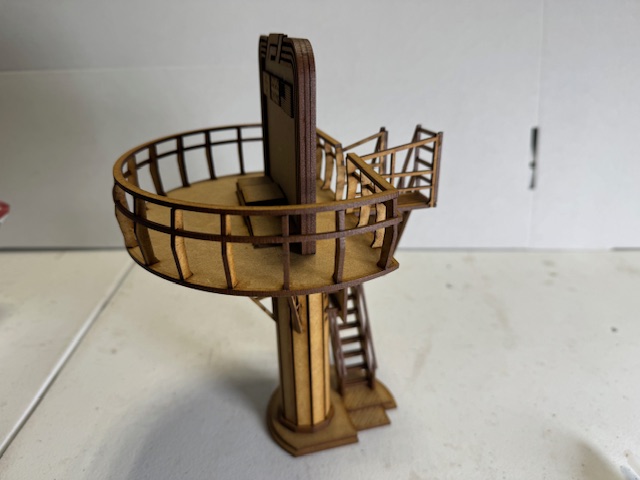
Add this ring to hide those top showing nodes. DONT GLUE IT YET THO


Now mush the ring down to the bottom of the floor and glue it


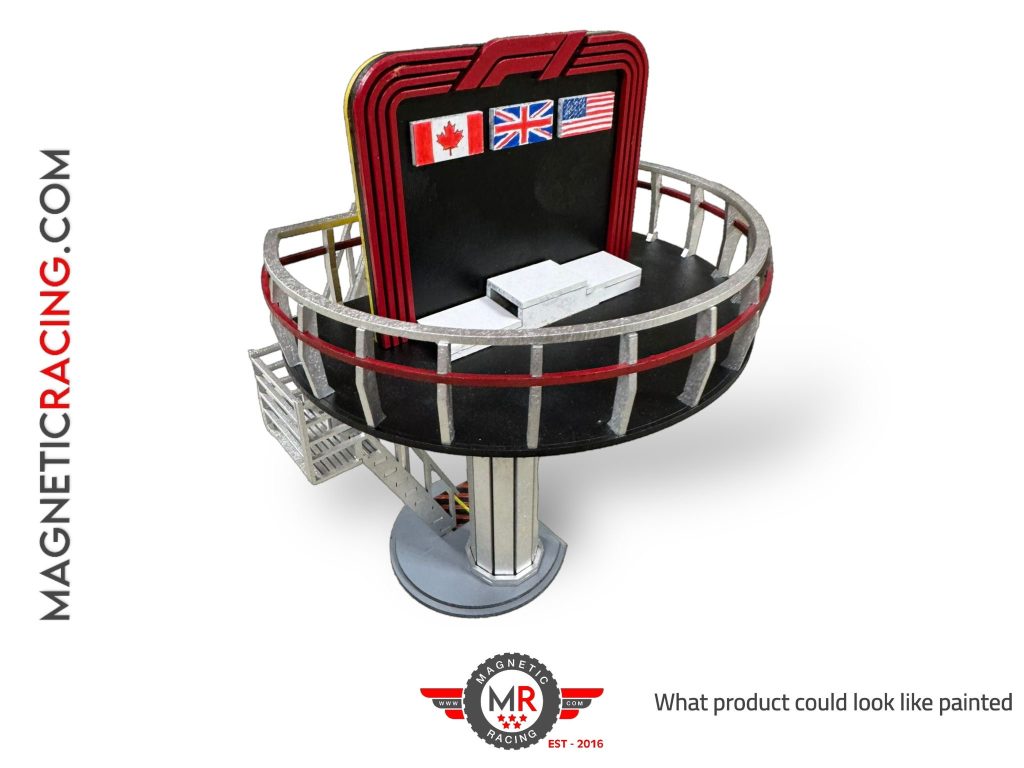
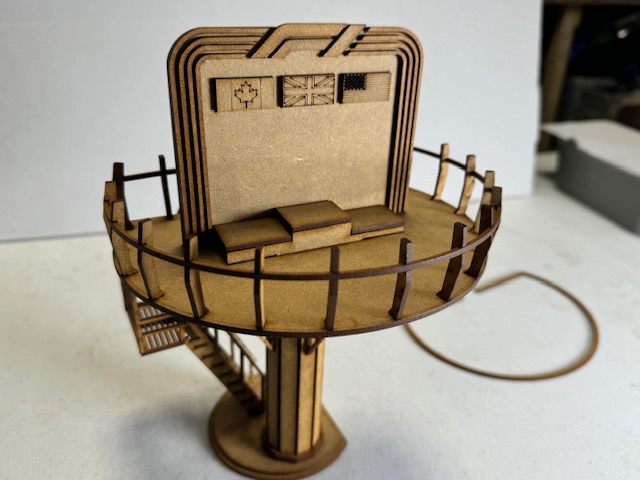
If you don’t want F1 us the other part with out it etched on.


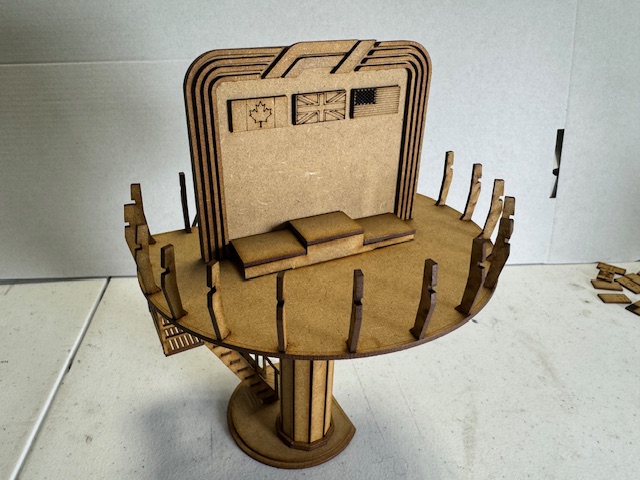
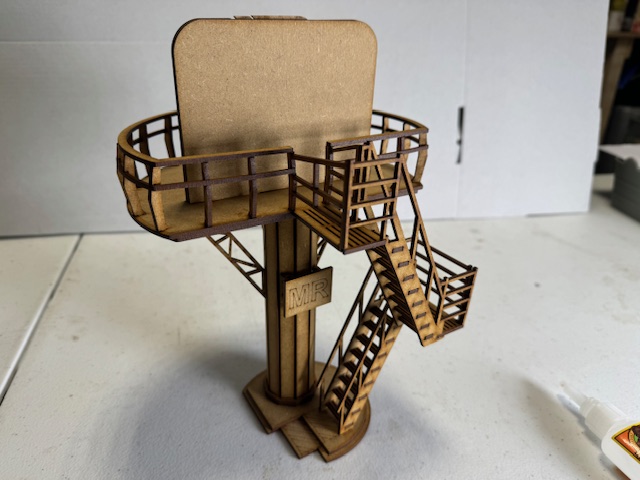
Notice the F1 logo goes above the backboard a little bit

Add the other piece to the back so the etched marking on it cant be seen.


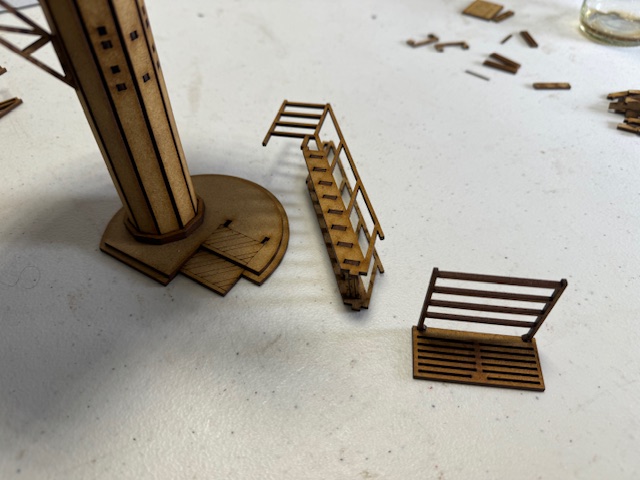
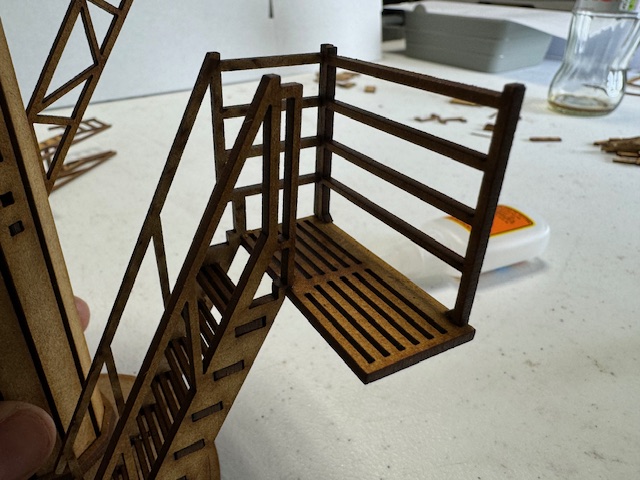
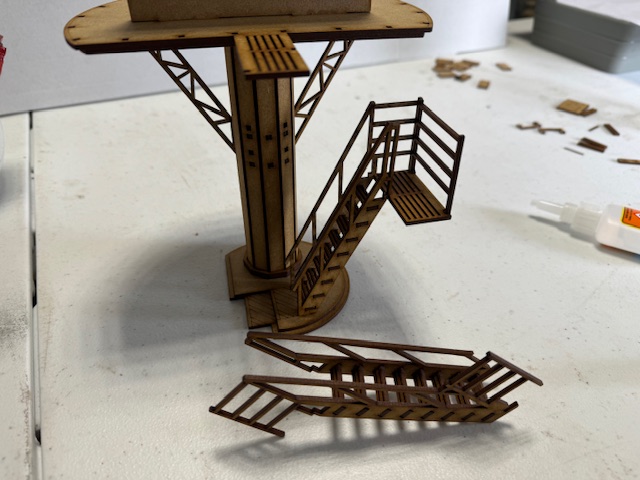
Lets make the podium
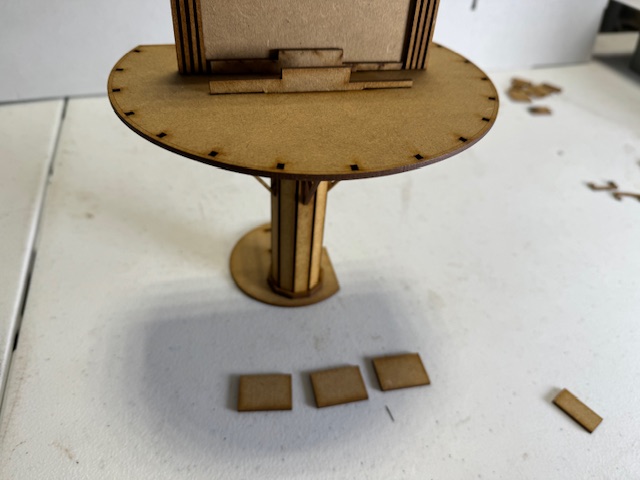
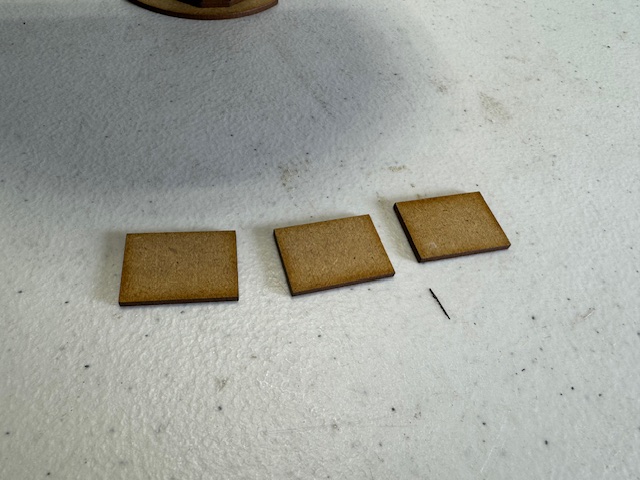

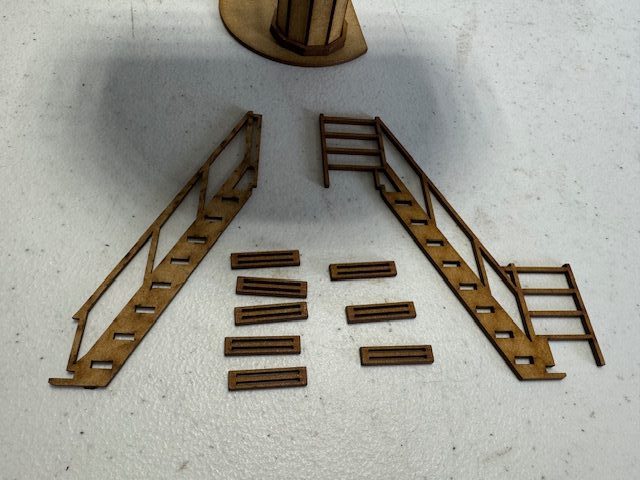
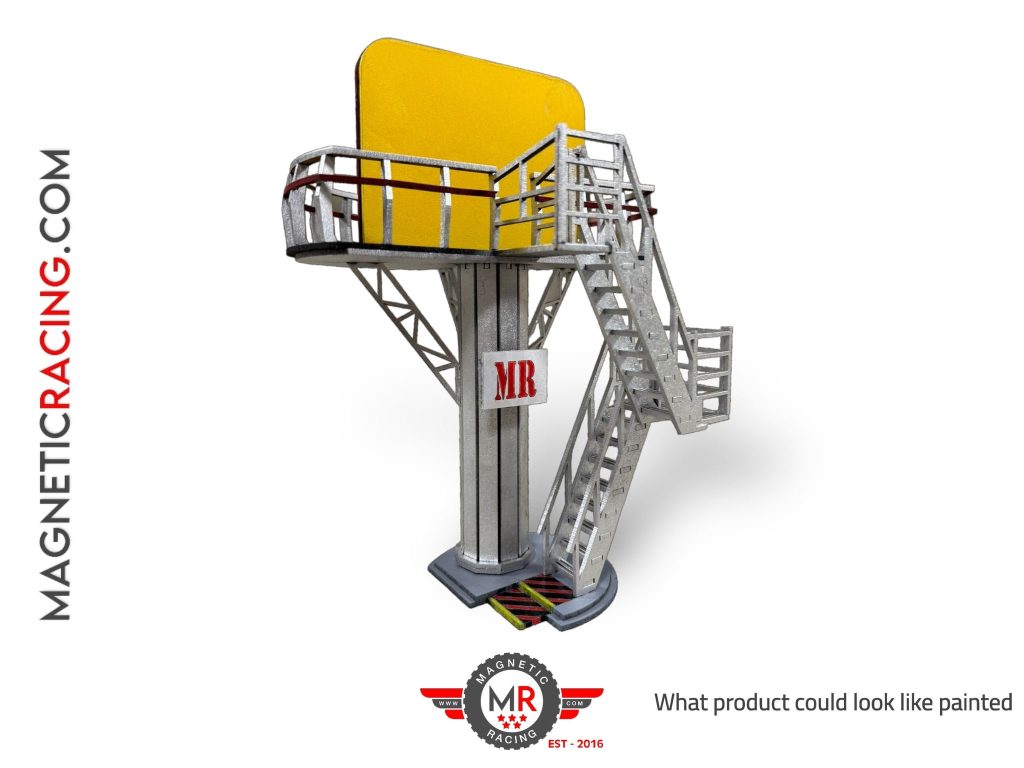
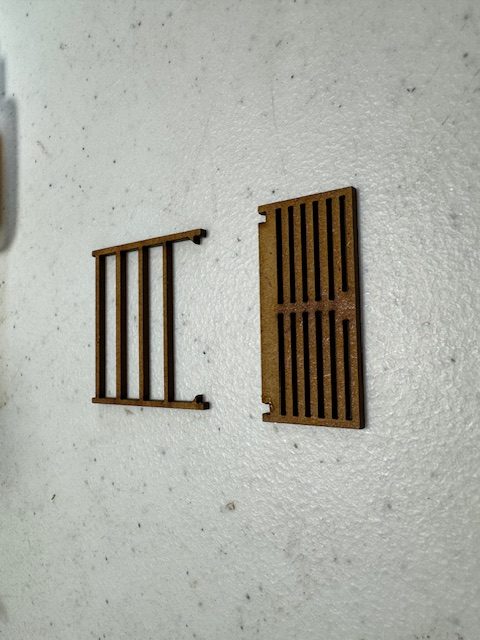
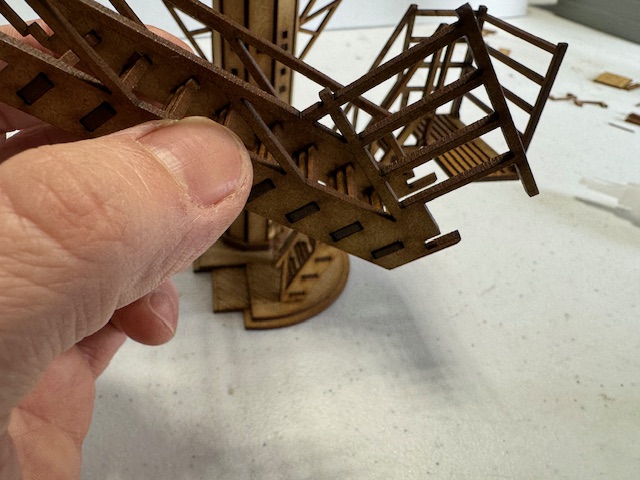
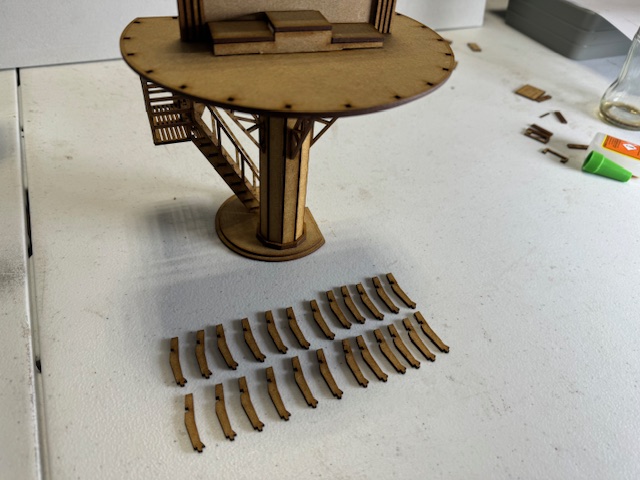
Time to make some stairs get these parts. There are 2 sets of stair one set has nodes sticking out on the bottom the other set does not, see the picture below to see what we mean. We have also recently added 3 steps for each set with little nodules on to help make making the steps easier, add these 3 steps first one top, one bottom and the other somewhere in the middle. Then add the hand rail and it wont slide down the step. you can then add the rest by sliding them inl

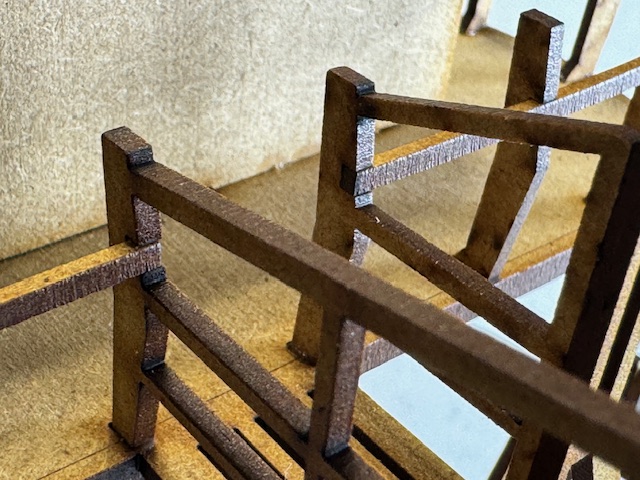
Piece on the left has the node coming out, piece on the right does not

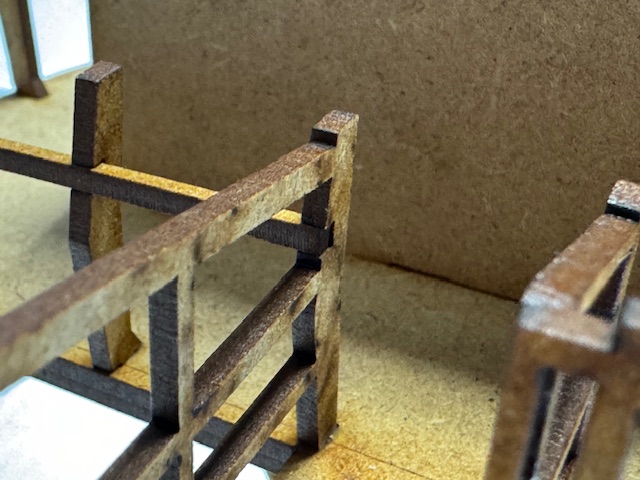
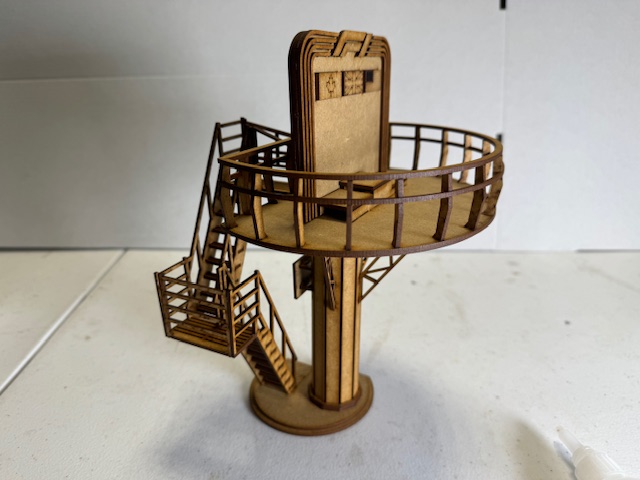
We have added a little “O” to the outside edge of the hand rail pieces to help you know which side is the outside edge.
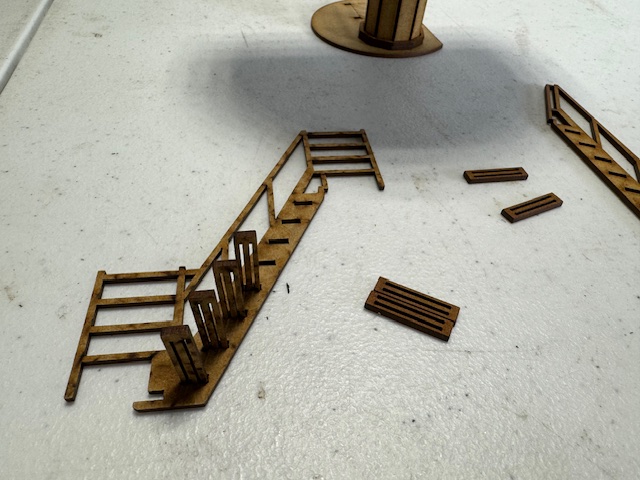
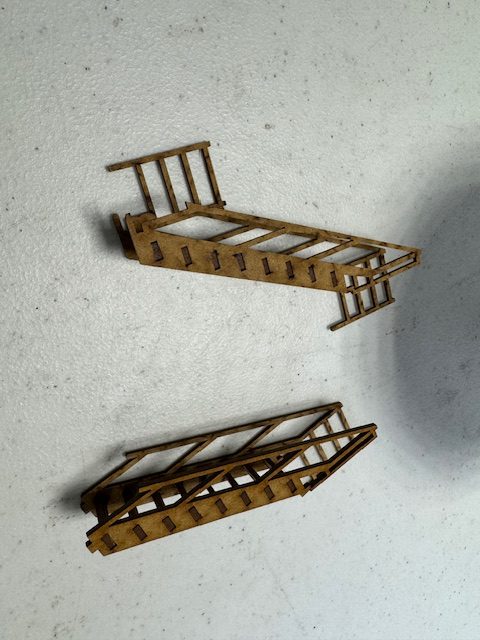
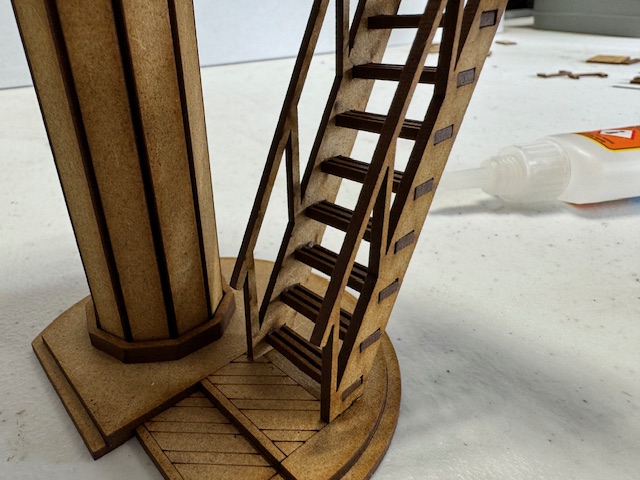
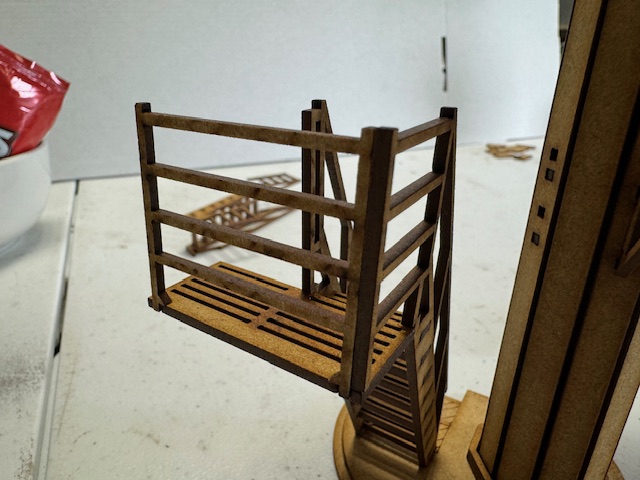
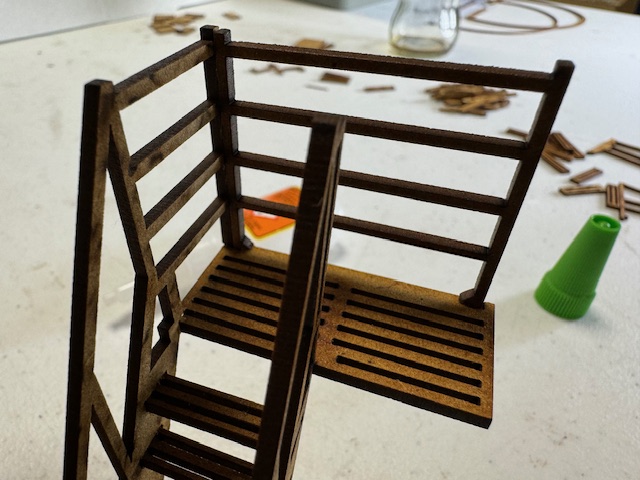
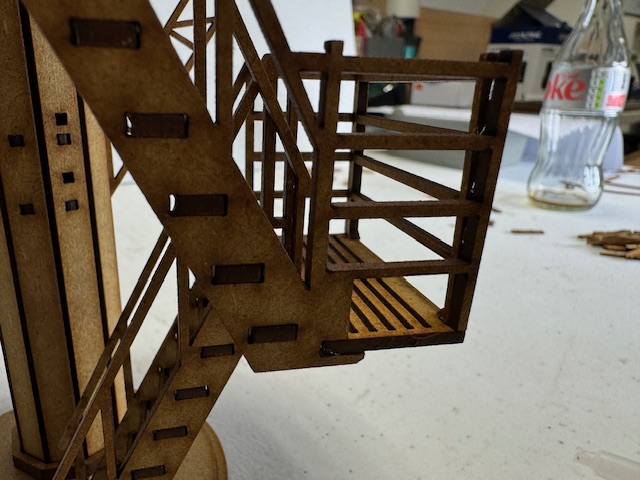
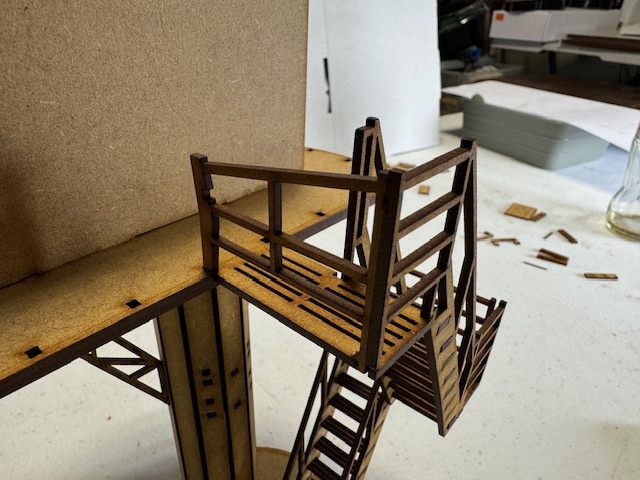

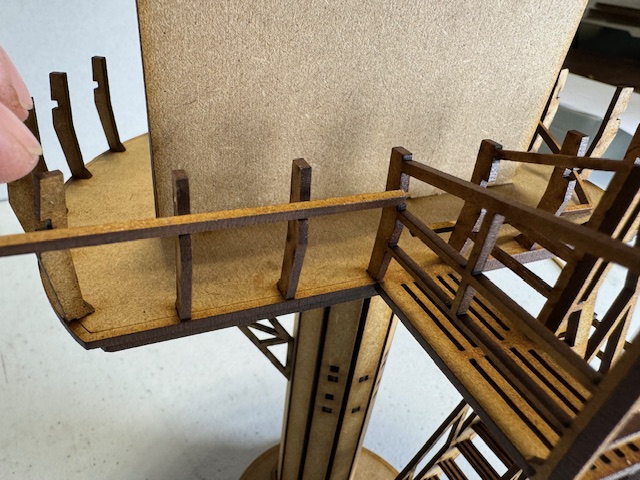
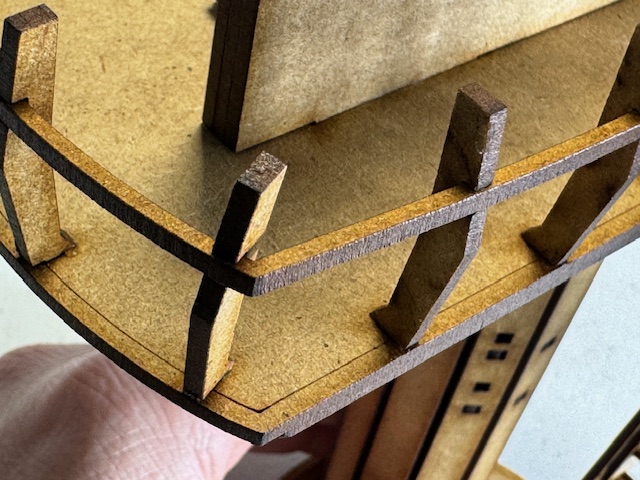
When adding this middle rail, note that this and the top rail will only go on one way around at the gap in the rail at the back is not central, do dry fit it first to check you have it the correct way up, and remember this for when you do the top hand rail too.


You are finished…….
CONGRATULATIONS!!!!!!! We hope you enjoyed creating your Podium, please make sure to send us pictures of it on your track to Sales@magneticracing.com, as we love to see where they’re living and also tag us on one of the many social media platforms
Instagram/Facebook: @magneticracing
Twitter: @magnetic_racing)
Instagram/Facebook/Twitter: @thinkscalextric
Thank you again for purchasing from us.
Any feedback, good or not so good, is welcome. If there is a building you would like to see in our range please do let us know.
Sales@magneticracing.com