Routing a track is by far the quickest method of track building. We have found the best base board for this is to use 8 x 4 sheets of 18mm plywood. Do not use strand board or MDF as strand board is uneven and chips easily and MDF produces unhealthy dust and can warp easily if it gets damp. 0.5mm music wire is also best as the 0.6mm wide groove cut with one pass of the circular saw is just right for this wire diameter.
You do need some specialist equipment to produce tracks with this method
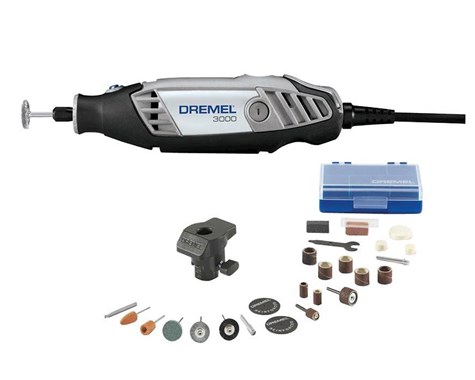
1) A Dremel hand tool. These can be bought very cheaply online for around £40
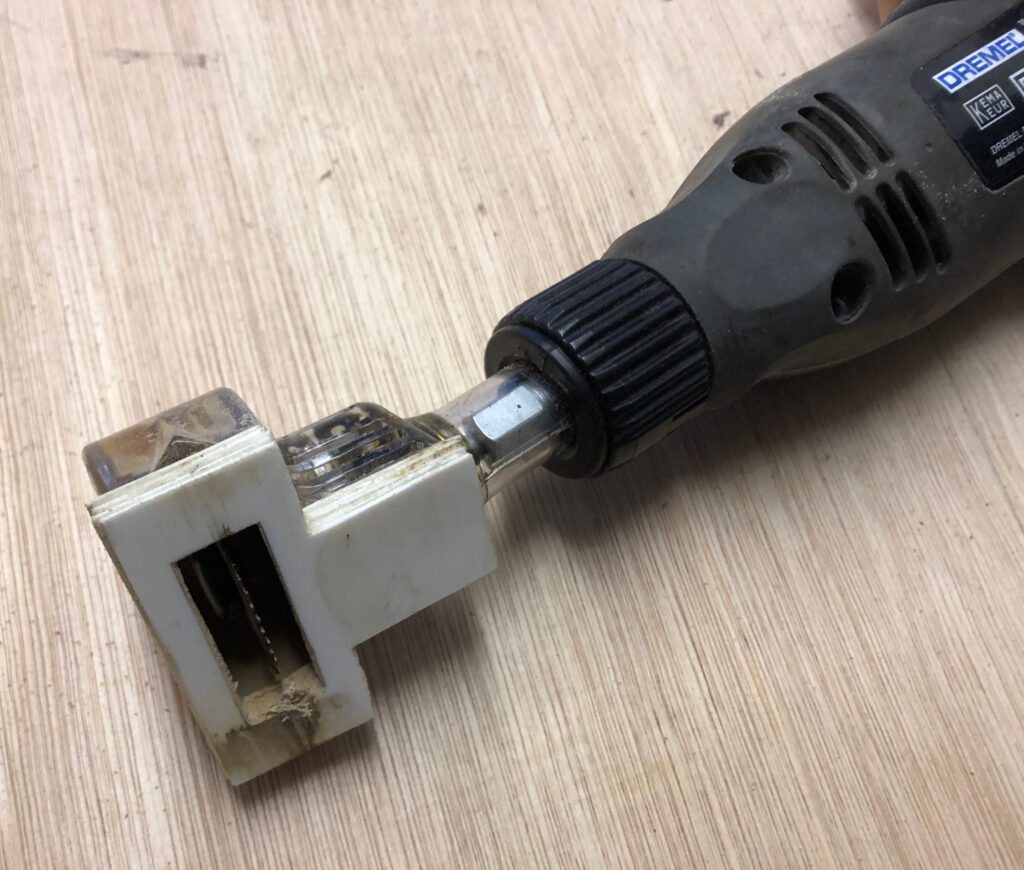
2) A Dremel saw 670 attachment. These come complete with a saw blade that is 0.6mm thick . This is ideal for cutting a wire groove suitable for 0.5mm diameter wire. These cost around £25.

We need to modify this tool a little with a depth stop so when pressed on the base board cuts a groove that is 0.6 – 0.8 deep. Super glue a few pieces of plastic card on the underside as shown and do a trial cut. Try some of the music wire into the groove and adjust until you have a wire that sits just below the surface. It is best to cut the plastic in a “T” shape as shown below as this gives you a much larger surface area on which to glue. Remember If you stick on one sheet too much and the groove is too shallow, you can remove the blade and sand the last layer a little on a flat surface to gradually increase the groove depth until it is just right.
Marking Out
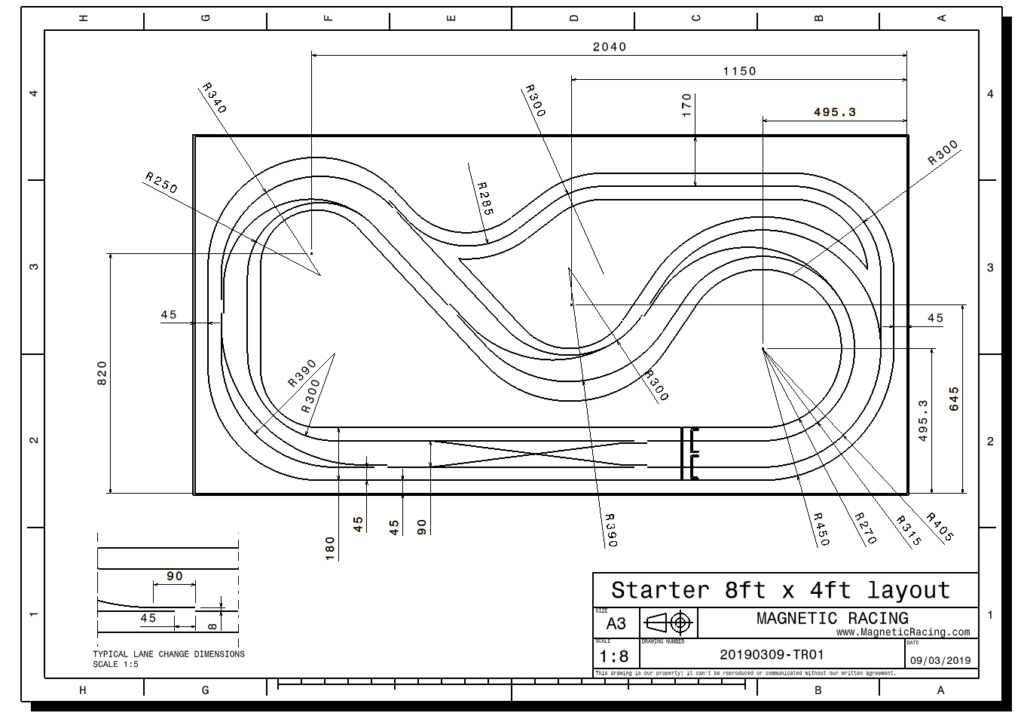
Forward planning is the key to success. Below is a typical starter track on an 8 x 4 sheet. Click the image for a better view or download a .pdf copy here so you can print it out. Plan out your track and look for a racing line that you can create using lane changing at corners. The track below also adds a simple pit lane for extra interest. Note also the typical dimensions for the lane change in the lower left of the drawing. The gap in the main wire is usually around 45mm and the parallel alternative route wire is about 8mm away. Also note that there is a straight portion on the alternative route (about 45mm) past the gap. These dimensions work well and give consistent lane changing. The disadvantage of course is if you turn the wrong way a novice driver leaves the track. A “keeper” wire can be added to prevent this which guides you back to the main route, but after about 15 – 20 minutes driving even a novice driver always turns correctly.
Try to obey the following rules when making a track:-
The gap between each lane is about 90mm minimum for cars to pass each other on any bend.
The space to edge of the track should be about 45mm minimum
Use a minimum turn radius of around 300mm. 250mm works OK for most cars. 200mm can work, but sometimes you have to steer to get around this tight radius. Remember you can cut the wire with a drinding disc and recut the groove at a larger radius if needed.
No lane changes on corners (They work poorly)
No lane changes immediately after corners (A car experiencing oversteer with the back hanging out may change lanes unexpectedly)
These are not hard and fast rules and experimentation is the key. But for a first track we recommend you stick to them.
Remember a track doesn’t have to be all straight lines and perfect curves. Smooth freehand transitions can be produced easily and cut with the router.
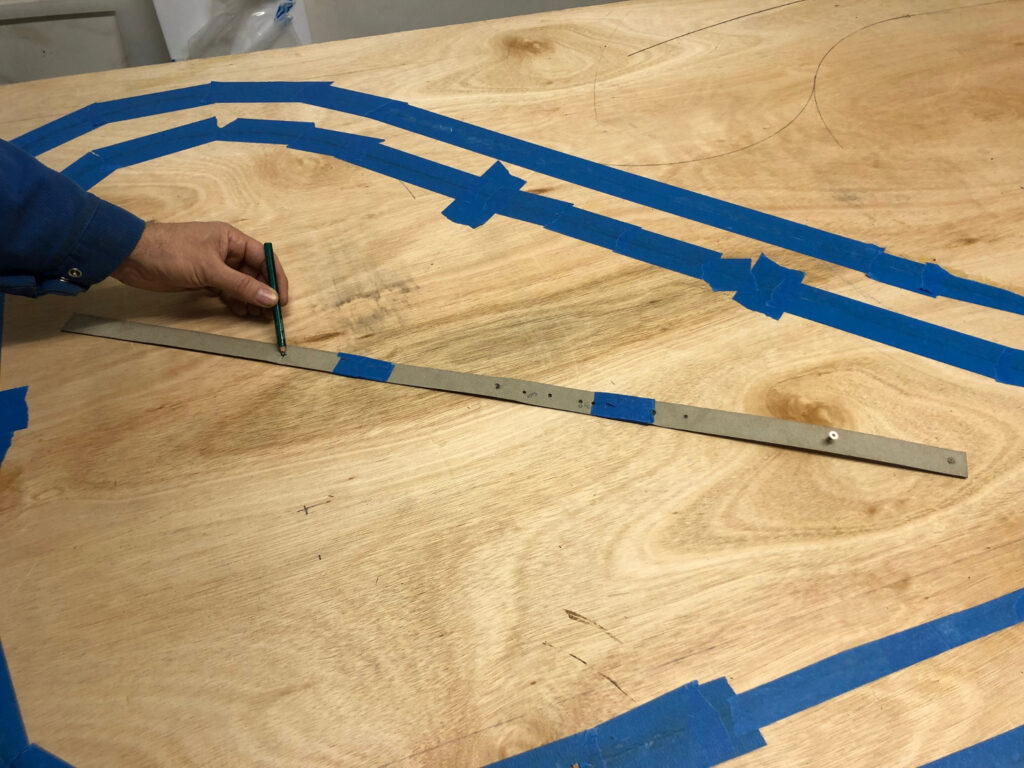
On a plywood sheet there is usually a good smooth side, so place this on top for your track surface. Mark the track out in pencil starting with the main wires all around the track. Don’t worry about the track edges or lane changes at this stage. It is unlikely you have a set of compasses large enough for the radii you need, but you can improvise with card and a wood screw or notice board pin. A series of holes along the card at the correct radii measurements will give you an improvised compass at little cost.
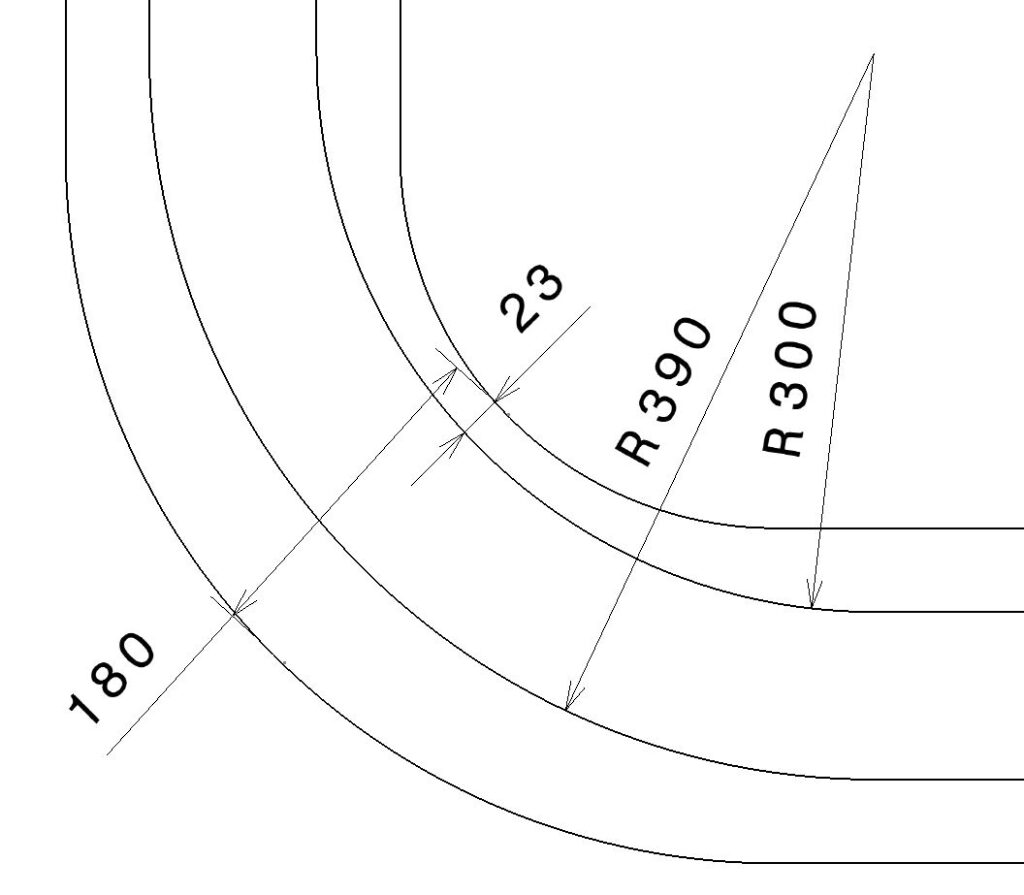
Now draw on the track edges. On a straight these are usually 45mm either side of the wires, however on the corner you can sharpen the bend so when the cars run around the track they will appear to kiss the apex of the bend or run over painted on kerbs. At the apex (Usually midway around the turn), you can bring the inner track edge to around 23 – 25mm from the inner wire. Draw that first (You can generally do this freehand to join the curve to the straight lines before and after the turn) then mark the outer edge of the track 180mm out from this on a concentric centre. See image below . Marking out the track corners in this way makes the racing cars appear much more realistic as they go around the circuit with the inner car taking the apex at each turn.
Routing the wire
Now the fun begins! We assume by this time you have set up your router with plastic packing and have practiced a little on scrap so you are used to holding it level with the wood surface to get a nice even depth groove. A few tips here will make the job easier.
1) Try to be comfortable when you are cutting and not stretching over the board. You want to go smoothly around the bends. You can stop anytime and reposition yourself before continuing a cut.
2) If you need to stop at any time, lift the router directly up out of the groove and switch it off.
3) To restart make sure the router is switched off. Relocate the blade in the groove and then switch the router on. This way you avoid fumbling to relocate the cutter and risk producing a wide groove. All is not lost if you do as a consistent depth is the most important thing. A slightly wide groove can be filled and hidden later.
4) Rout all the main wires first completely around the track. Do not cut the alternative routes at this time. We can do this later.
5) If the wood starts to smoke, slow down a little. If that doesn’t work, check the circular saw as it may be clogged or worn. A little smoke is expected now and again especially around the corners. A circular saw blade should complete several tracks before it needs changing.
6) Hold the Dremel in two hands as shown below. Use the hand near the cutting head to guide the path and to gently press it to the track. The other hand supports the motor and is used to turn the motor on and off when you want to stop. There is a little plastic “beak” on the front of the shield and this shows you where the centre of the cutting wheel is. Use this to follow the pencil line as you go along.
7) Don’t worry if you go a few millimeters off line now and again. Remember the wire is not visible on the finished track and the car will follow it easily provided the bends are smooth and continuous.
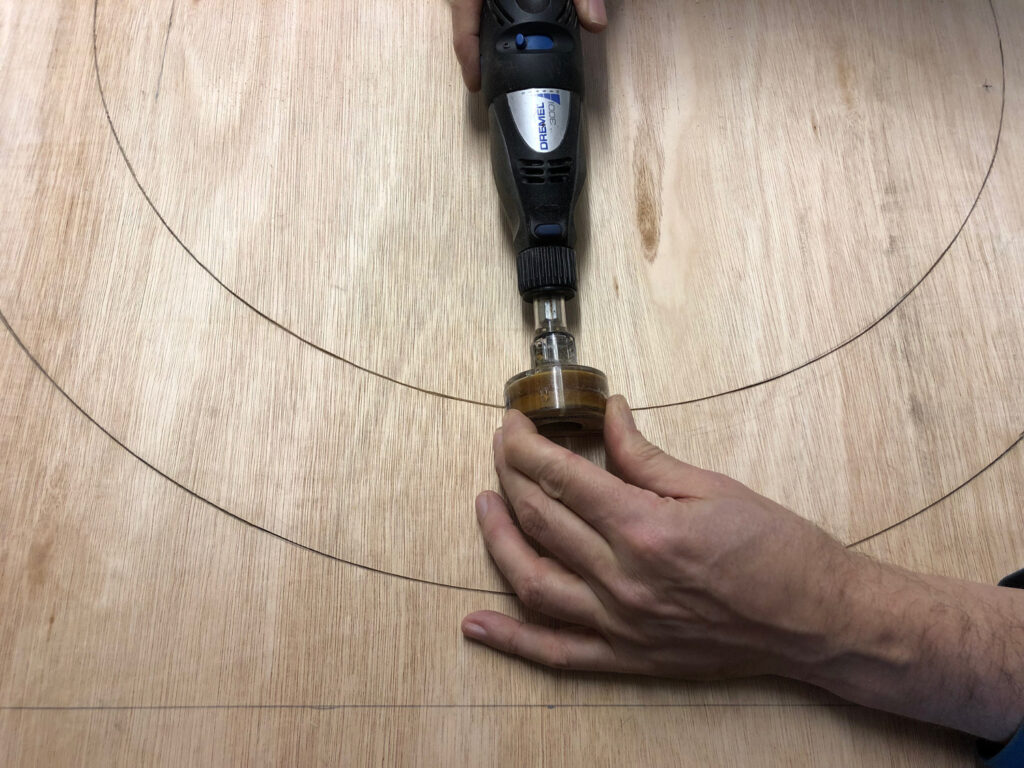
Once you have completed the two grooves completely around the track, you can start adding the wire. Don’t cut the lane changes yet. Use a vacuum cleaner first to suck all the dust and debris from the track and out of the grooves. Check the groove is of consistent depth with a bit of the wire. It is easier to check the groove at this time than later when it is full of glue and the wire doesn’t fit.
Adding the wire
We use music wire for the track. Get 0.5mm as this is ideal for our 0.6mm width groove. Do not use stainless wire as this is non magnetic. The wire is usually supplied in 1 metre lengths. It is possible to use mild steel welding wire, but as its on a roll this can be tricky to get it to sit level in the groove due to the curve it has taken as it was rolled on the welding spool. If possible buy your wire in 1m straight lengths as this makes the job is much easier. There are a couple of points to note here.
1) Avoid joining the wire on bends if possible. Try to stop around 100mm before a bend and then start a new run with a fresh length of wire. Joints can be done on bends if they can’t be avoided, but a bad joint may mean the car will leave the track mid turn. If you do need a join on a bend, try to put it late in the curve. This way the car has taken the turn and is less likely to break free from the wire. Good transition from straight to curve at the start of a bend is the most critical area on the track.
2) Don’t worry about the lane change gaps at this point. Run the wires completely around the track. We will cut the gaps later.
3) When planning the wire laying just before gluing, lay the wire alongside the groove and mark where the wire will finish. This way you know how far along the groove to add glue.
To glue in the wire use contact adhesive such as evo stick, a hammer and blue masking tape. It is possible also to use super glue, however contact adhesive gives you more working time. Have a paper towel handy to wipe off the excess and maybe a piece of card to guide the glue in the groove if needed. You can use clear sellotape, but this is tricky see when you are trying to remove it later.
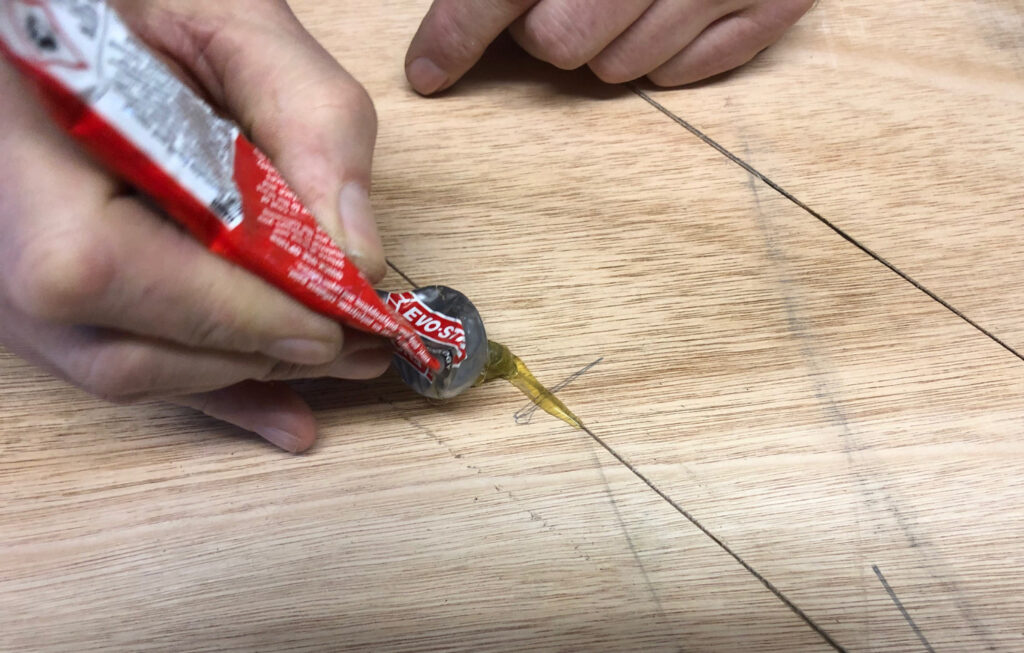
Once the glue has been applied press the wire in place. If you have cleaned off the excess glue this can be done without making a mess of your hands!
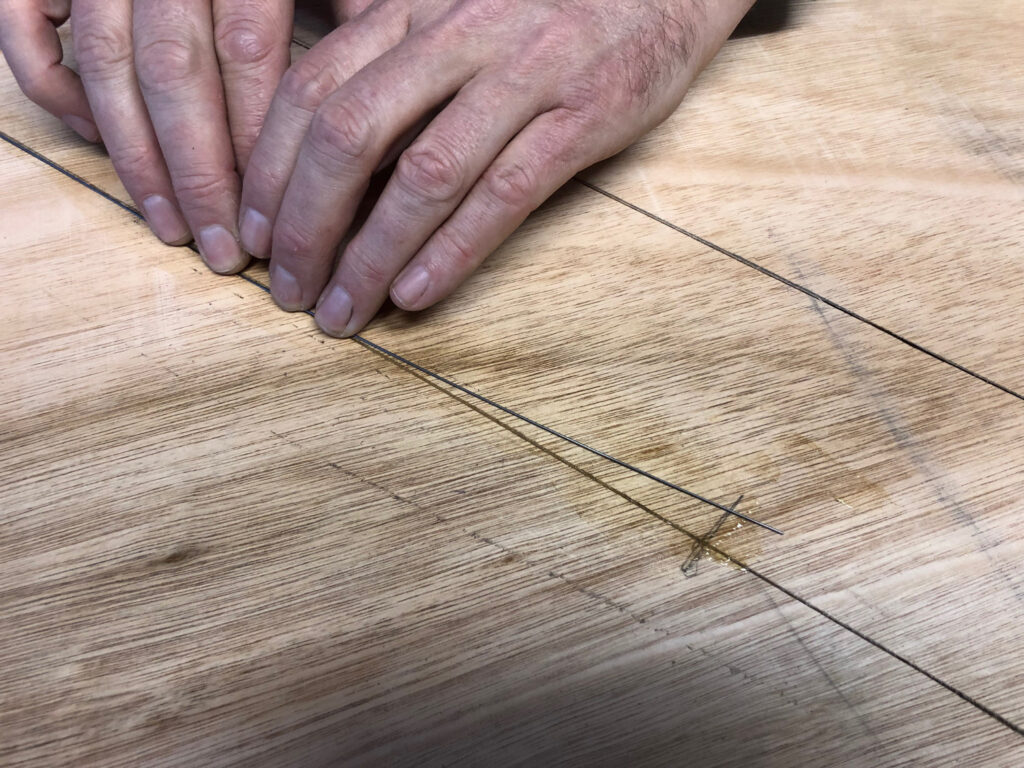
Follow this wire as you go along with blue tape. A second person is handy here to add tape as you go along. Take care not to pull the wire along the groove so you have a gap with the previous piece of wire. Adding tape as you go along avoids dragging the wire. Note we leave the last 10mm of wire exposed. This way we can add glue for the next piece of wire and tape across the joints. Flat joints are important.
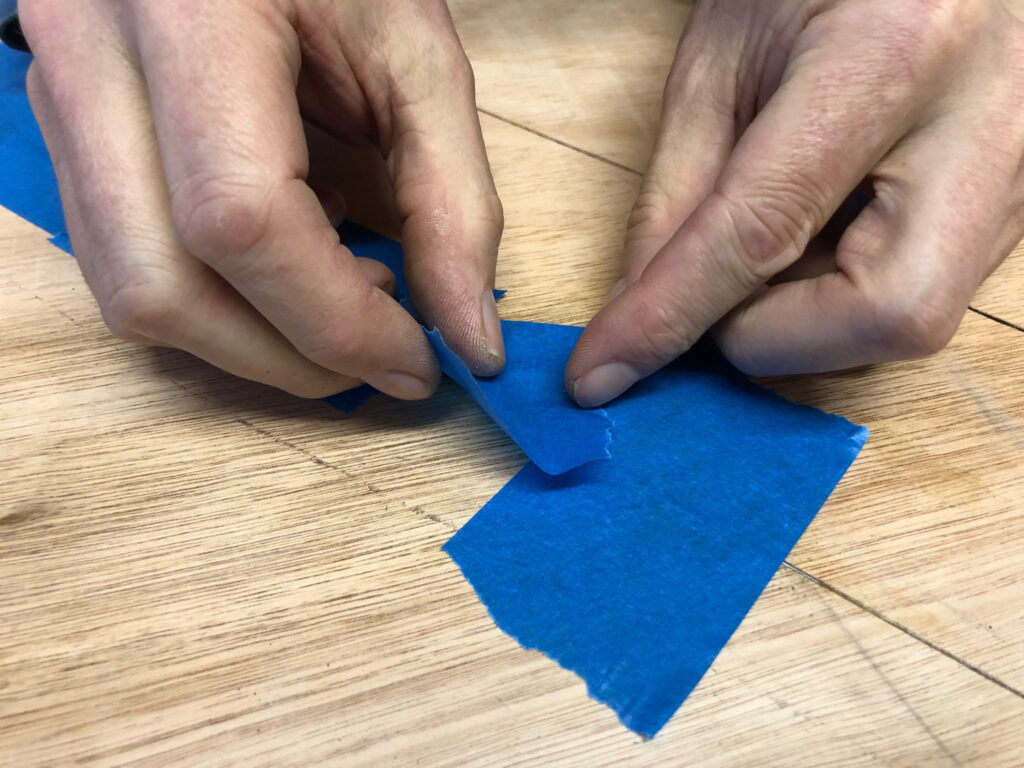
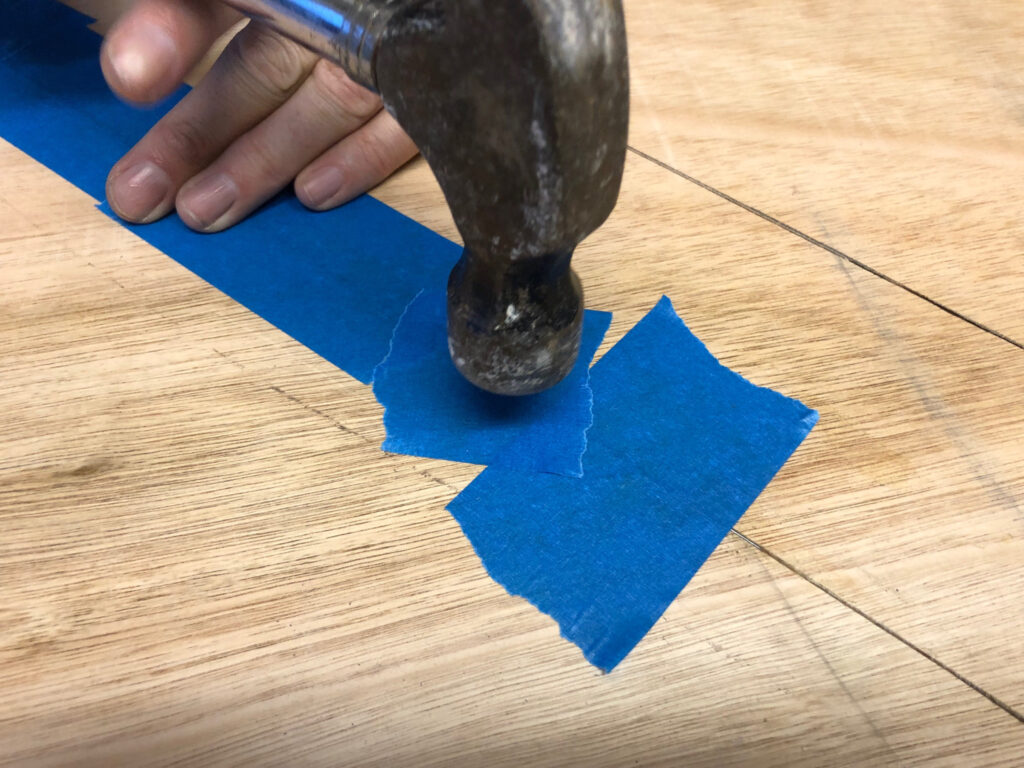
We now feel along the wire with our fingertips through the tape looking for any spots of high wire. Hammer all along the wire to get it to sit exactly flush with the board surface. A sharp tap can sort out any issues. If this proves difficult it is possible to lift the wire and check for debris. You can also cut any obstruction out with a razor or small knife before trying again.
When you have finished you should have something like this.
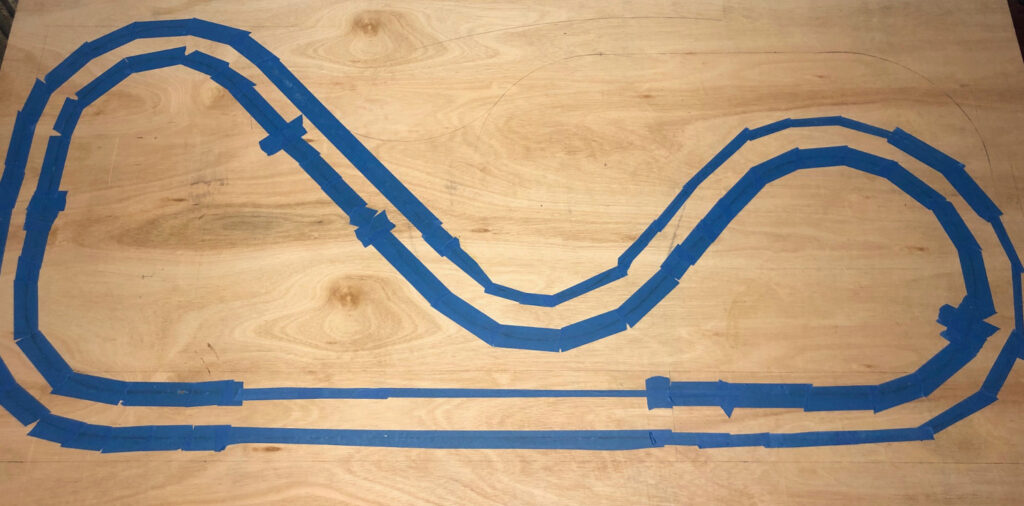
After about 1/2 hour the glue should be sufficiently dry to remove the tape. Sand the track lightly to remove excessive glue and vacuum it clean. It is a good idea here to now add temporary barriers around the track and test a car to see if everything works as it should. It is tempting to test without track edge barriers, but I have scrapped several bodyshells by driving cars at this point without barriers. They do however make a nice crunching sound as they drive off the track onto a concrete garage floor…You have been warned!
Adding lane changes
A lane change should not be considered complete until it has been tested with a car. Remember it is possible to remove wire, fill a groove and redo any section of track. Test and retest before you commit to painting and adding terrain. Adding a huge rock face next to the track can make it difficult to get the routing tool in to recut a poorly laid section of track. Make sure you are happy with the way the cars run at this stage.
Usually supplied with the Dremel kit are a selection of grinding discs. There are several types available. These are ideal for cutting the gap for the lane change. I don’t want to be a safety bore but WEAR YOUR GOGGLES! with these discs as they do have a tendency to shatter, particularly the small brown ones. Try to use the fibre reinforced discs as shown below.
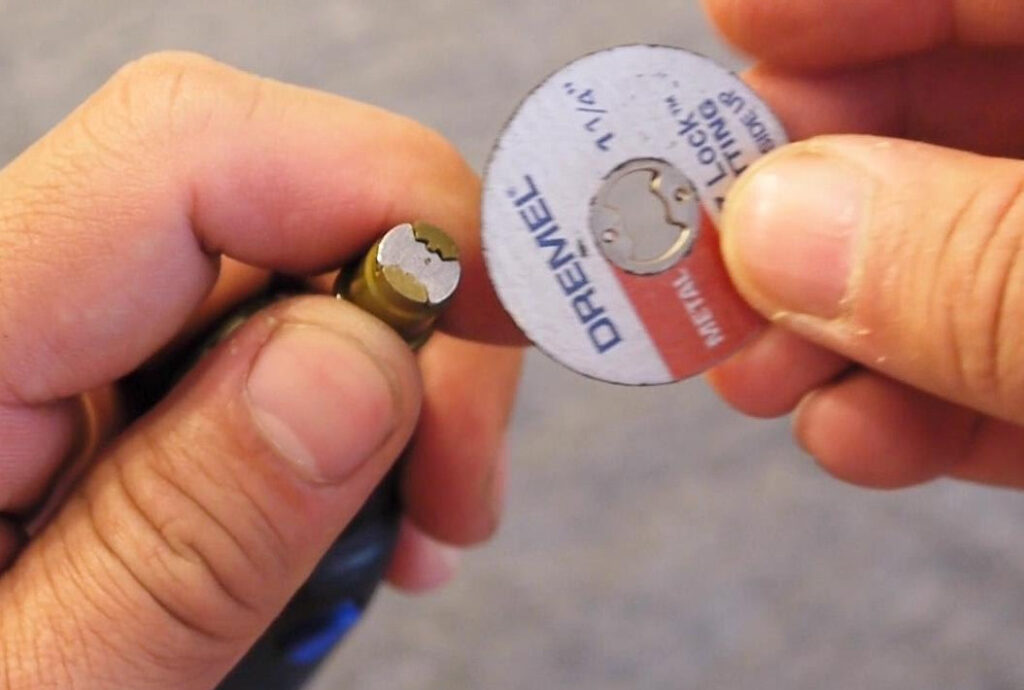
Use the Dremel grinding disc to cut into the wood surface across the main wire 45mm apart as shown in the diagram below. Make sure that the centre section is fully severed from the main wire, by cutting into the wood about 2mm. Now use a small flat bladed screwdriver pressed into the wood just to the side of the wire to lever the centre section out. This should be quite easy even if you used super glue to glue it in. Sand the section a little to remove any raised wood edges. Repeat this around the track where you have planned your lane changes. There is no need to fill this groove just yet until you are happy everything works.
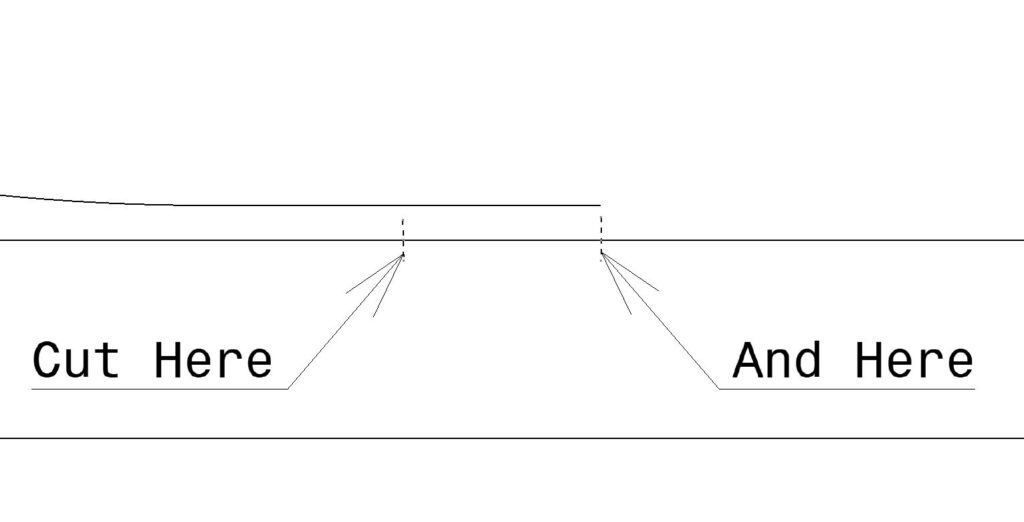
We can now add the alternative route wires in a similar manner to the main wire. To connect two wires at the end of the lane change, simply run the cutting disk parallel alongside the existing wire. You should hear a slight change of tone when cutting as the cutting wheel brushes along the metal wire. Glue them in as before and tape and hammer them flush.
Once the glue is dry remove the tape, sand the surface, vacuum off the track and test again with a car. Make sure everything works and the car changes lanes as required. Only when happy proceed to finish and decorate the track.
That completes the basic construction using the “Keld” method by wire routing. Please check out our guide on how we finished this track here.
