Hi, welcome to the second page for the covered bridge. Here we go.
Get these 2 sides.
Stick on both sides.
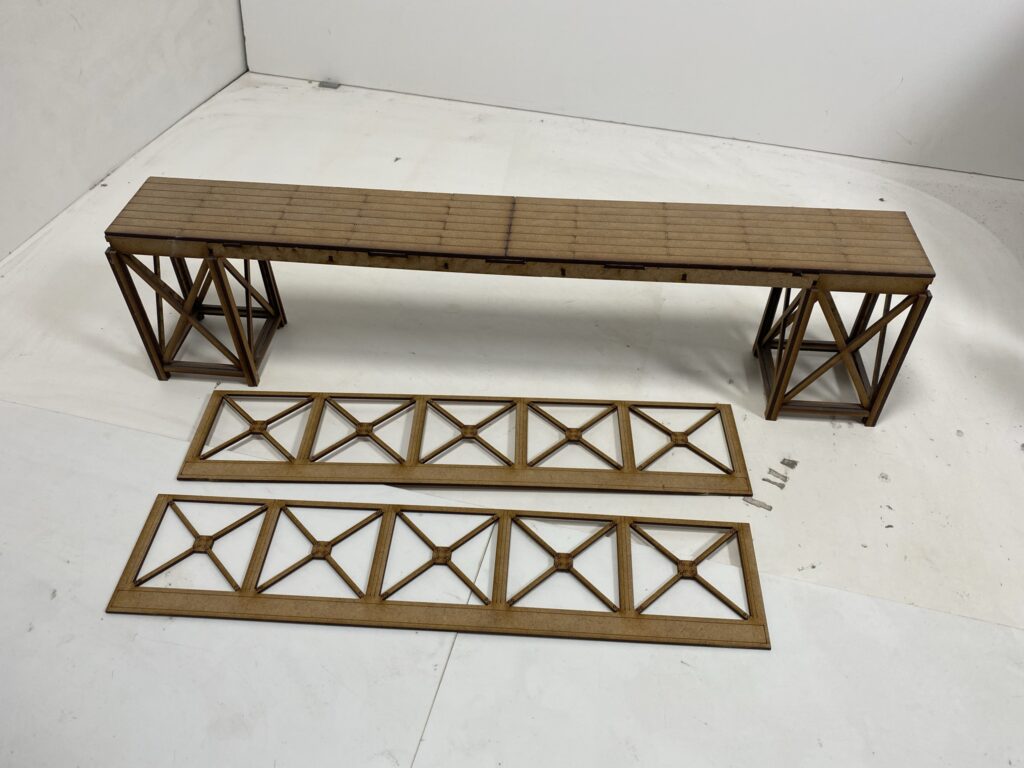
We are now going to fit the thin decretive surrounds that fit around the towers. Each tower will need 4 thin long strips, 4 thicker long strips and 4 short thin pieces.

We find fitting these while the bridge is in it normal upright position is sometimes best as this will ensure that the bottom of the structure stays completley flat.
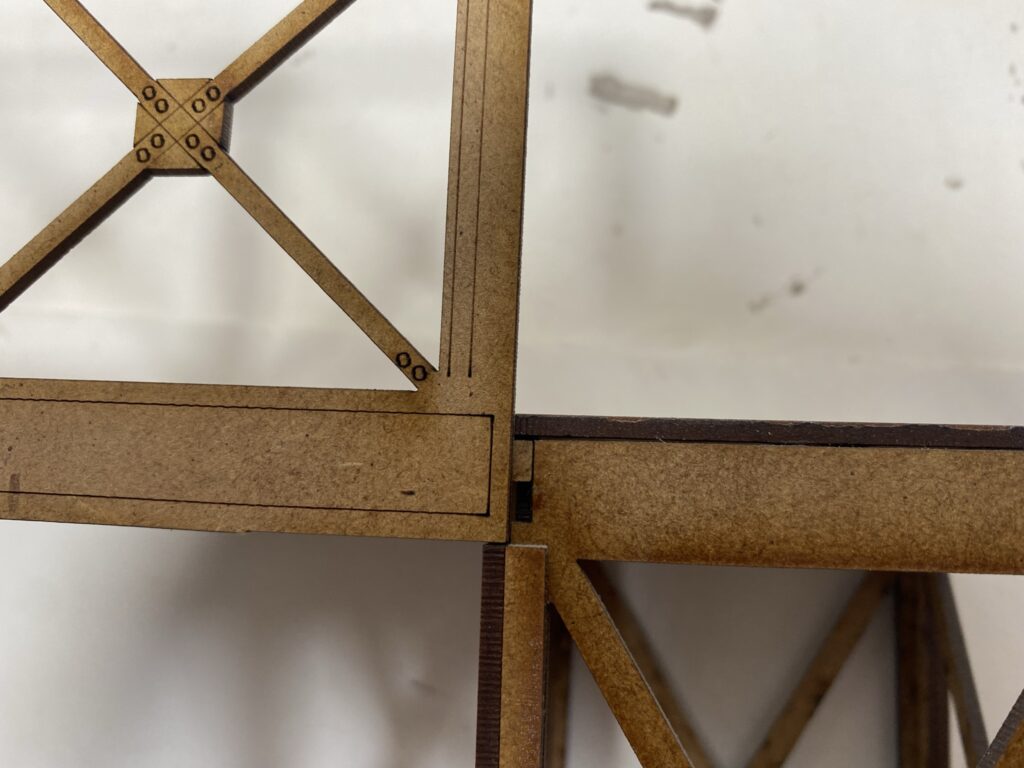
First of all fit the thinner long strip. The side of this strip should line up flush with the corner.
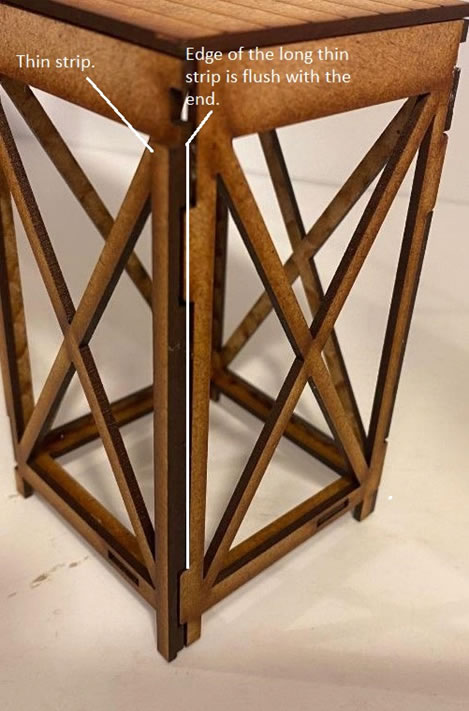
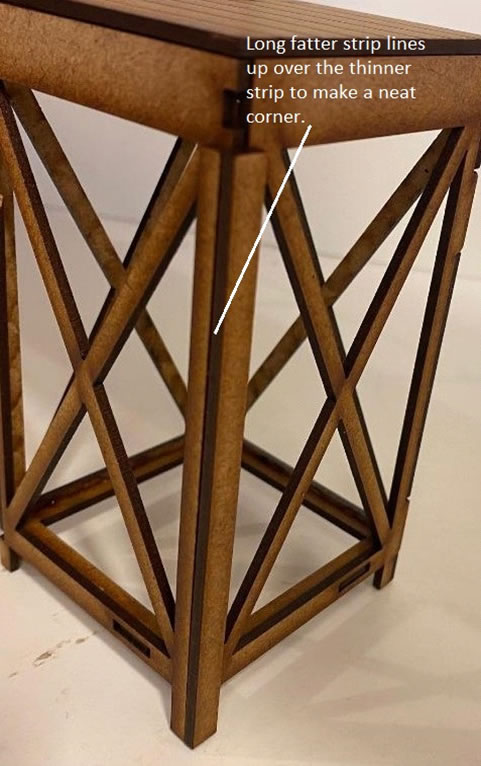
Now we can fit the thicker long strip, this should cover the end of the thinner strip as shown in the images.
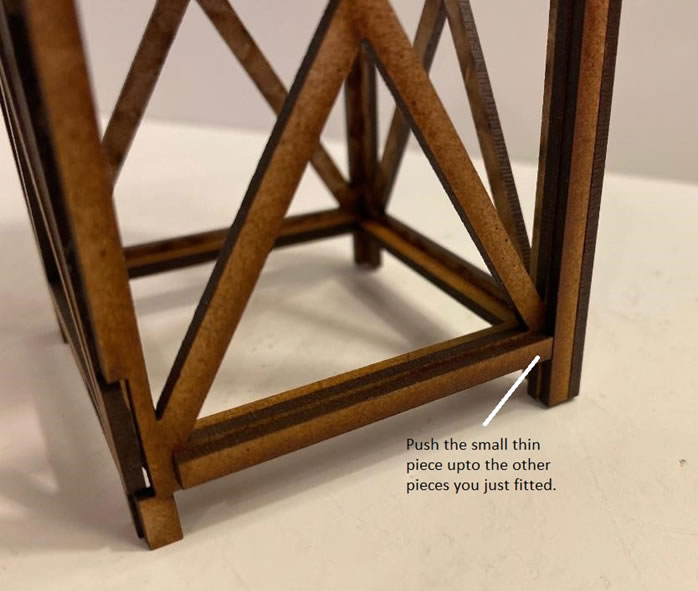
Then we can butt the shorter thin piece to these.
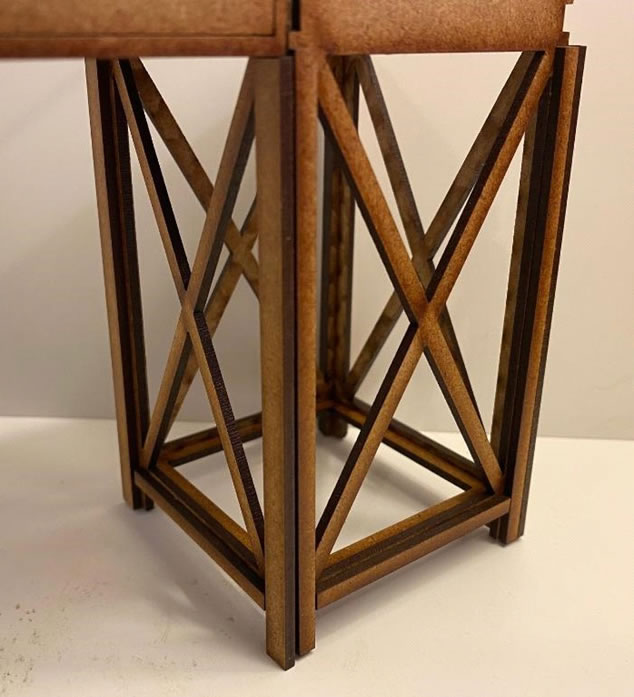
Now repeat these steps around the base of the tower. Once complete do the same with the other tower. You will now find all the unsightly lugs will be out of view and your towers will look a thousand times better.
Glue them in place so you can still the holes for the steps attach. They will sit on the decorative strips we added earlier.
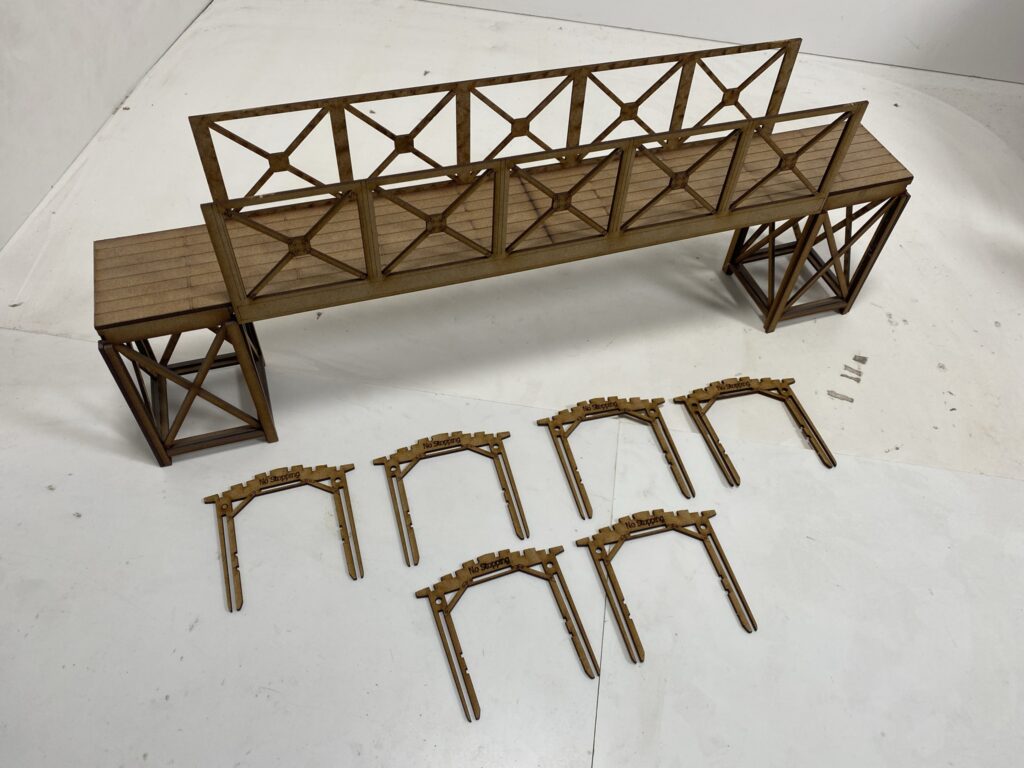
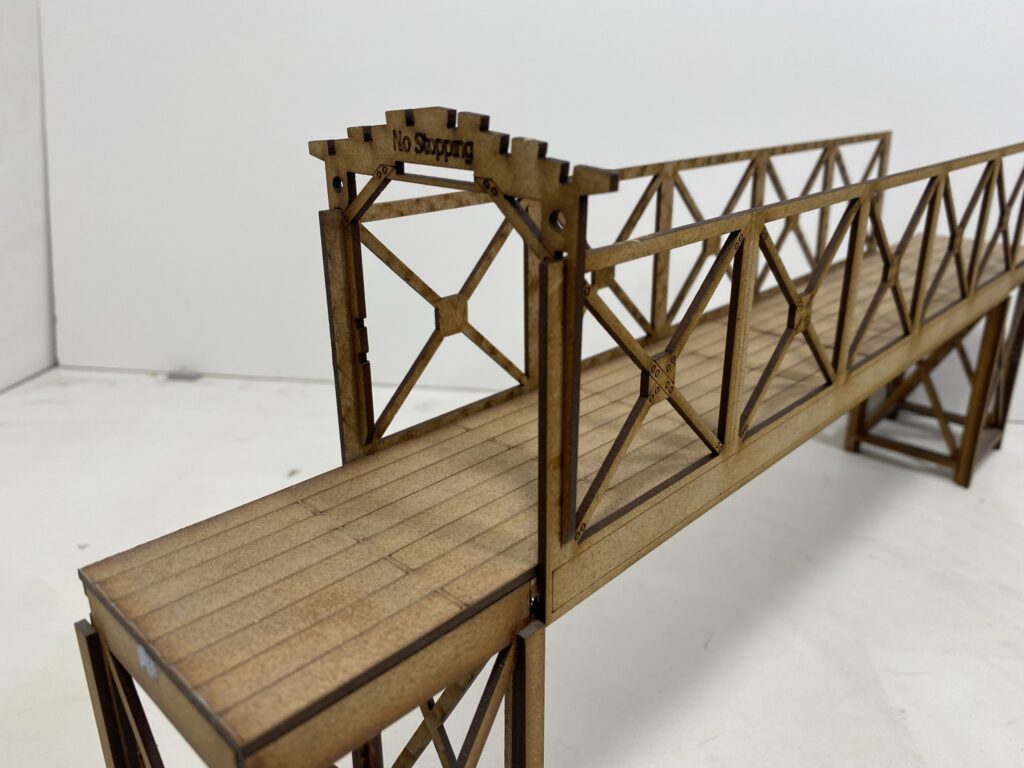
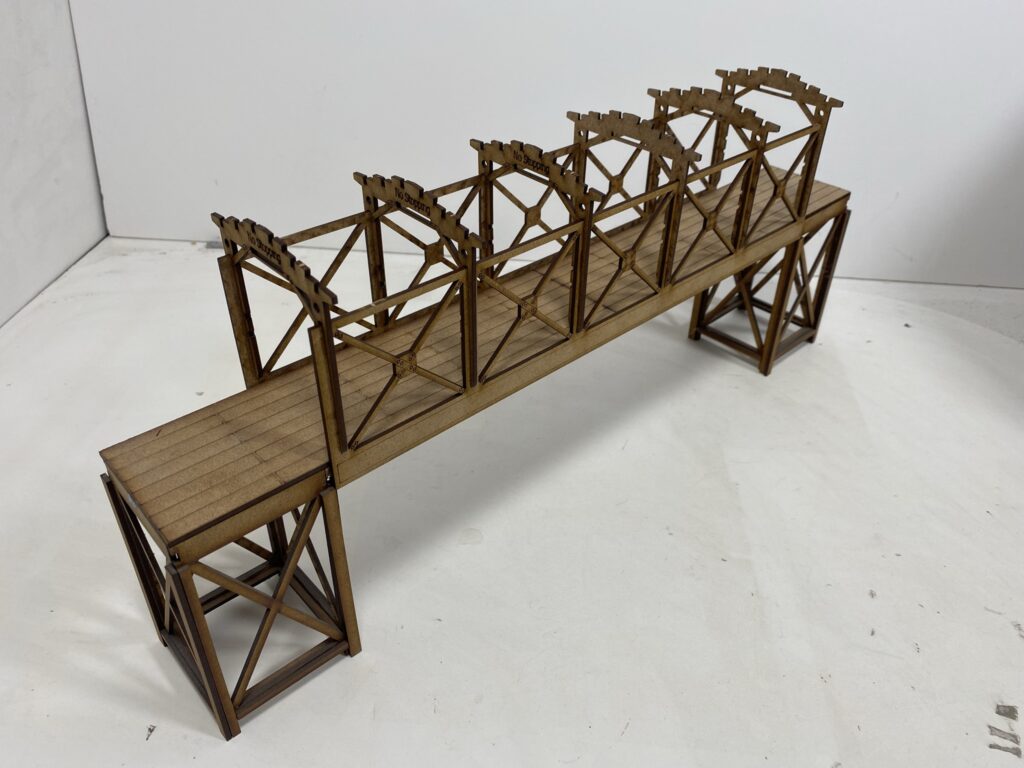
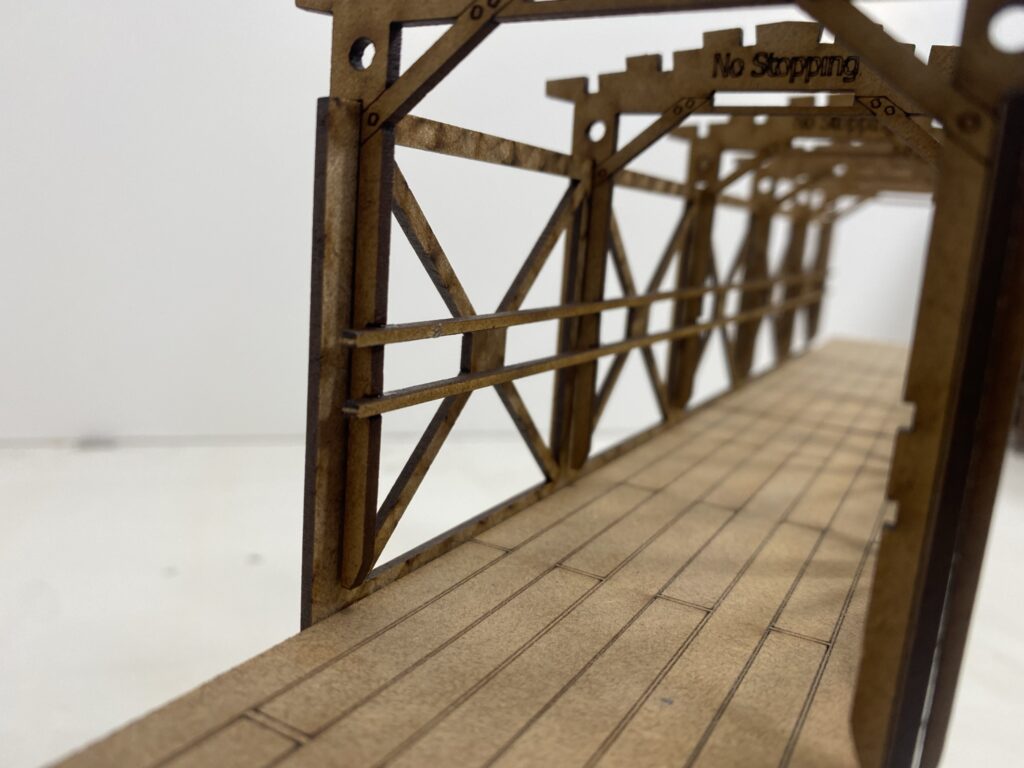
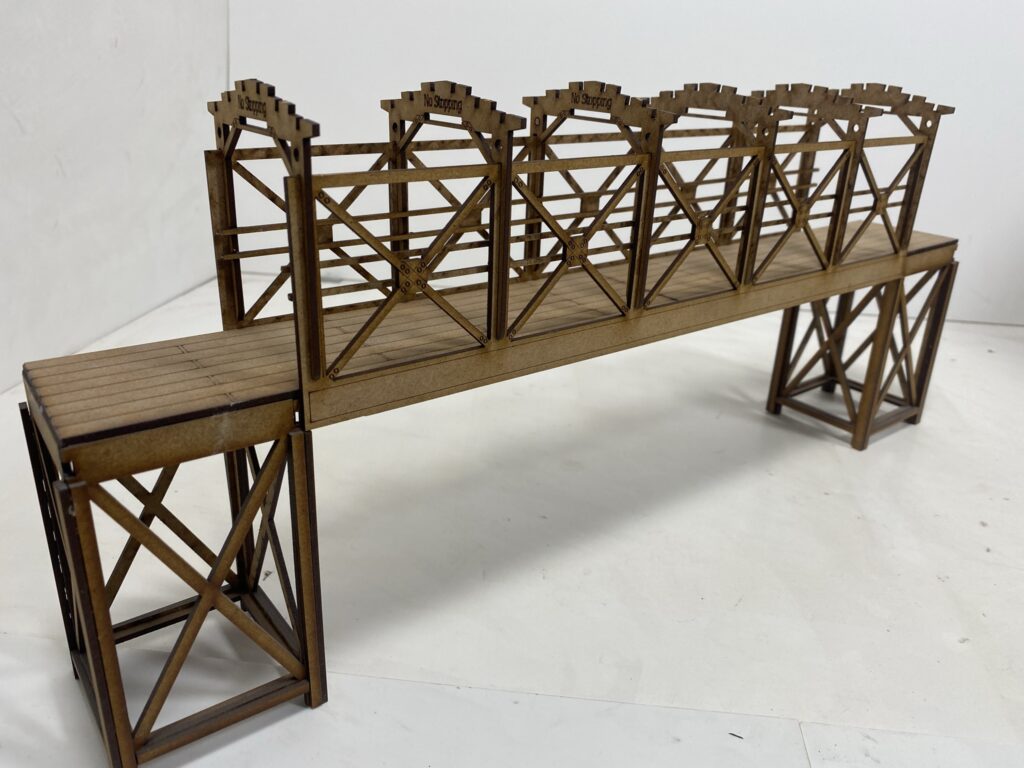
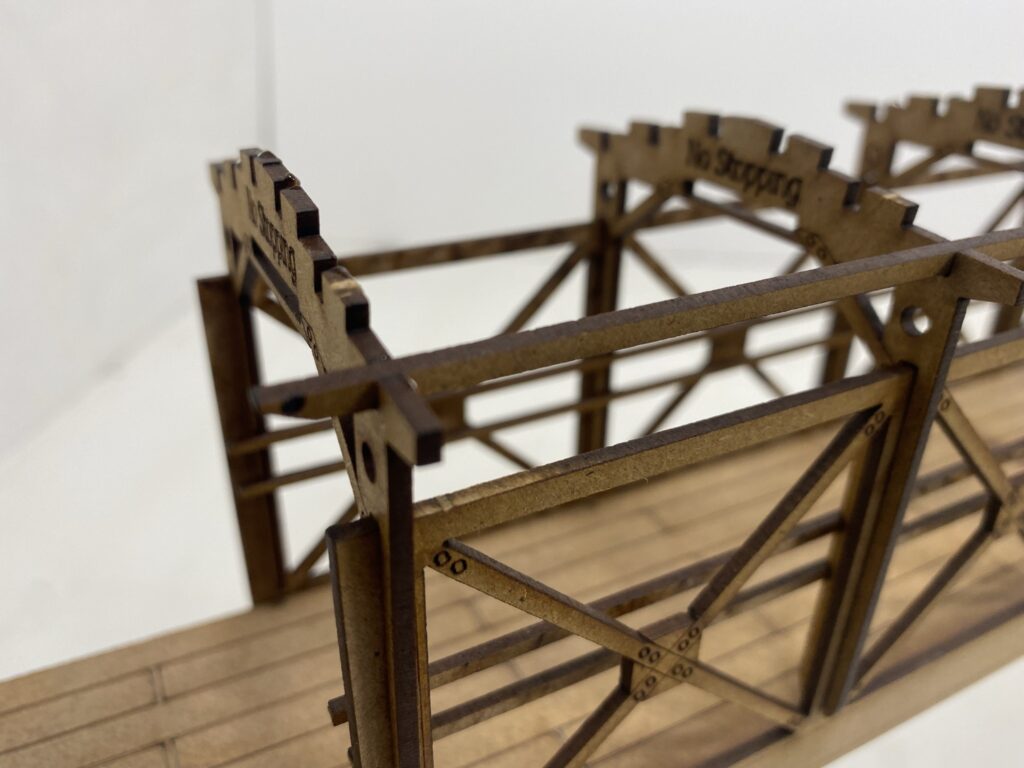
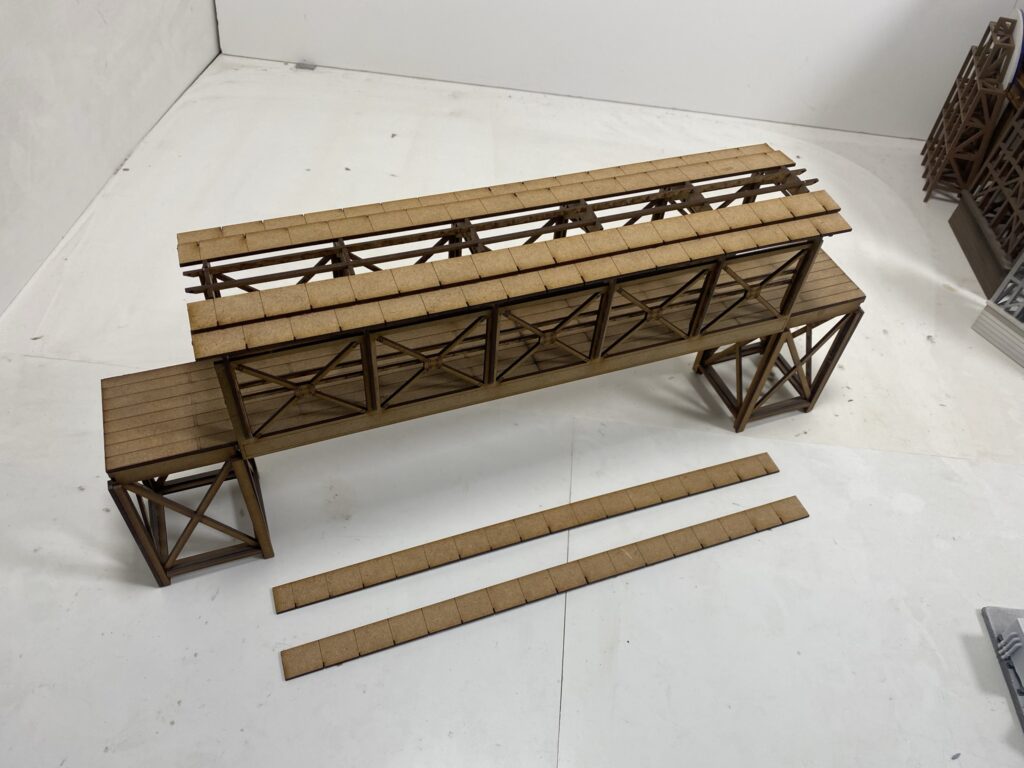
Next we need to add the 6 roof supports, you will notice they say No Stopping on one side. We will stick them on so that the words face outwards from the bridge.
Each support goes over the bridge sides where the etched lines are
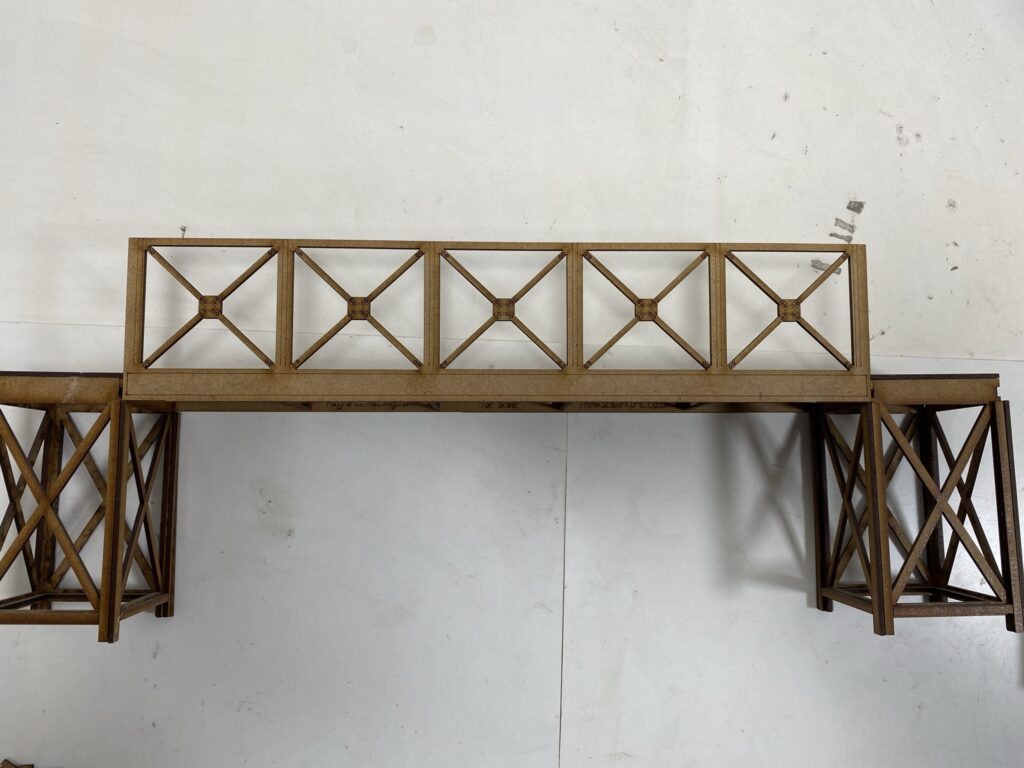
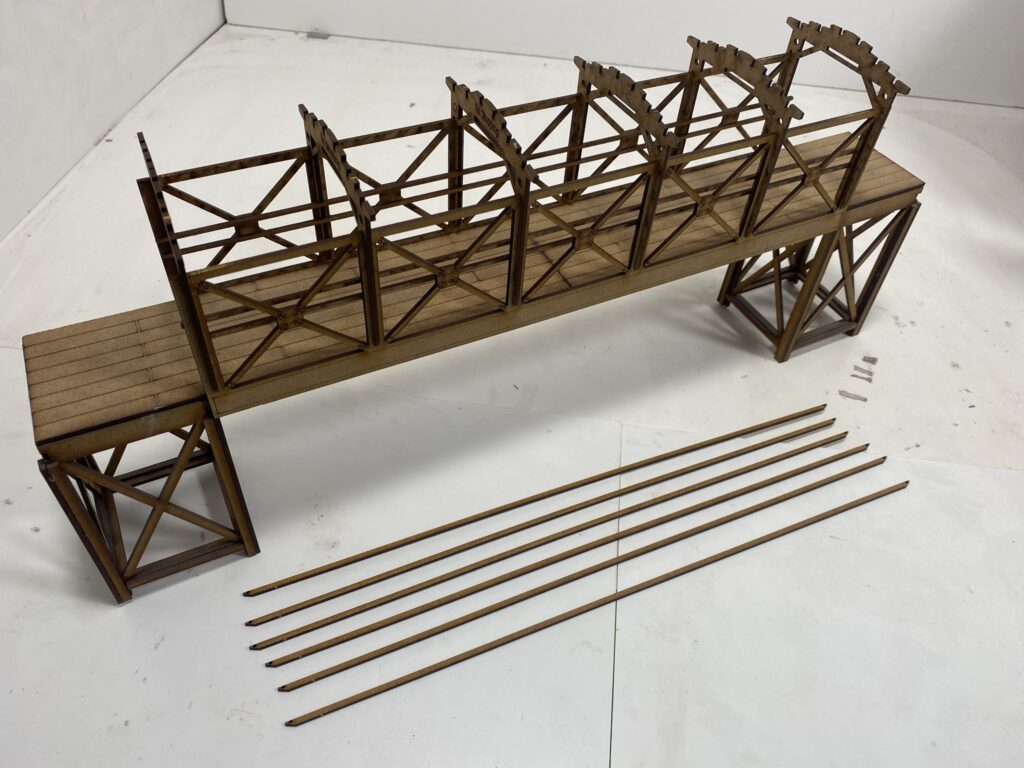
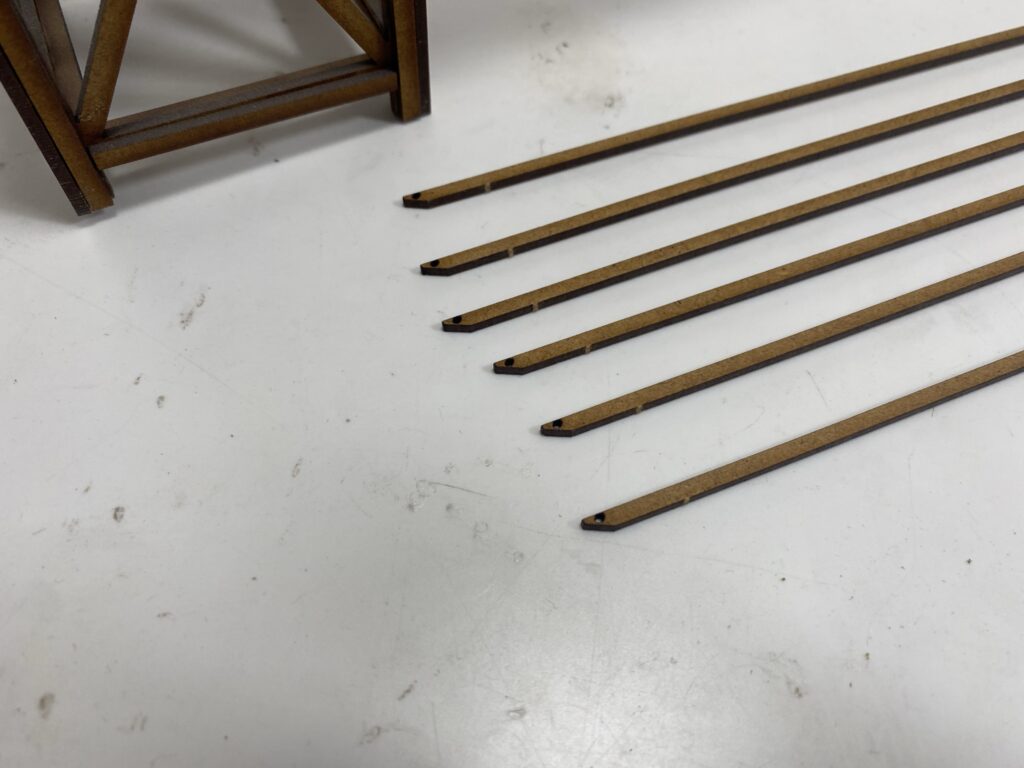
Once all 6 are done we can now do the hand rails. you will need 4 there are 5 in the kit in case you brake one. they have square ends don’t get them confused with the roof ones that have a tapered end.
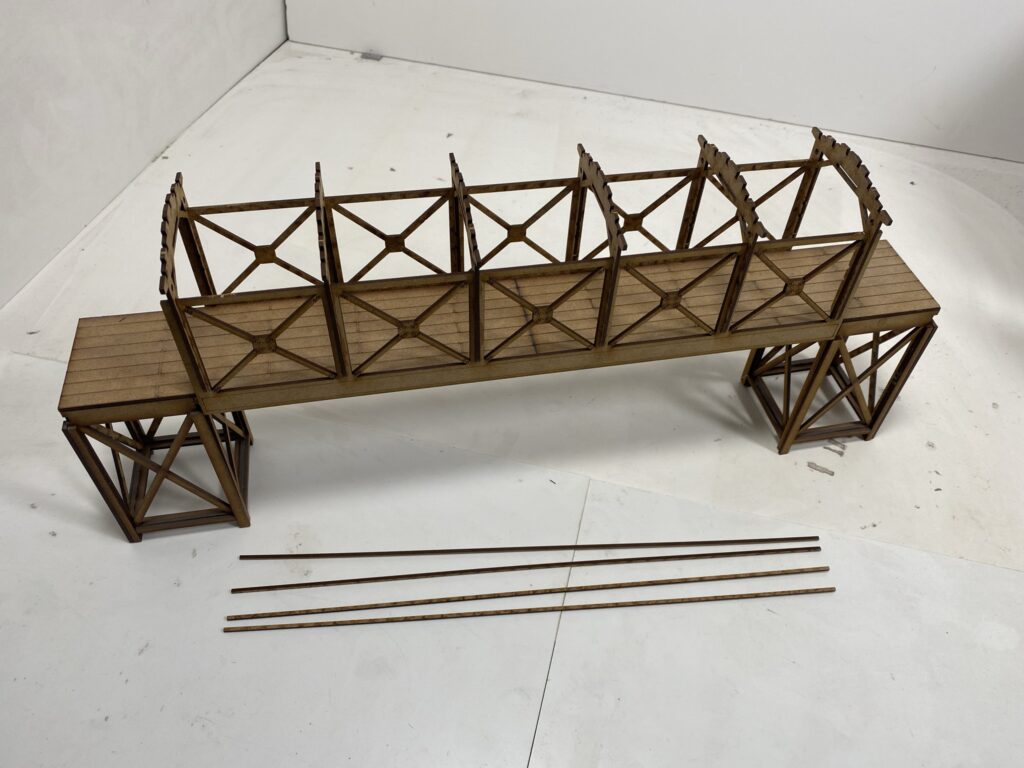
You could choose to just do one of them if you wanted. Put them on so that they stick out each end of the bridge an equal amount. Do both sides.
Next we will add the 6 roof supports, they have tapered ends
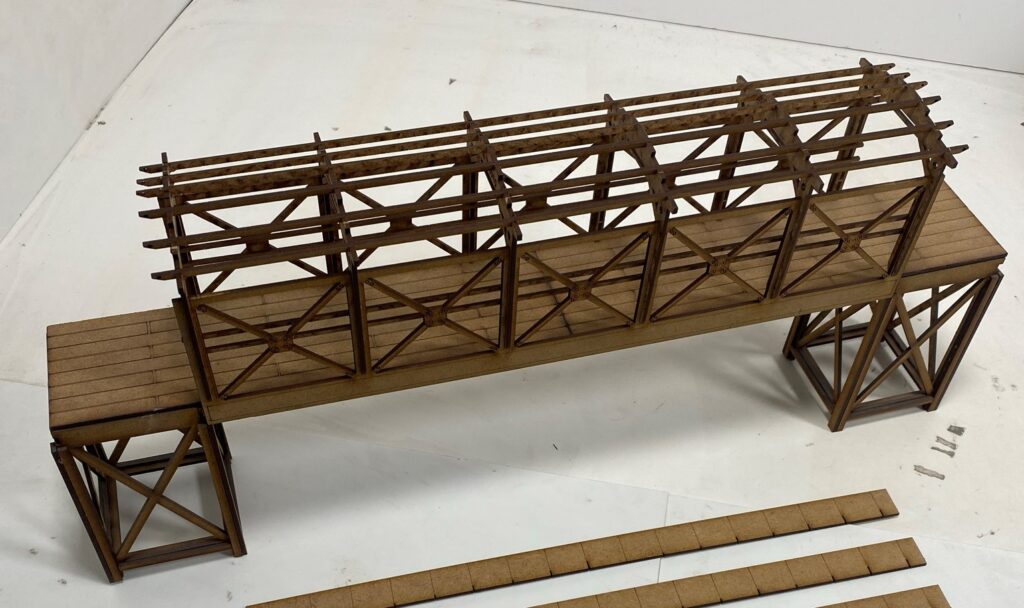
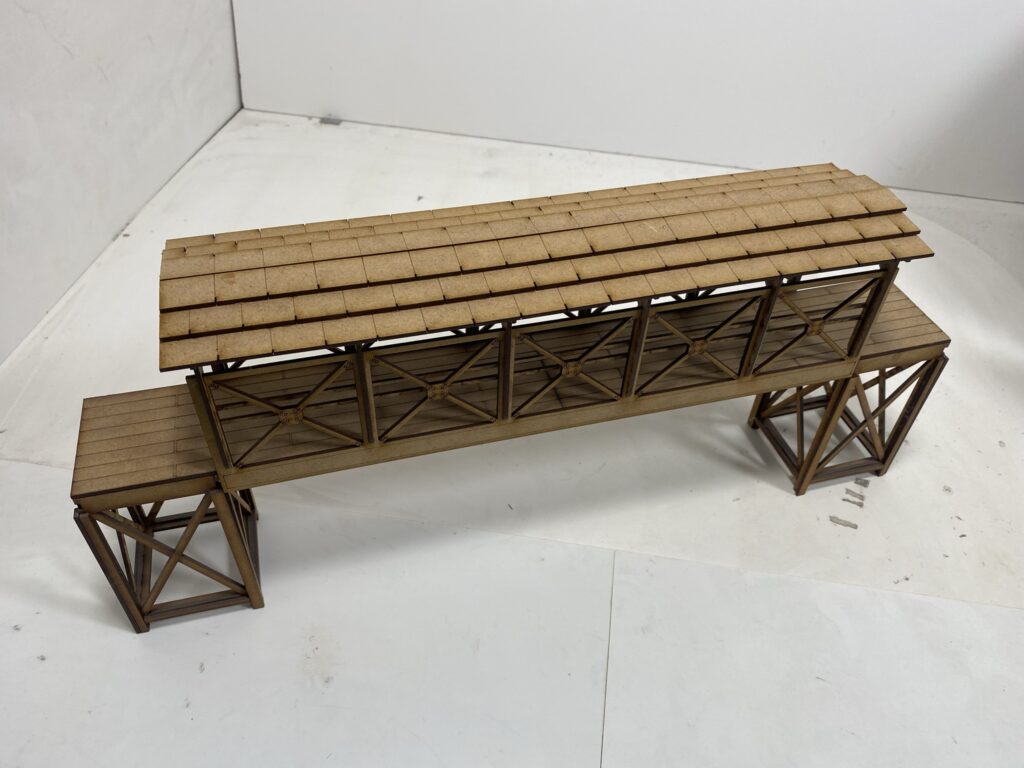
Next we need to add the 6 roof tiles, you will have 4 with equal sized tiles all the way along and 2 with half tiles at each end.
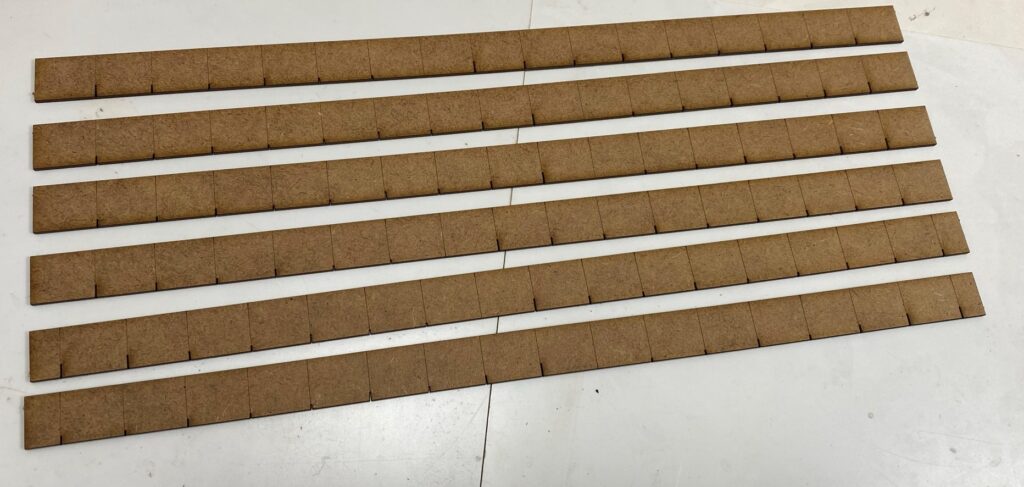
First we will add the bottom tiles on each side using 2 of the 4 full tiled pieces.
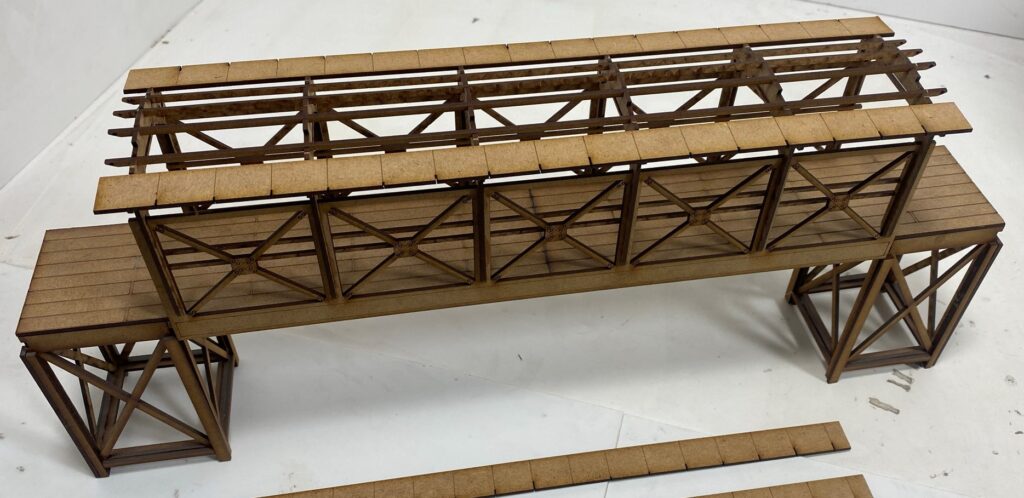
Next we will add the middle tiles using the 2 pieces with half tiles at each end.
Lastly we will add the last 2 tiles, make sure they are close together, so there is no gap. we don’t want your spectators getting wet when it rains.
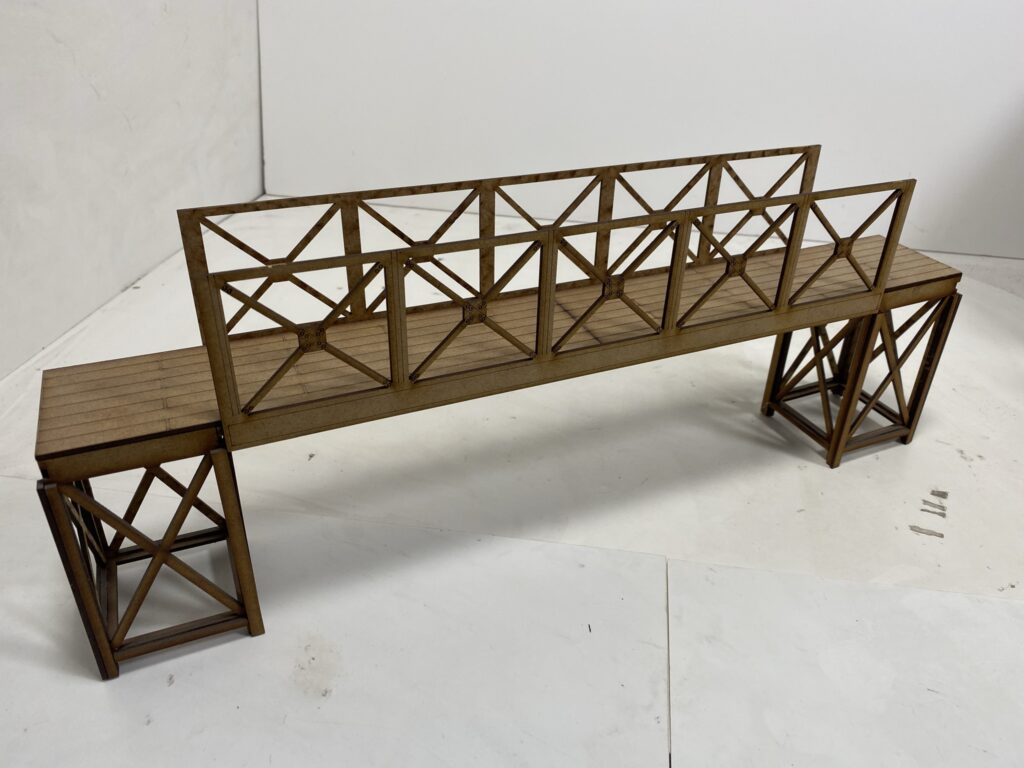
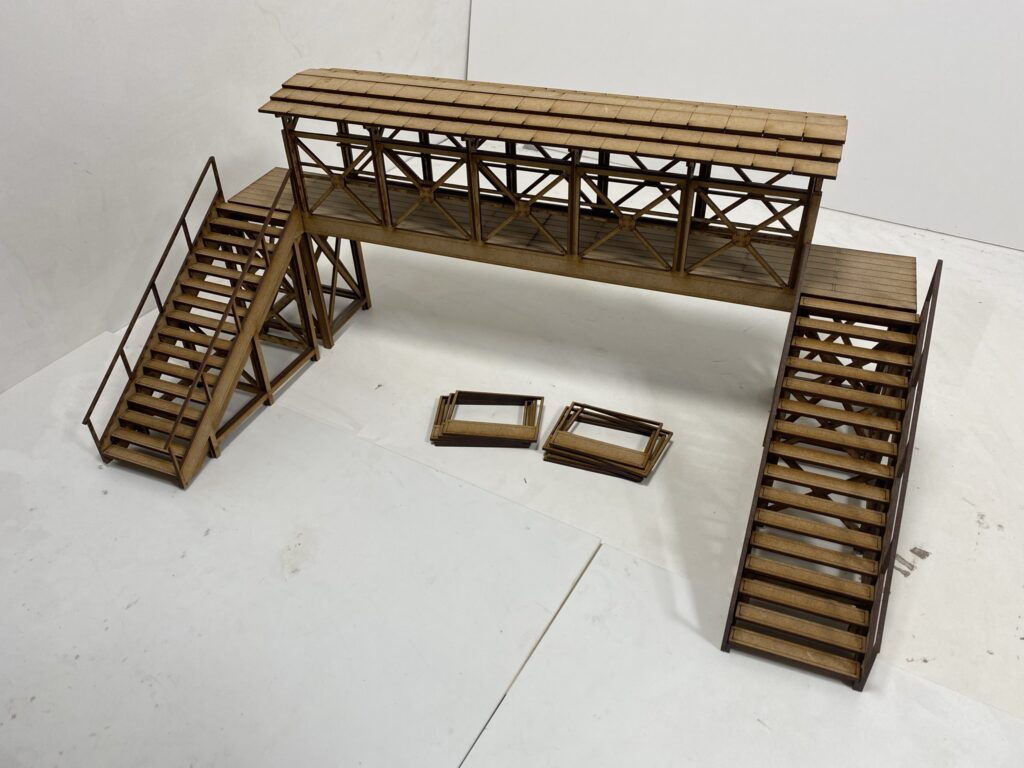
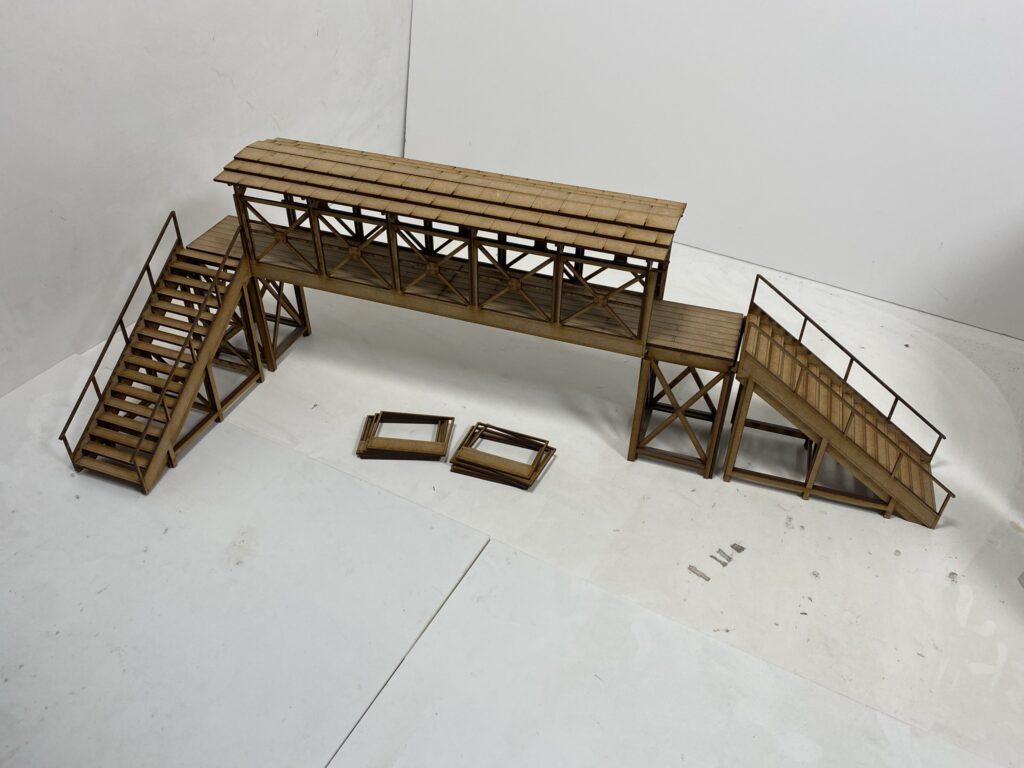
Now the fun bit, deciding on the stair layout. As your aware this footbridge is multi functional for your convenience so this would be the time to place it on your layout and see which way you want the stairs. (Please note we do sell a double stair pack so if you wanted two sets of stairs each side. Product #034)
Once you have decided where you want your stairs you can gently push them into the female lug holes on any of the 3 sides. Now we can fit and secure the handrails. You have several different sizes so dry fit them to work out which ones you need. You will find the handrails will sit on top of the tower decorative strips we just fitted. If you want to keep this setup flexible use the smallest amount of glue or even Blu Tack on the handrails so you can remove them when you feel the need to re-arrange your layout. The stair structures are more than happy pushed into the lugs and not glued if the flexible option is the way you want to go.
CONGRATULATIONS!!!!!!! We hope you enjoyed creating your Bridge, please make sure to send us pictures of it on your track to marketing@magneticracing.com, as we love to see where they’re living and also tag us on one of the many social media platforms
Instagram/Facebook: @magneticracing
Twitter: @magnetic_racing)
Instagram/Facebook/Twitter: @thinkscalextric
Thank you again for purchasing from us.
Any feedback, good or not so good, is welcome. If there is a building you would like to see in our range please do let us know.
feedback@magneticracing.com