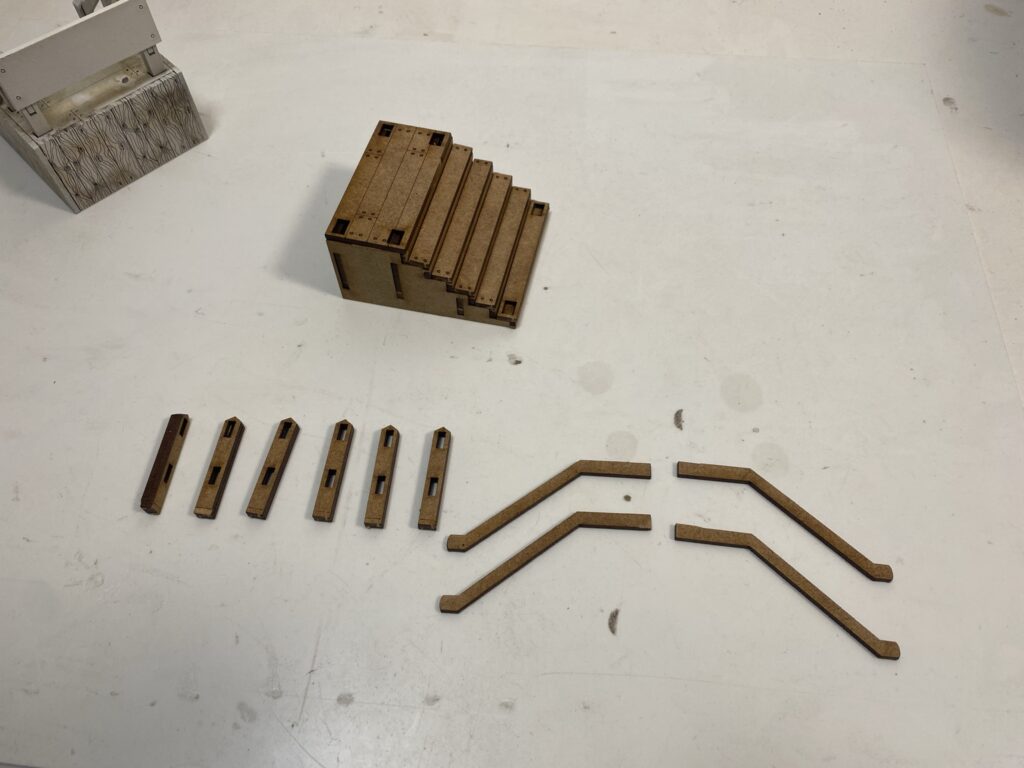
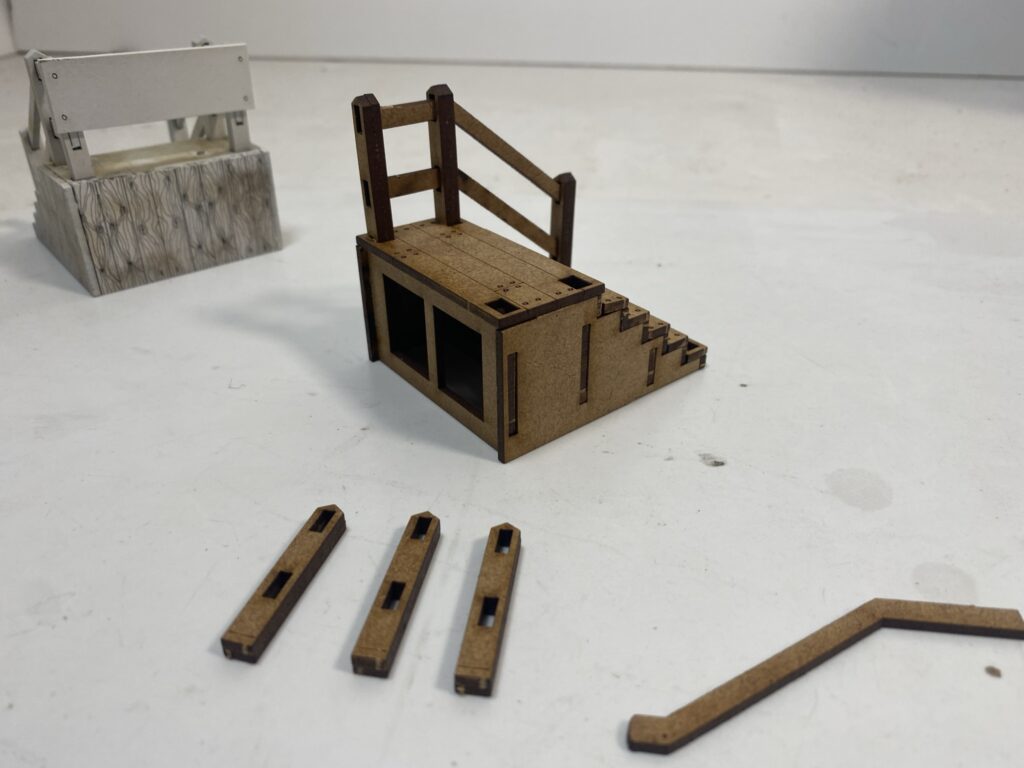
Take your time getting the pieces out of the frames, some of them are delicate. Once they are all out use a little bit of light sand paper of small file to flatten the little nodes left behind.
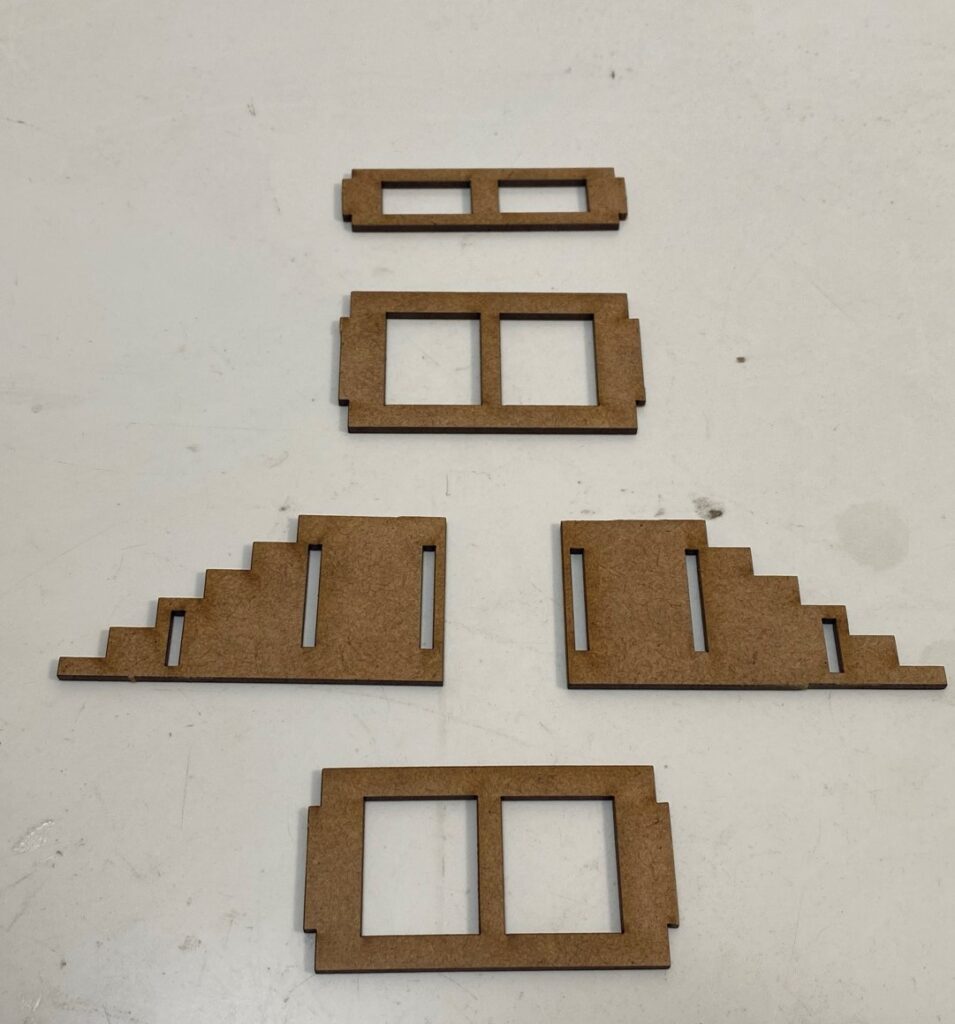
Start with these 5 pieces, always dry fit to check the fit before applying glue. especially if you have painted the parts first you may need to rub down the parts that go into holes.
![](https://magneticracing.com/wp-content/uploads/2022/01/IMG_8546-955x1024.jpeg)
![](https://magneticracing.com/wp-content/uploads/2022/01/IMG_8547-1024x768.jpeg)
![](https://magneticracing.com/wp-content/uploads/2022/01/IMG_8548-1024x768.jpeg)
![](https://magneticracing.com/wp-content/uploads/2022/01/IMG_8549-1024x768.jpeg)
![](https://magneticracing.com/wp-content/uploads/2022/01/IMG_8550-1024x768.jpeg)
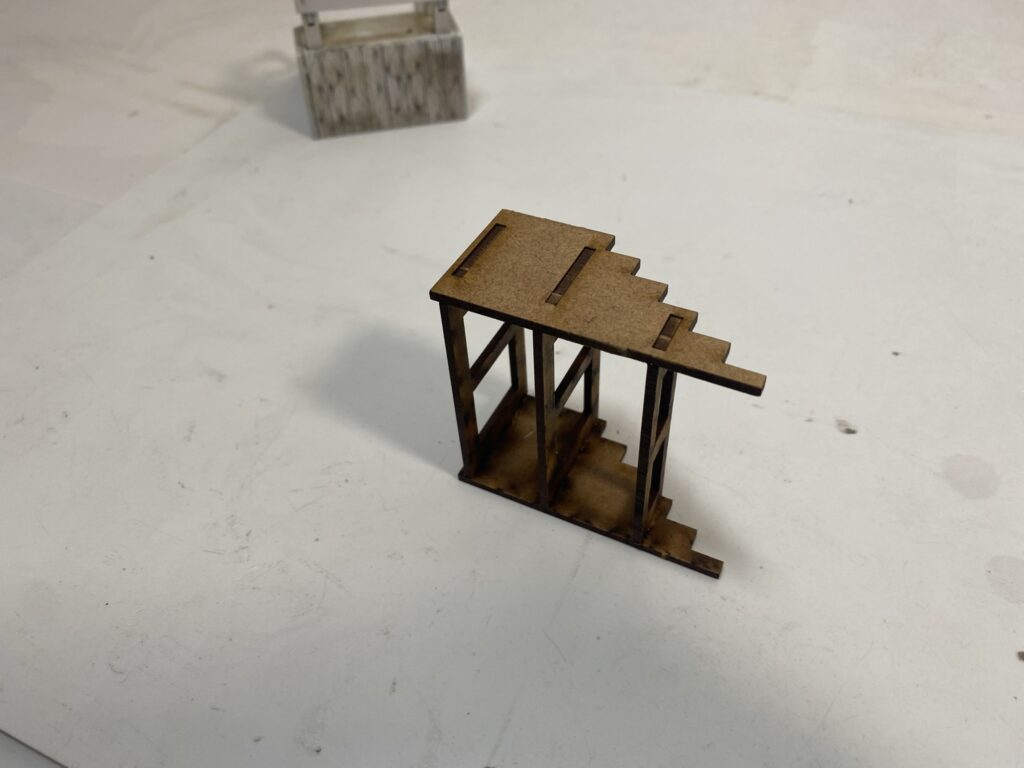
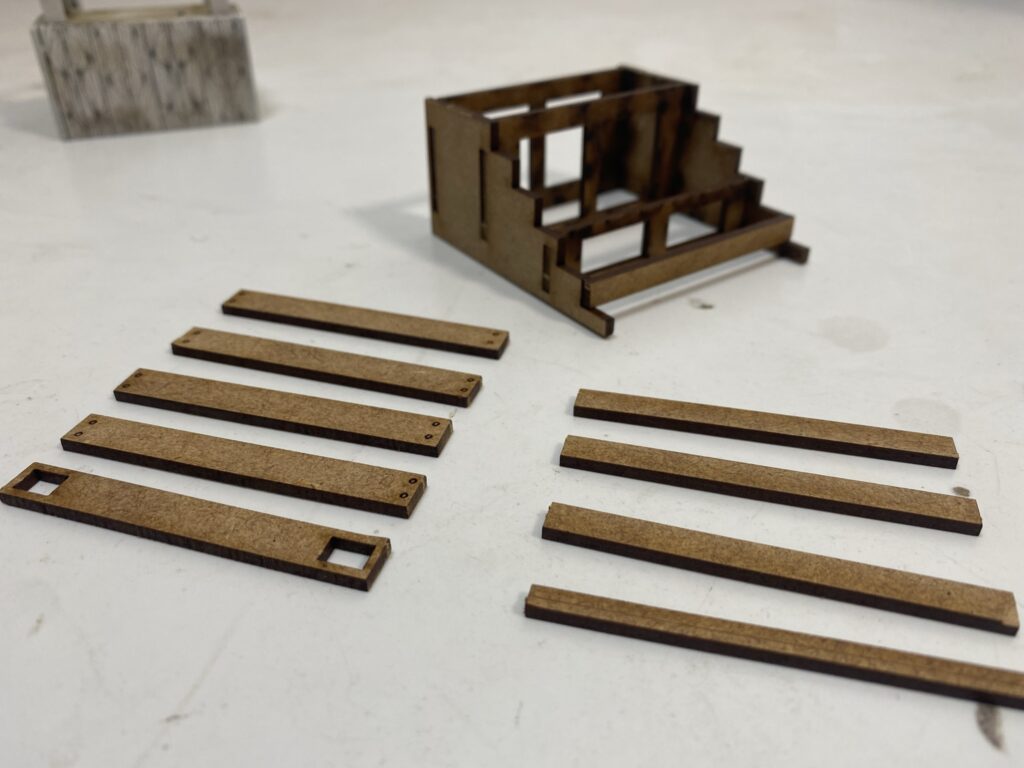
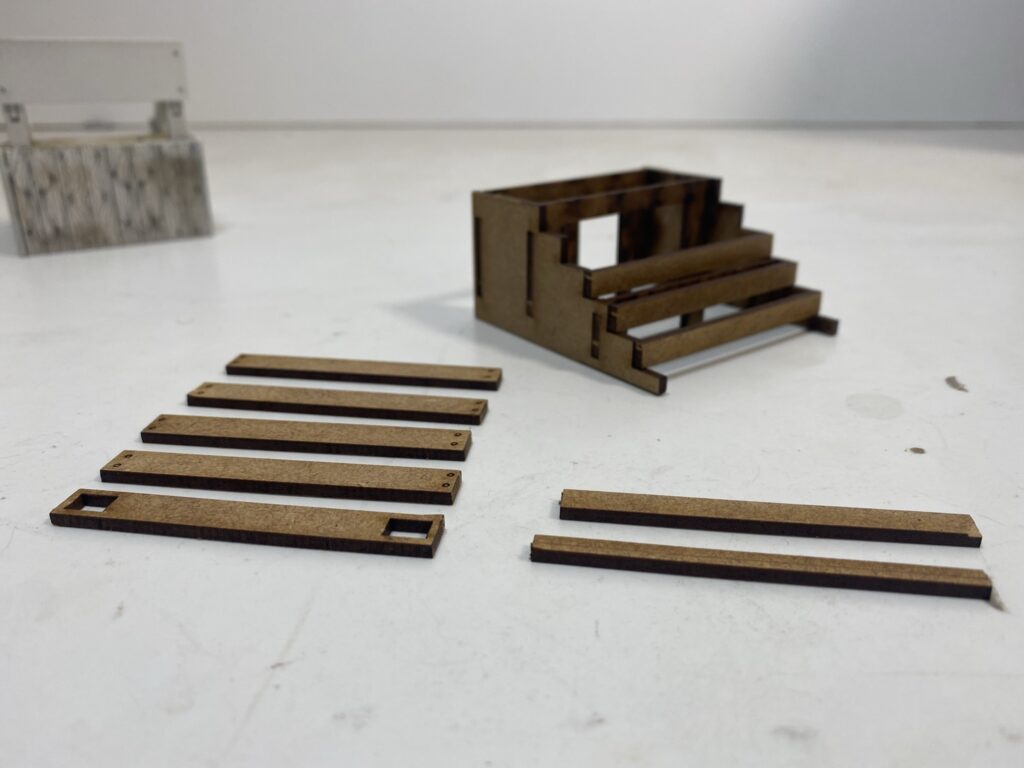
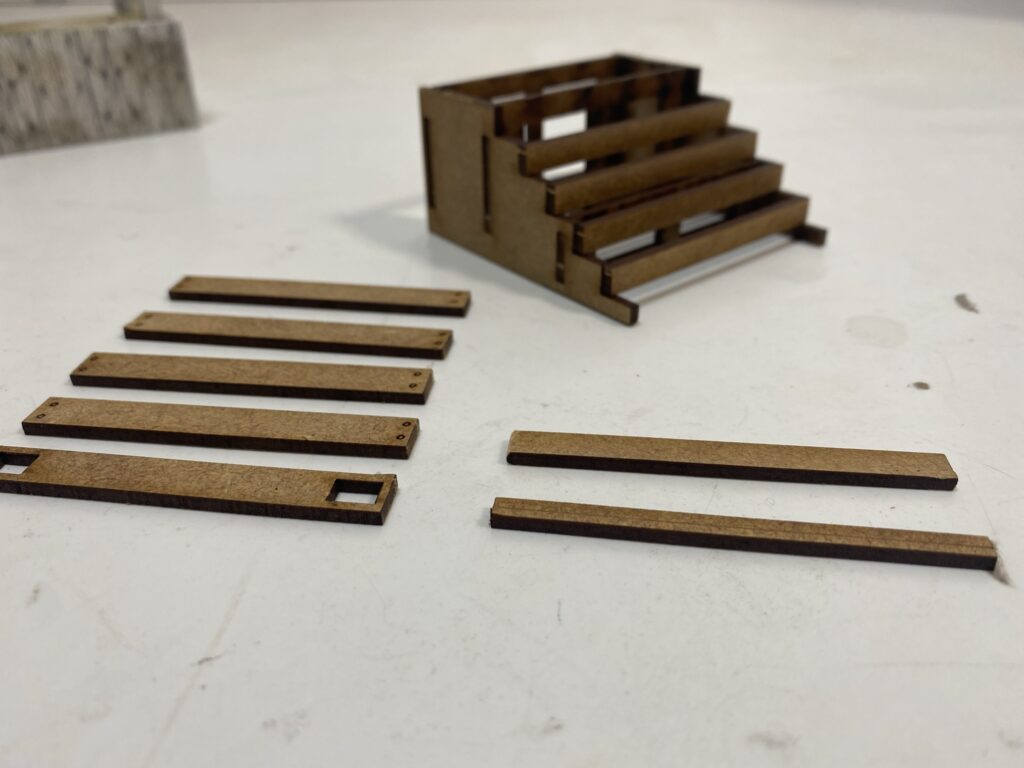
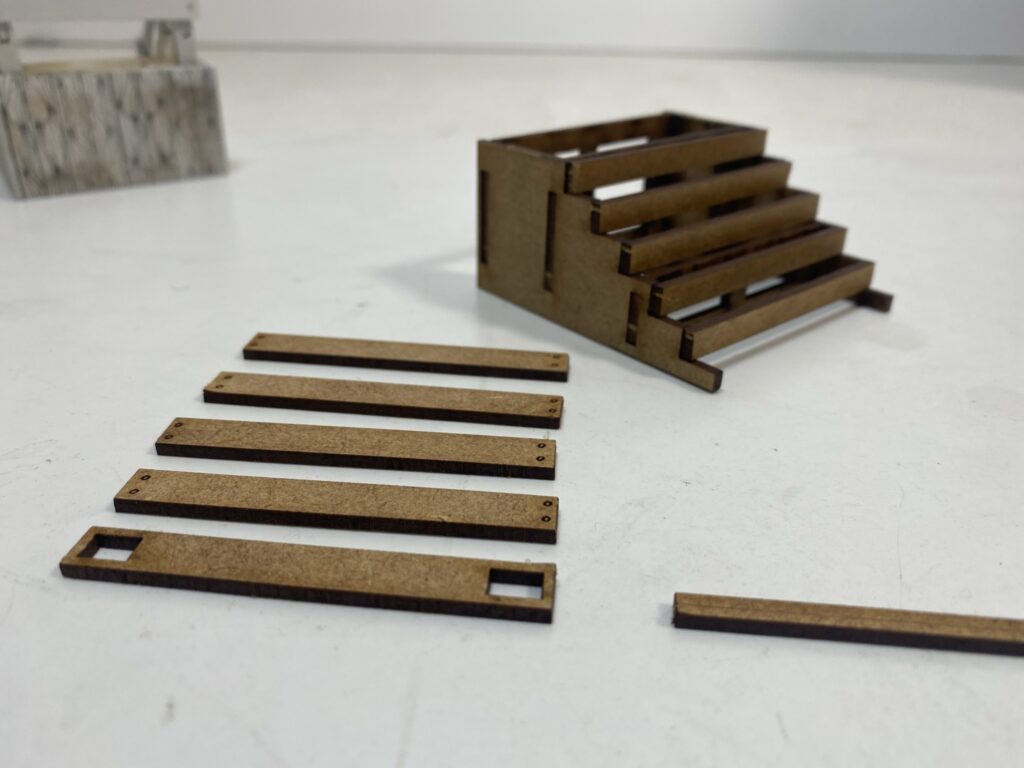
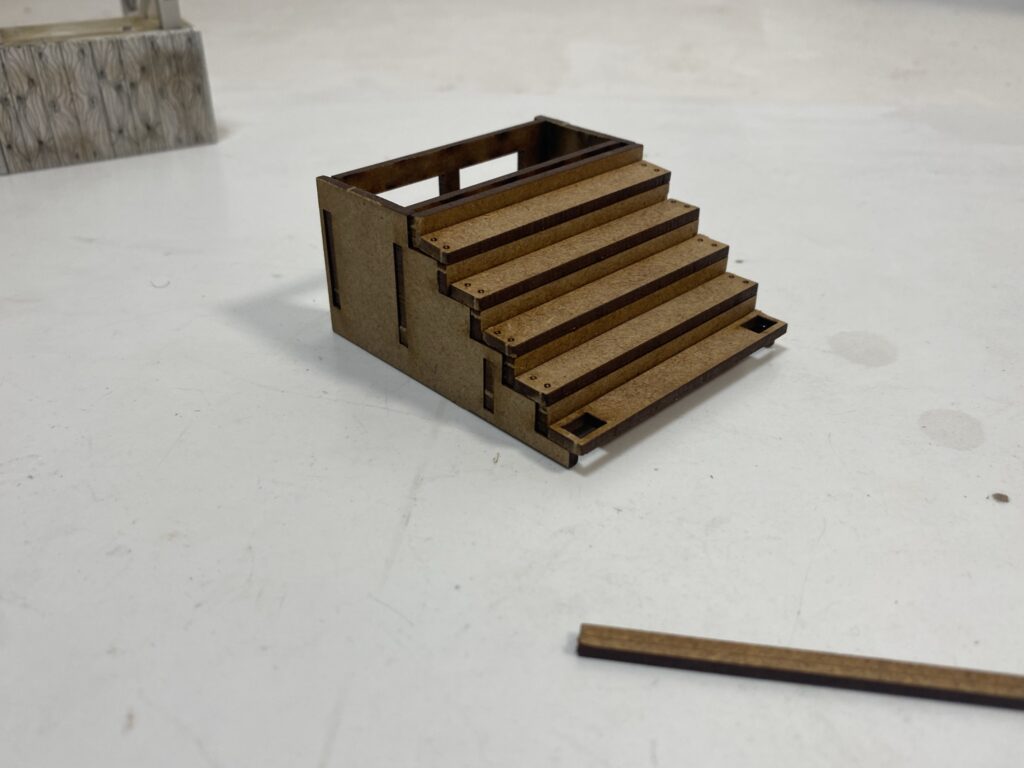
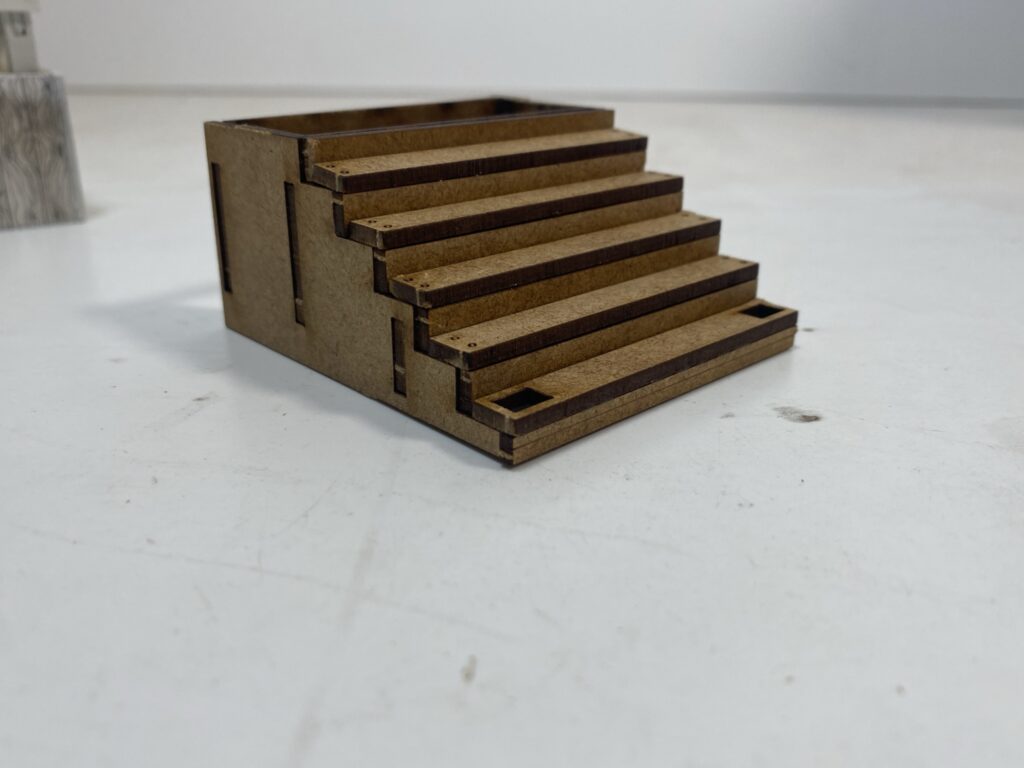
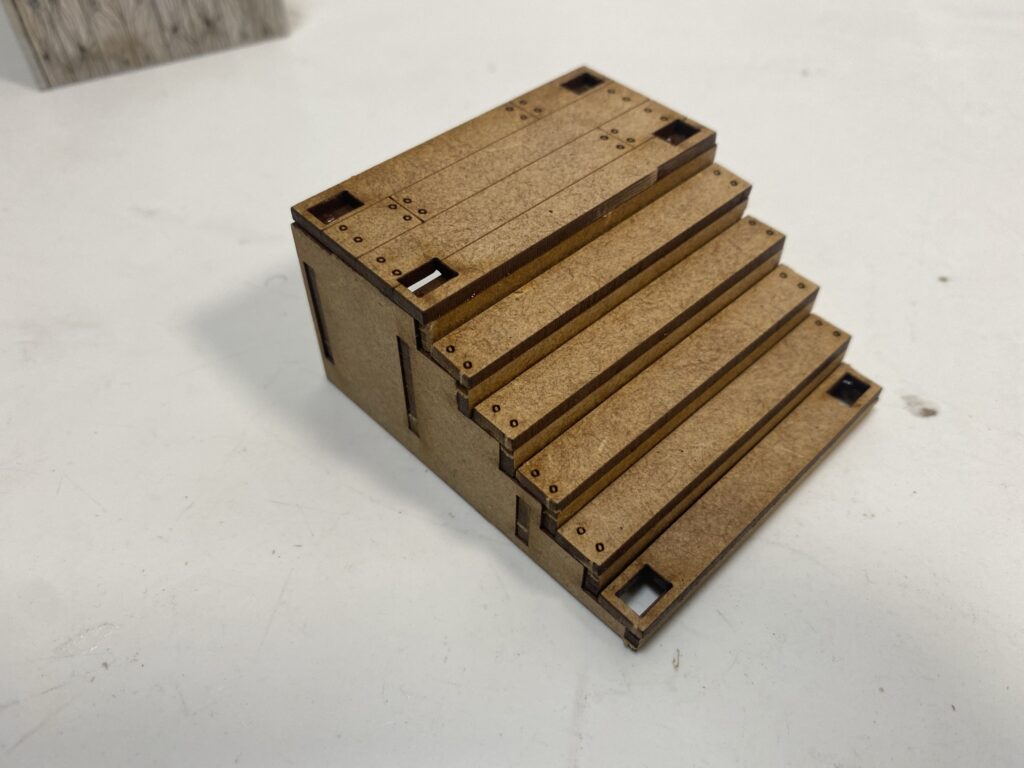
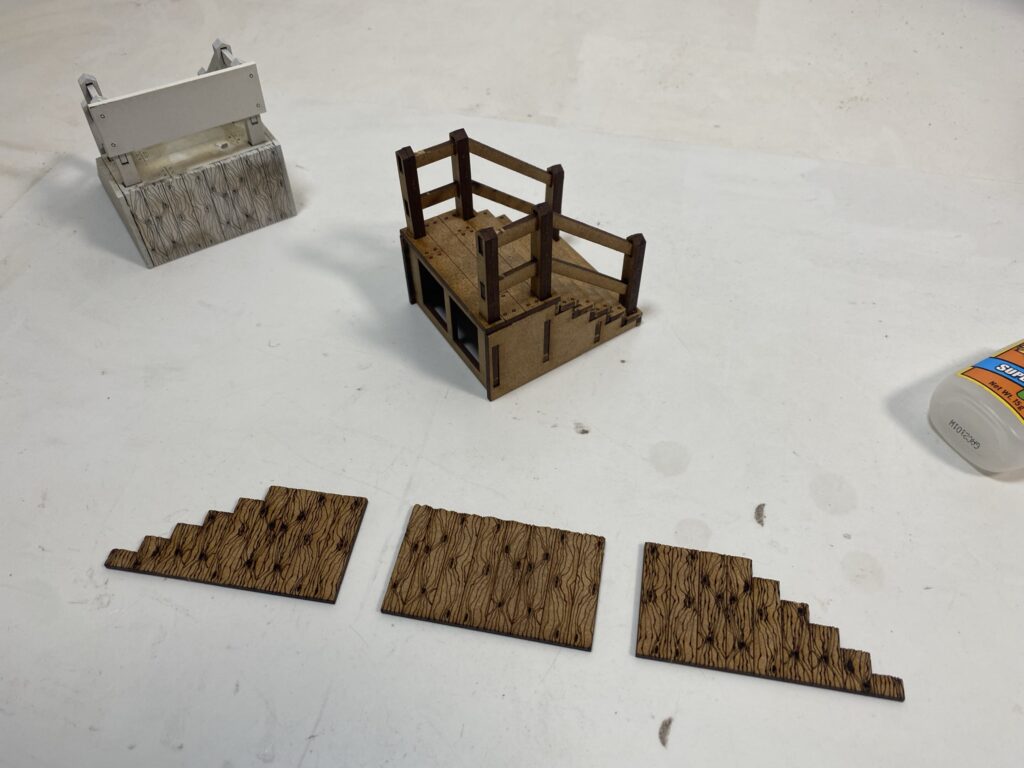
There are 5 steps and 5 large kick boards and a slightly smaller one with an etched line along it. The pictures only shows 4 kicks boards there are 5 in the kits.
![](https://magneticracing.com/wp-content/uploads/2022/01/IMG_8551-1024x768.jpeg)
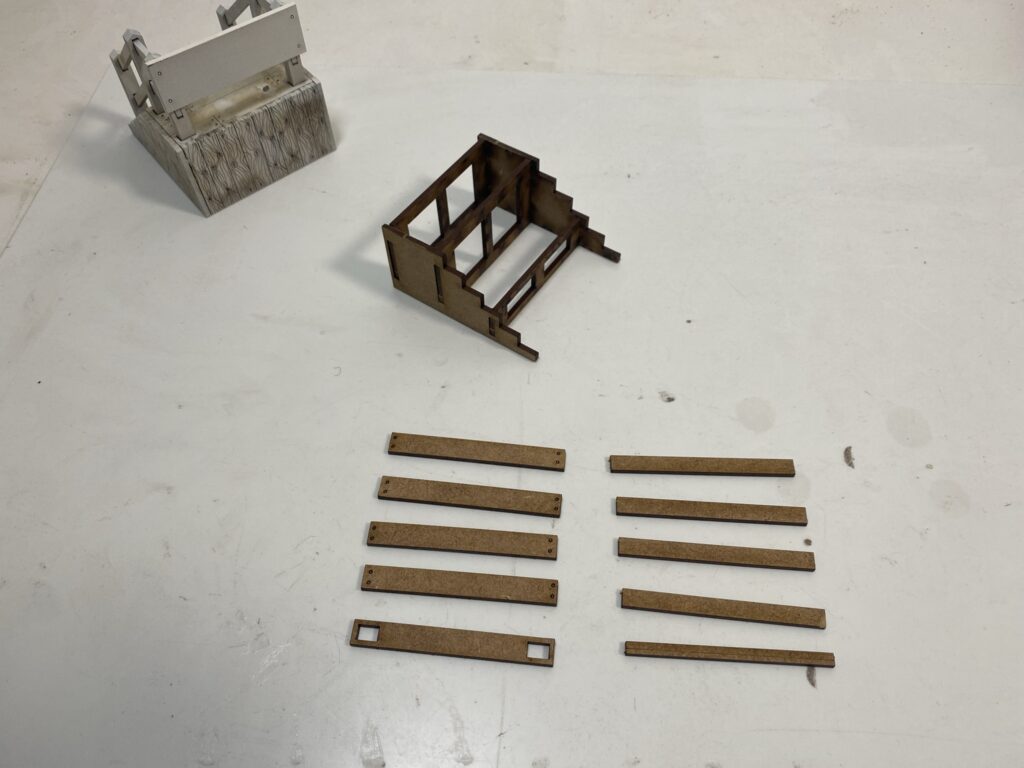
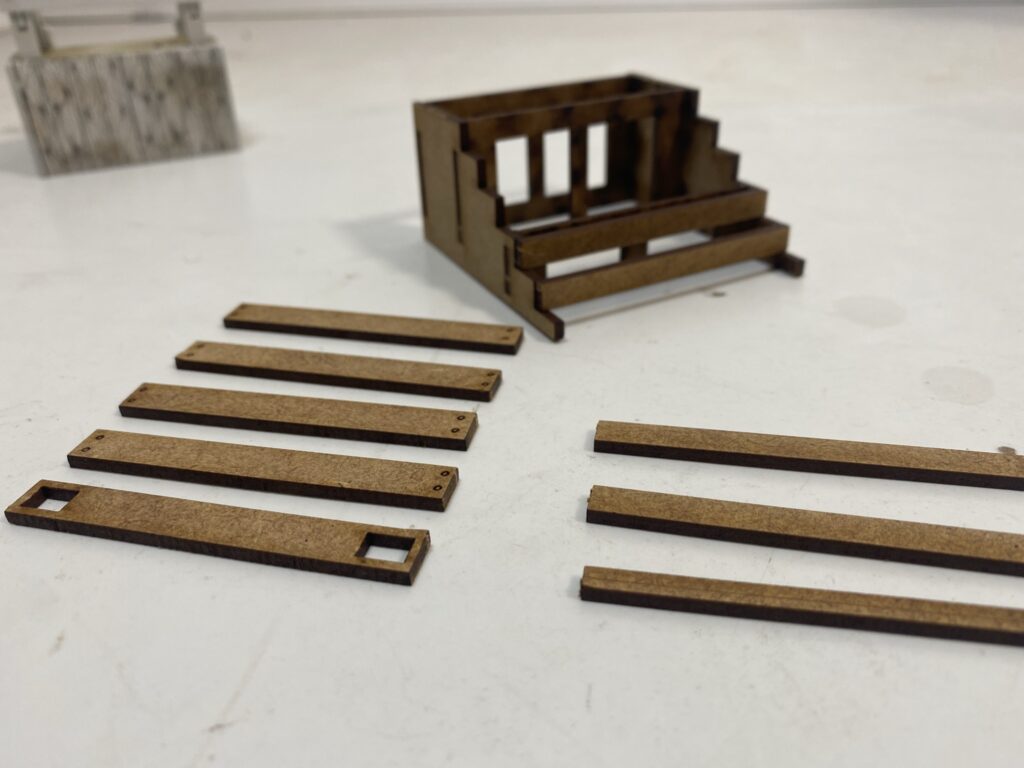
Start with the kick boards, we will do the small one last. after we have done the steps.
![](https://magneticracing.com/wp-content/uploads/2022/01/IMG_8552-1024x768.jpeg)
![](https://magneticracing.com/wp-content/uploads/2022/01/IMG_8553-1024x768.jpeg)
![](https://magneticracing.com/wp-content/uploads/2022/01/IMG_8554-1024x768.jpeg)
![](https://magneticracing.com/wp-content/uploads/2022/01/IMG_8561-1024x768.jpeg)
![](https://magneticracing.com/wp-content/uploads/2022/01/IMG_8562-1024x768.jpeg)
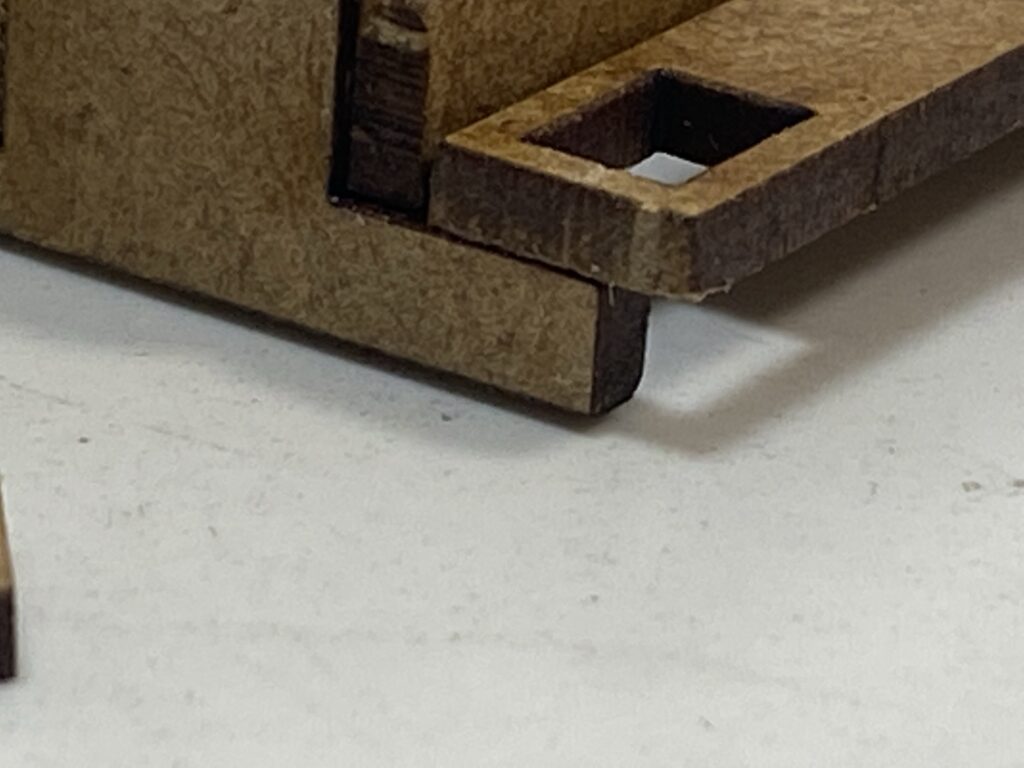
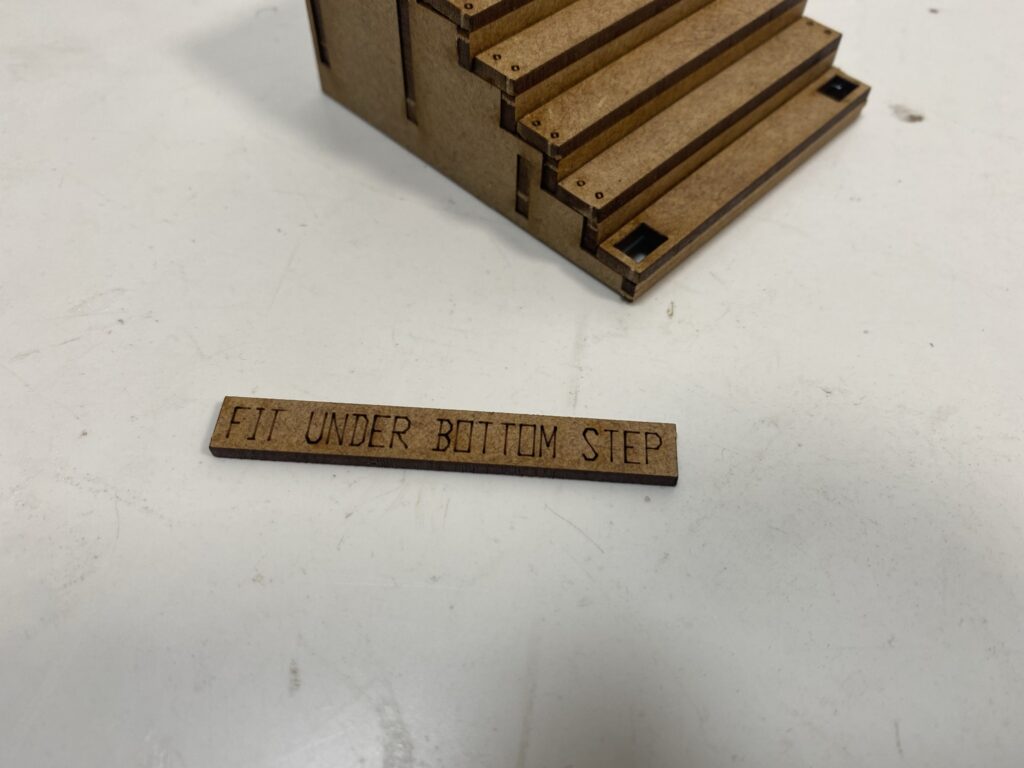
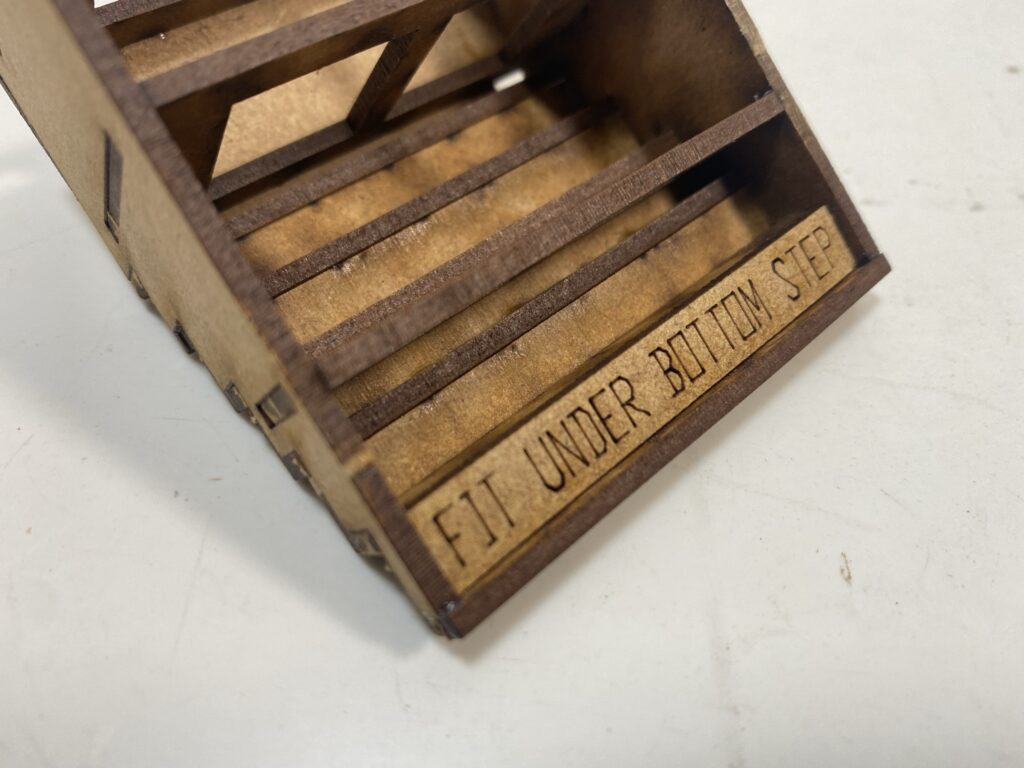
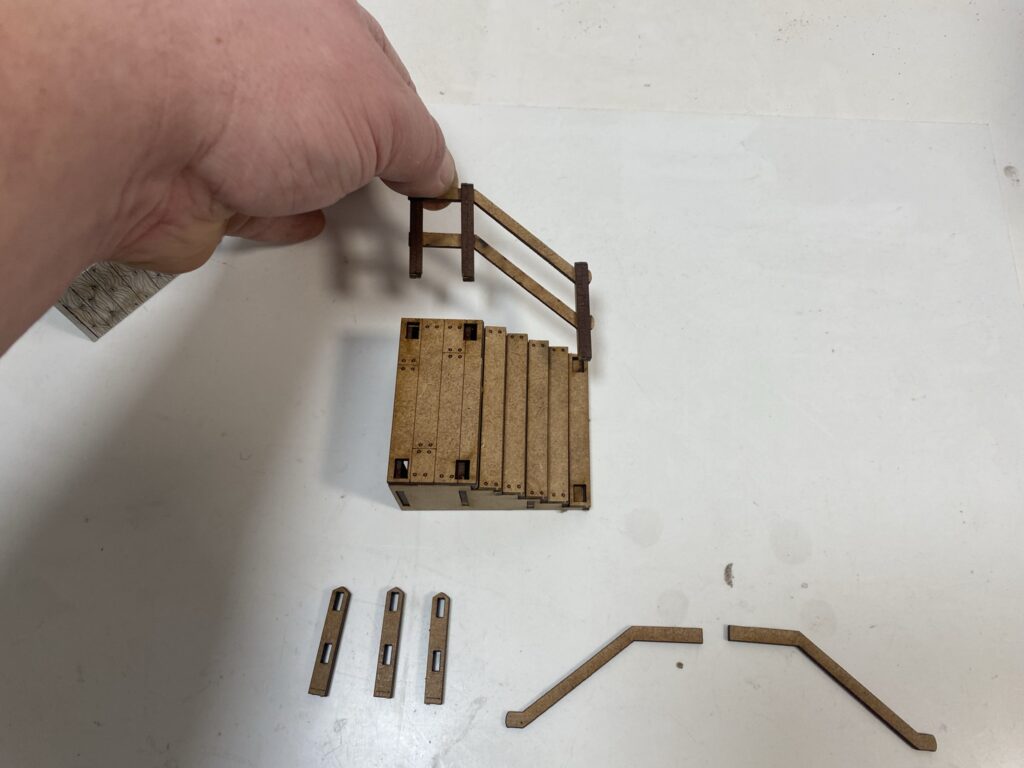
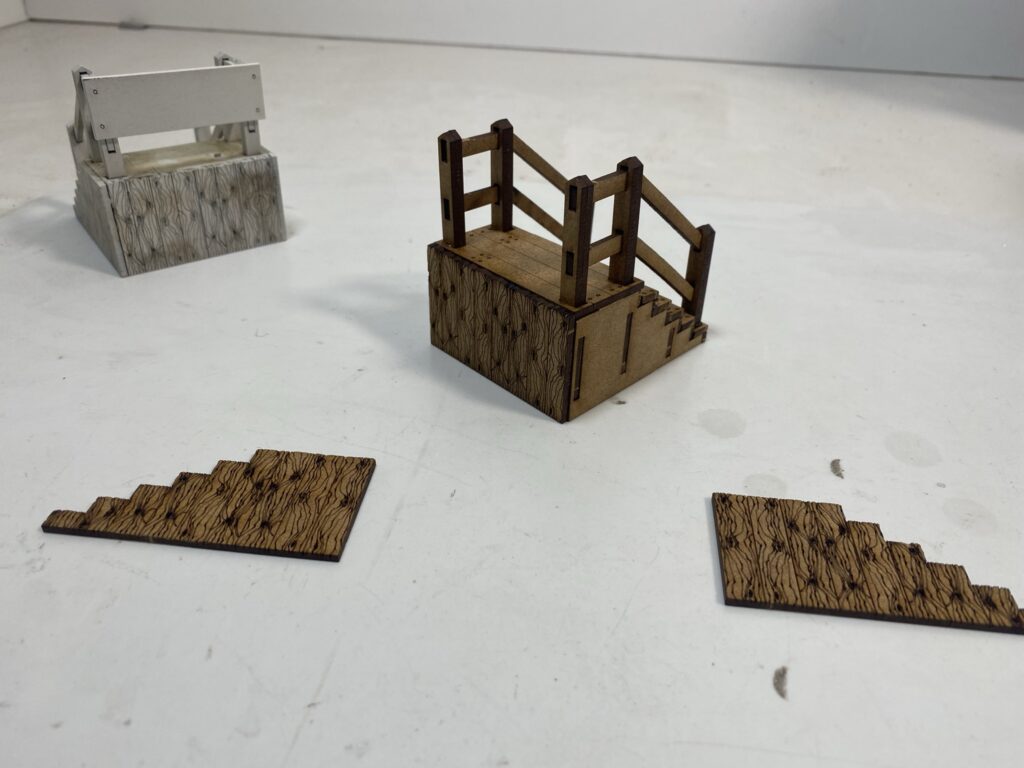
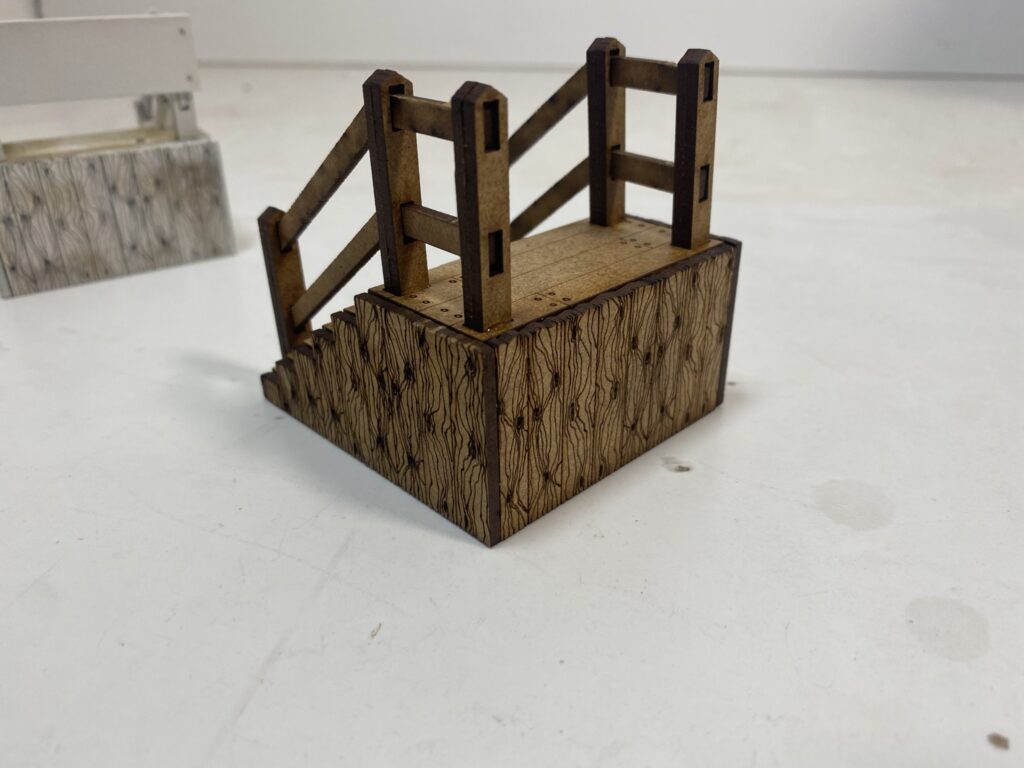
The bottom step is the one with the fence holes and it will over hang like second picture below.
![](https://magneticracing.com/wp-content/uploads/2022/01/IMG_8563-1024x768.jpeg)
![](https://magneticracing.com/wp-content/uploads/2022/01/IMG_8564-1024x768.jpeg)
![](https://magneticracing.com/wp-content/uploads/2022/01/IMG_8565-1024x768.jpeg)
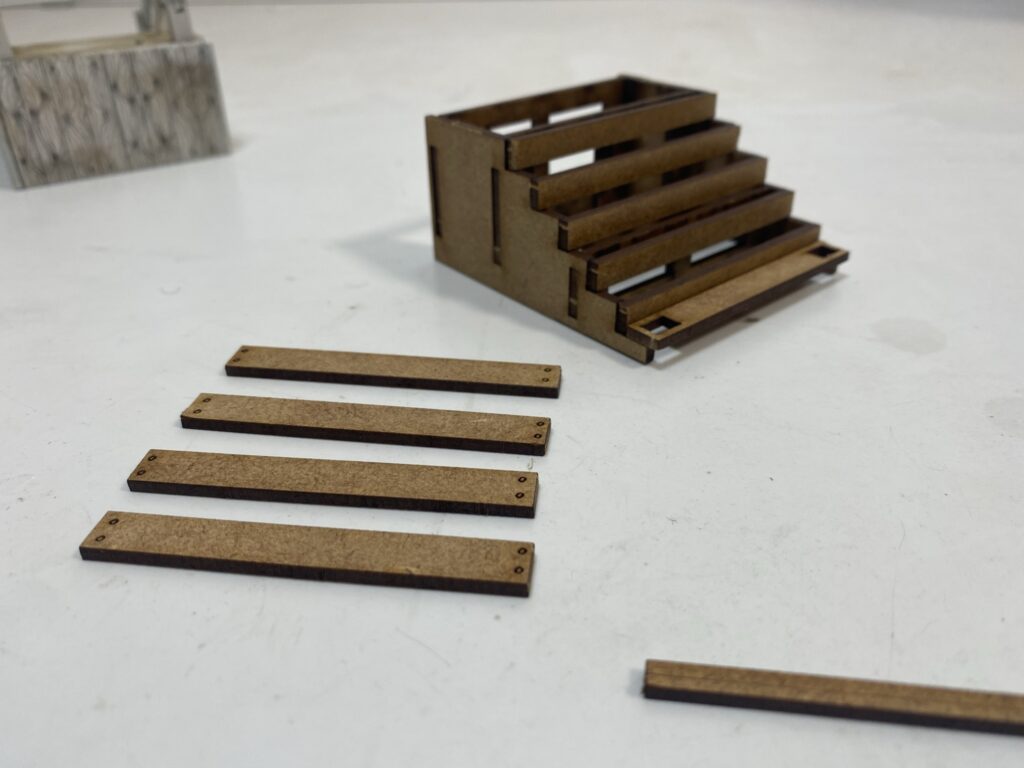
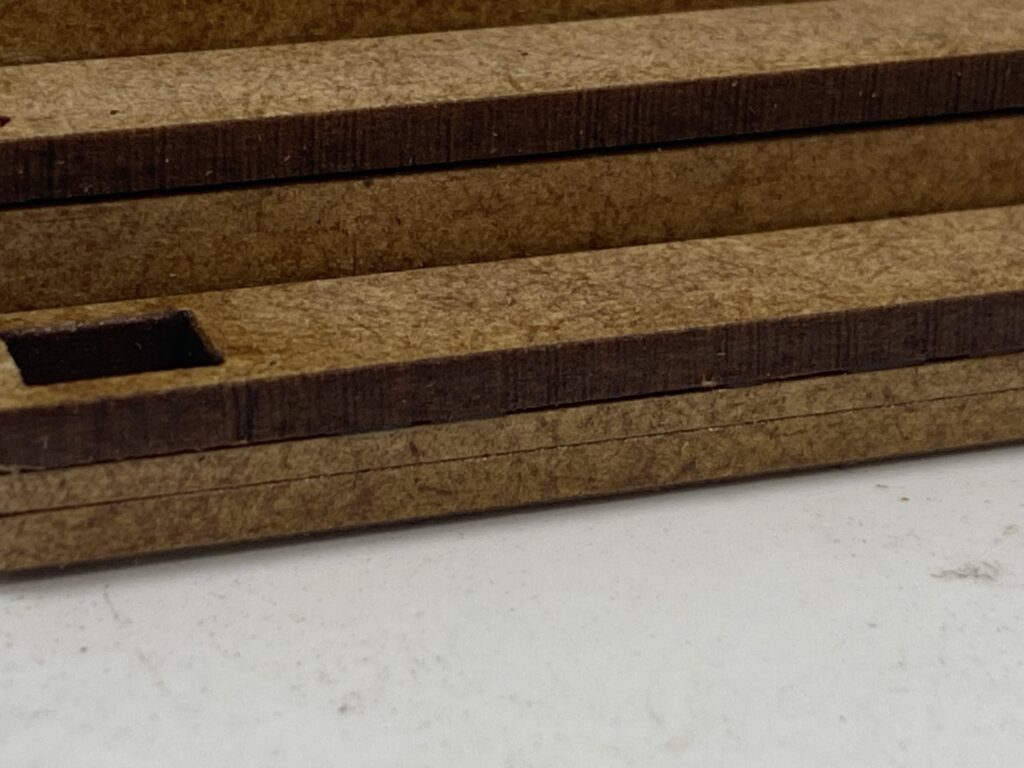
Now we can add the little kick board.
![](https://magneticracing.com/wp-content/uploads/2022/01/IMG_8566-1024x768.jpeg)
![](https://magneticracing.com/wp-content/uploads/2022/01/IMG_8567-1024x768.jpeg)
![](https://magneticracing.com/wp-content/uploads/2022/01/IMG_8568-1024x768.jpeg)
![](https://magneticracing.com/wp-content/uploads/2022/01/IMG_8569-1024x768.jpeg)
![](https://magneticracing.com/wp-content/uploads/2022/01/IMG_8570-1024x768.jpeg)
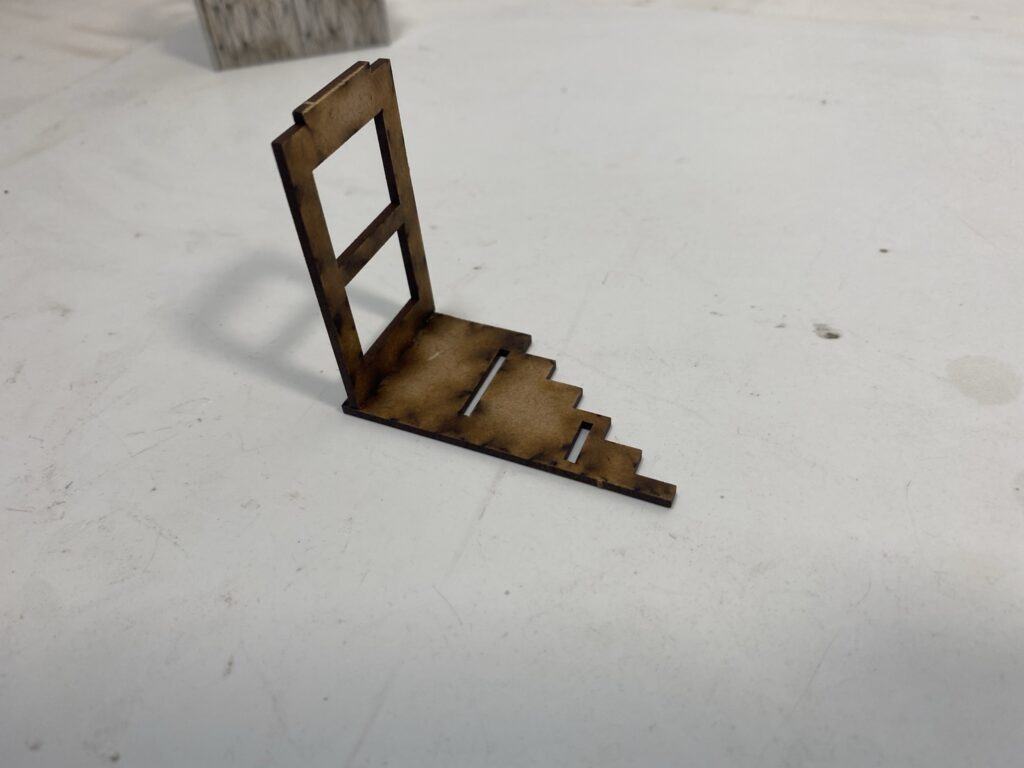
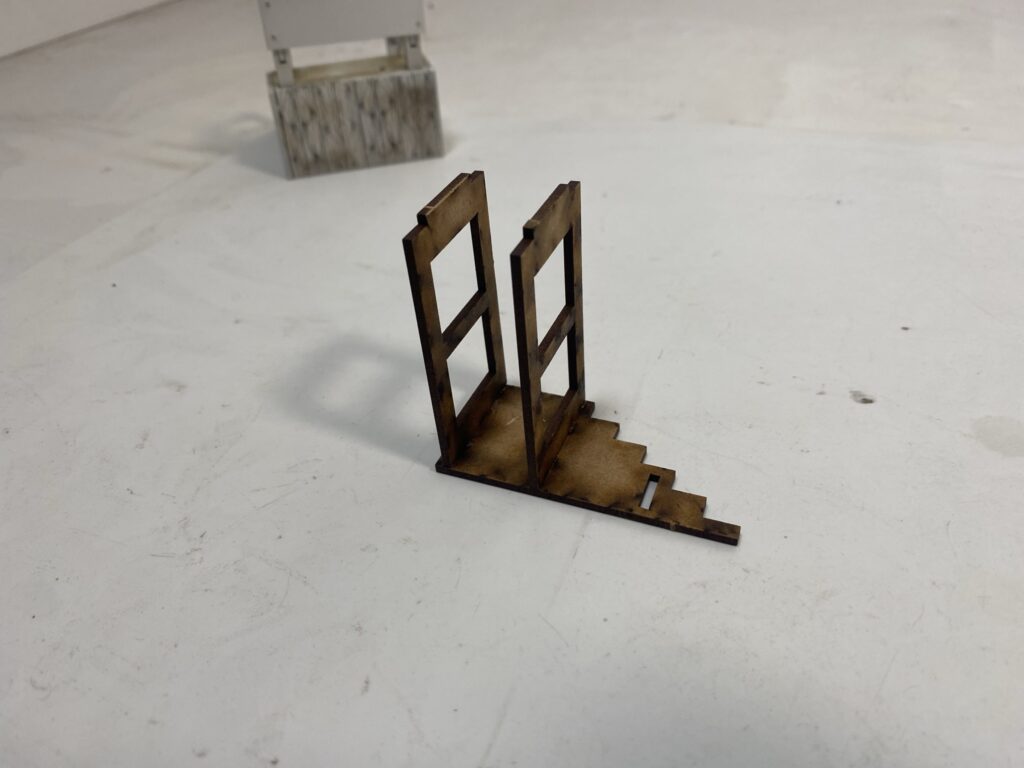
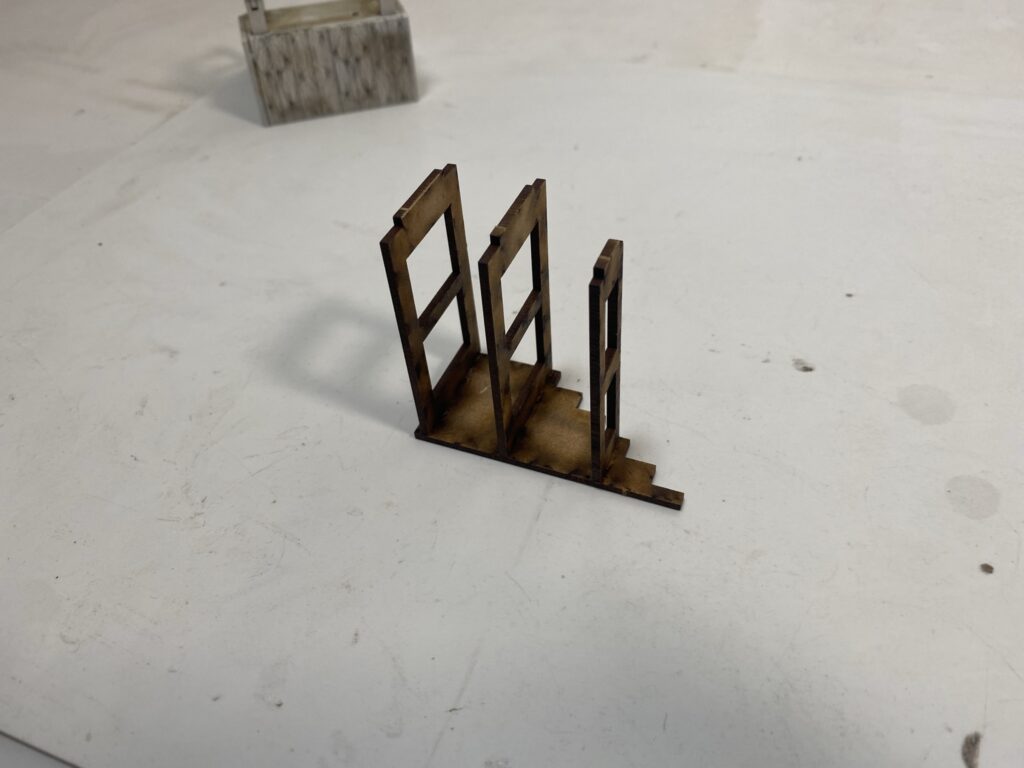
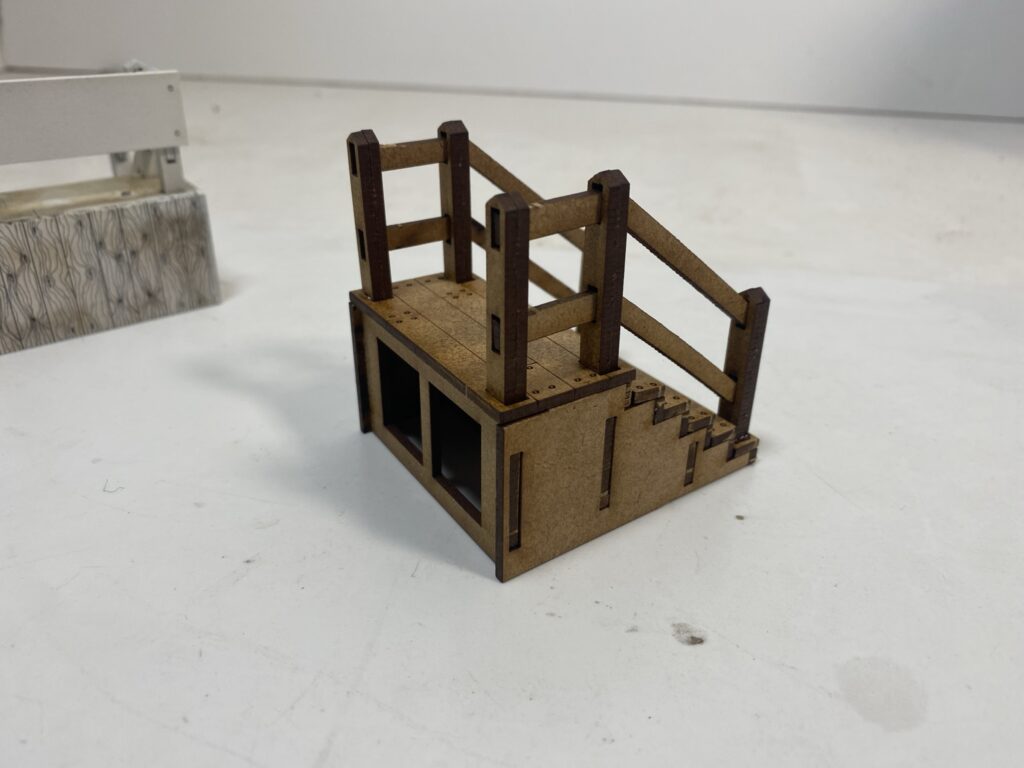
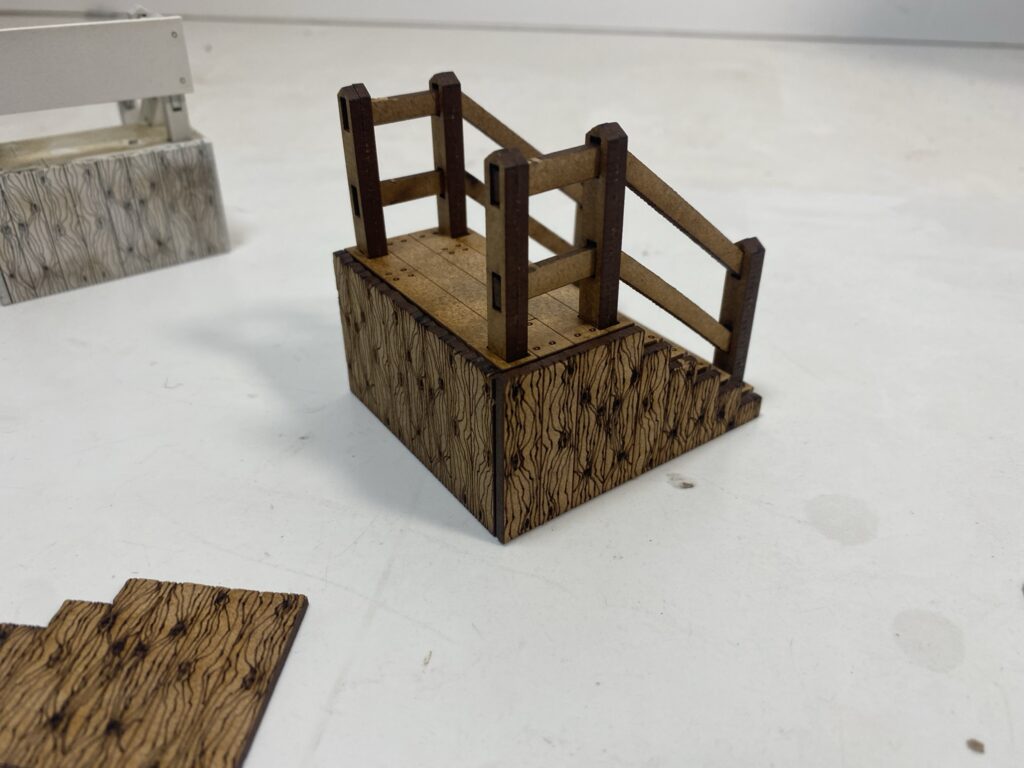
Stick these together in pairs to make 6 posts, take your time as if they are not lined up well the hand rails will be difficult to put through the holes.
![](https://magneticracing.com/wp-content/uploads/2022/01/IMG_8571-1024x768.jpeg)
![](https://magneticracing.com/wp-content/uploads/2022/01/IMG_8574-1024x768.jpeg)
![](https://magneticracing.com/wp-content/uploads/2022/01/IMG_8575-1024x768.jpeg)
![](https://magneticracing.com/wp-content/uploads/2022/01/IMG_8576-1024x768.jpeg)
![](https://magneticracing.com/wp-content/uploads/2022/01/IMG_8577-1024x768.jpeg)
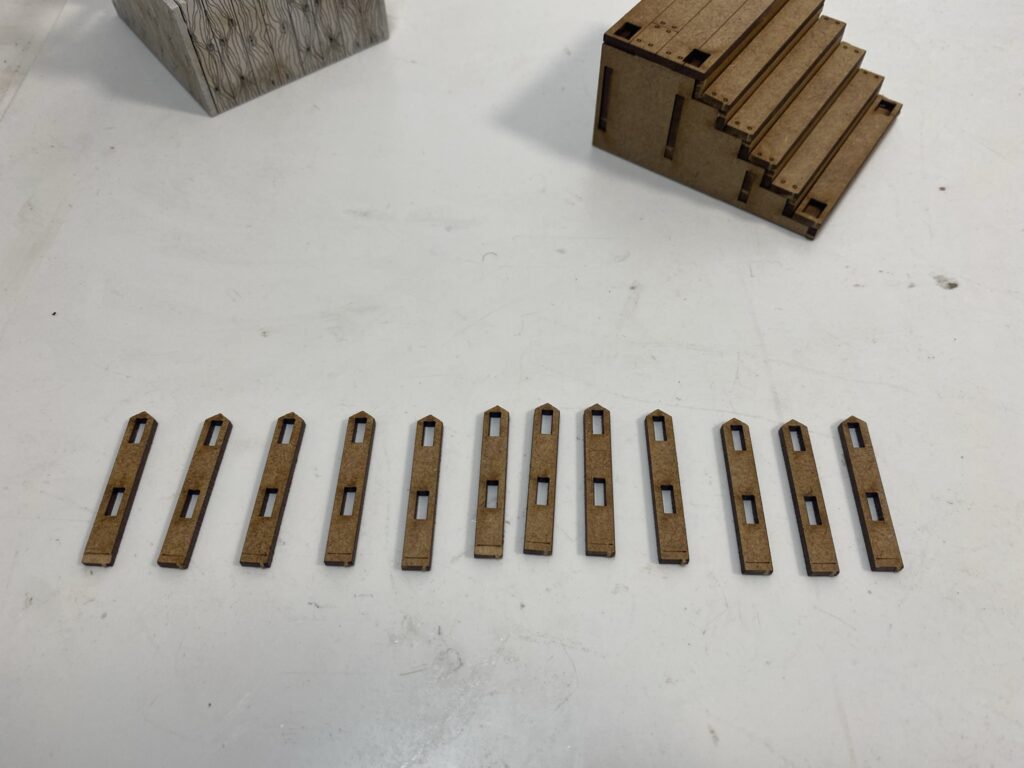
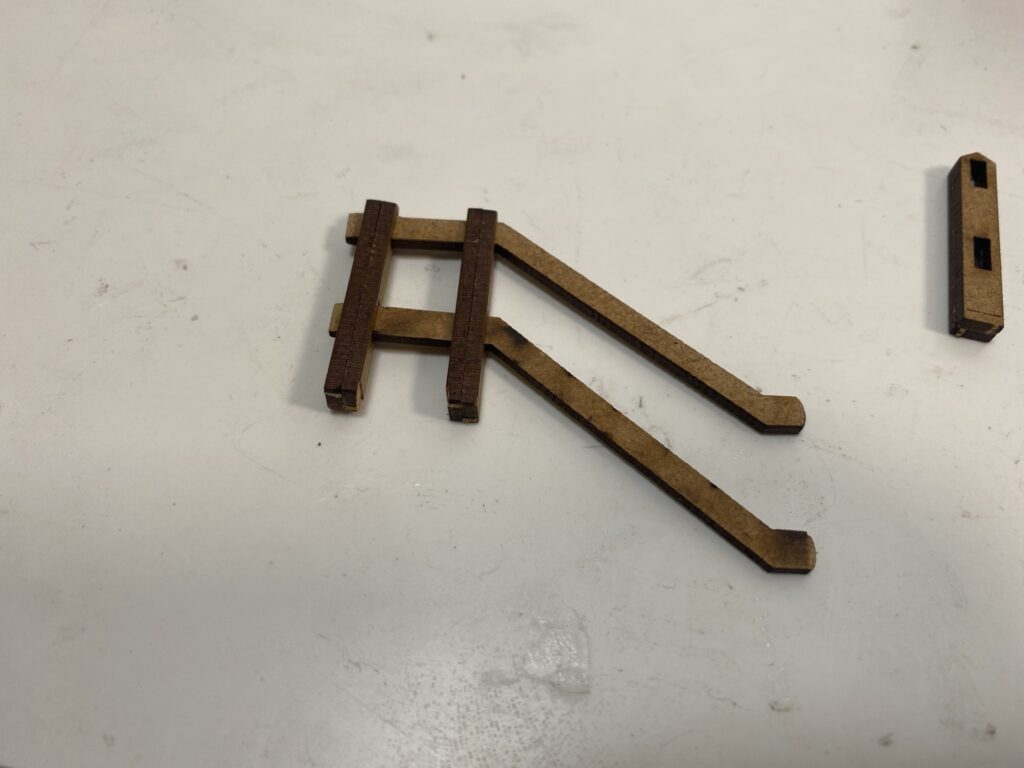
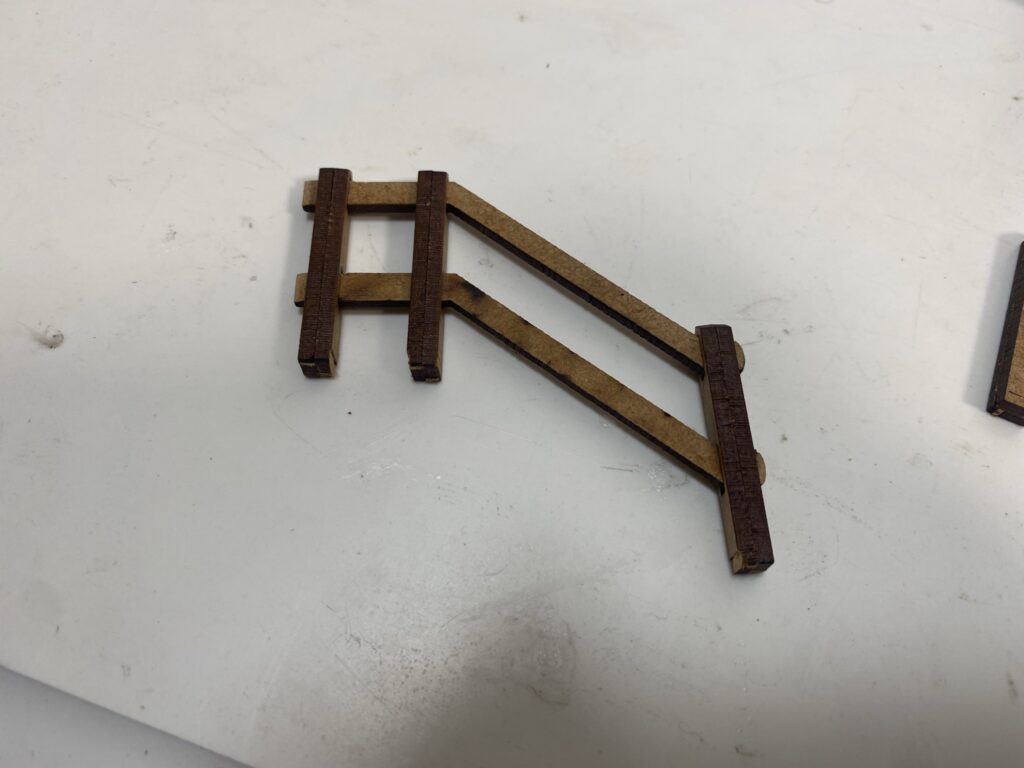
Its not essential to glue the hand rails to the posts but if you want to make sure they line up with the holes well first.
![](https://magneticracing.com/wp-content/uploads/2022/01/IMG_8578-1024x768.jpeg)
![](https://magneticracing.com/wp-content/uploads/2022/01/IMG_8580-1024x768.jpeg)
![](https://magneticracing.com/wp-content/uploads/2022/01/IMG_8581-1024x768.jpeg)
![](https://magneticracing.com/wp-content/uploads/2022/01/IMG_8582-1024x768.jpeg)
![](https://magneticracing.com/wp-content/uploads/2022/01/IMG_8583-1024x768.jpeg)
![](https://magneticracing.com/wp-content/uploads/2022/01/IMG_8584-1024x768.jpeg)
![](https://magneticracing.com/wp-content/uploads/2022/01/IMG_8585-1024x768.jpeg)
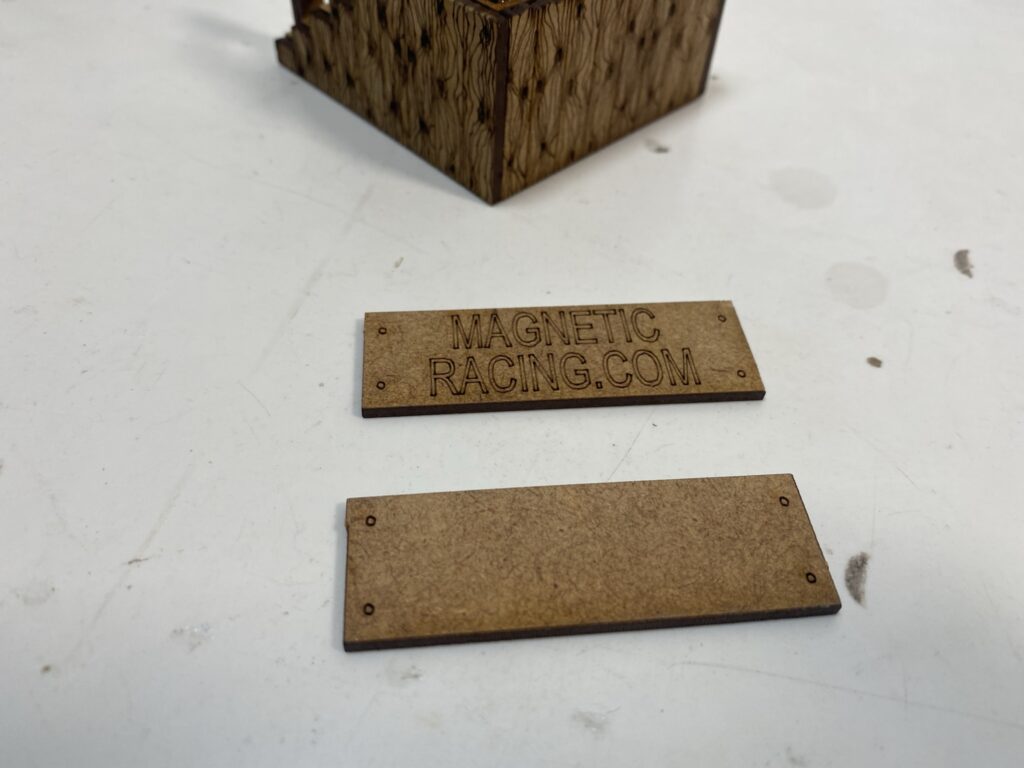
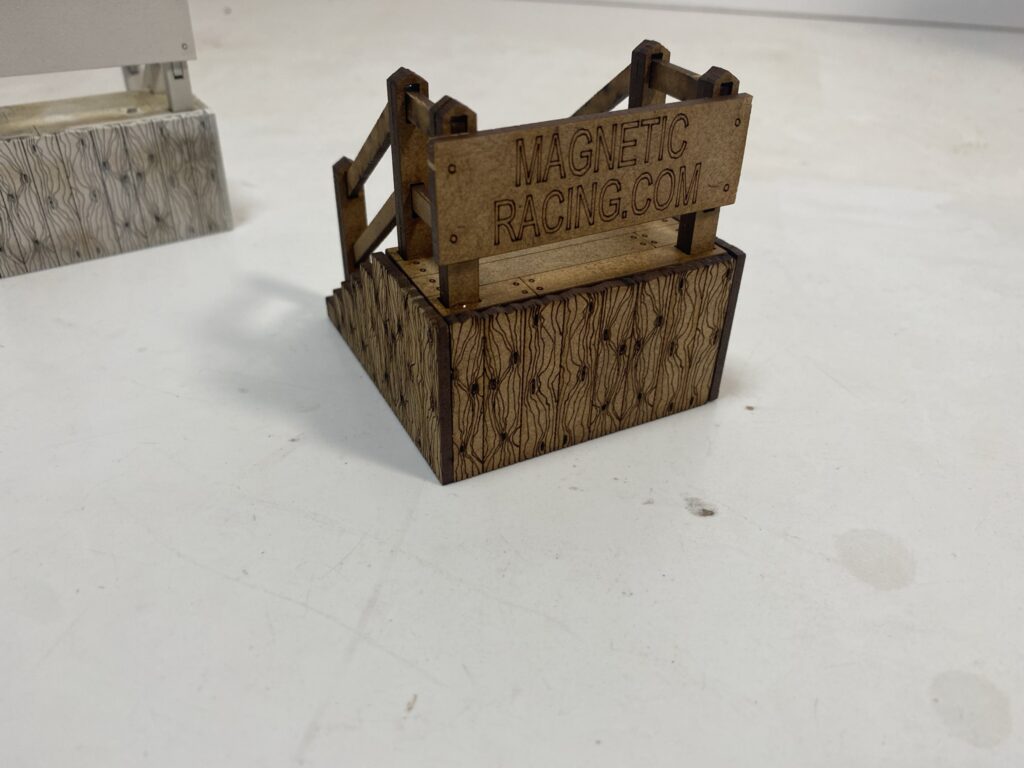
now to choose either a plain sign or the magnetic racing sign.
![](https://magneticracing.com/wp-content/uploads/2022/01/IMG_8586-1024x768.jpeg)
![](https://magneticracing.com/wp-content/uploads/2022/01/IMG_8587-1024x768.jpeg)
Now you have finished you can add your flag waving marshal.
Please share your finished post to social media and Tag us @MagneticRacing