CLICK HERE TO GO BACK TO THE INSTRCUTION MENU

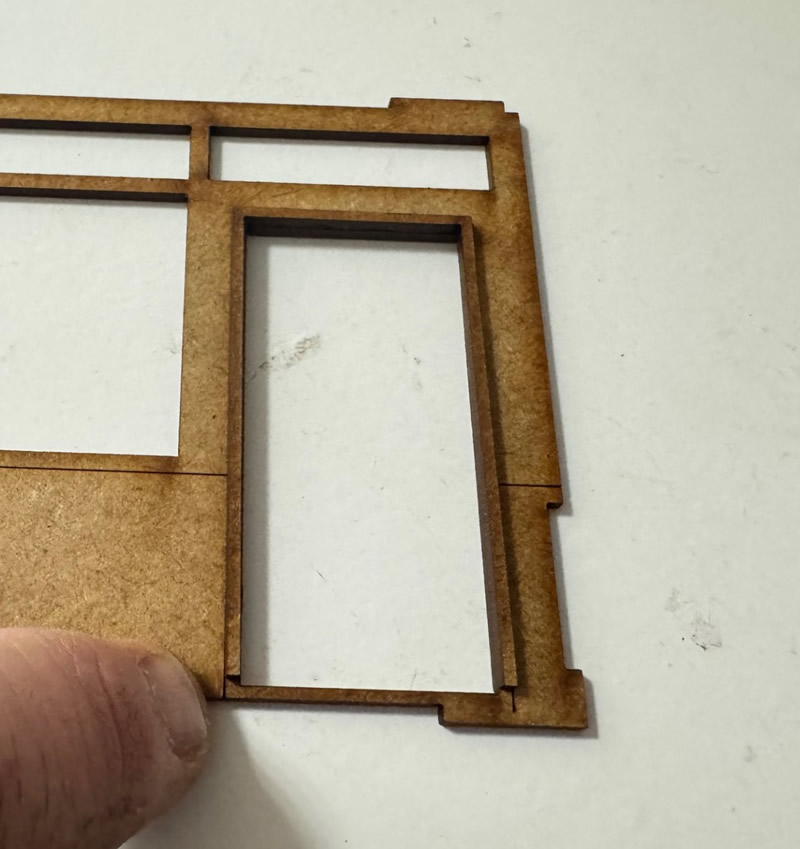
The frame should be 4mm from the bottom of this piece
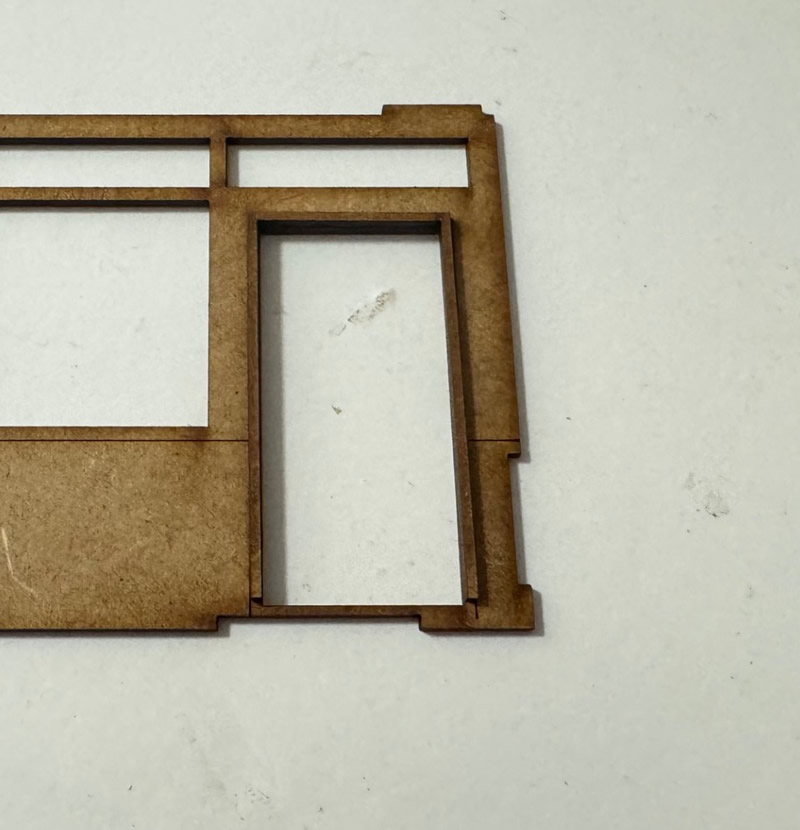
the rear one is not as thick as this picture, all the read door frames have an etched line at the top. This one is 2mm from the bottom of the piece
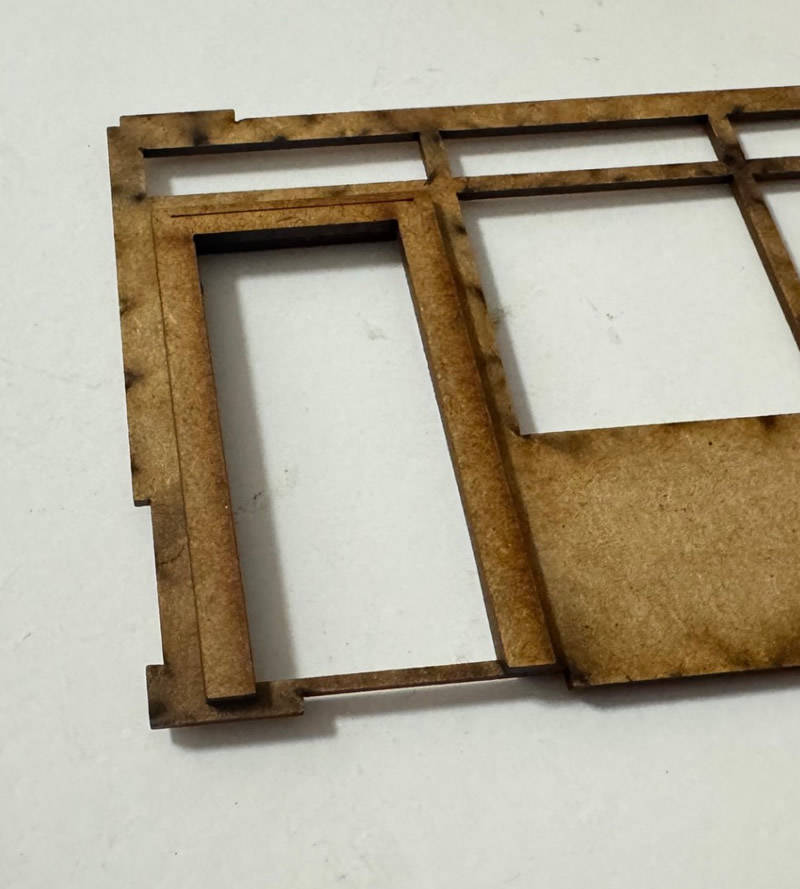
Again if you don’t want the door open add it later.


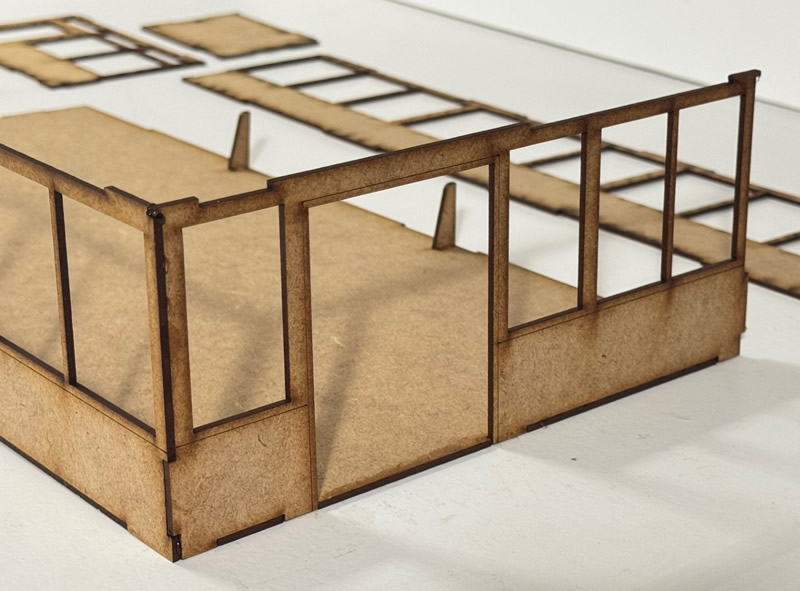
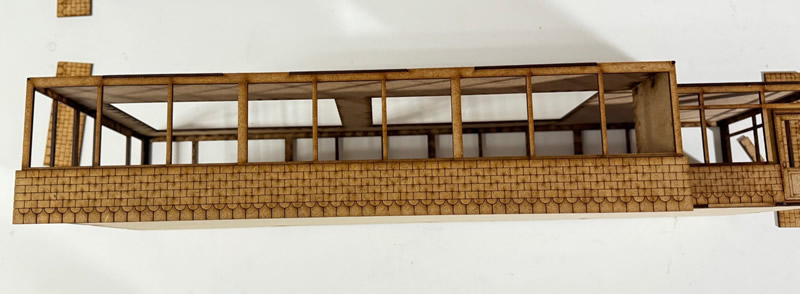
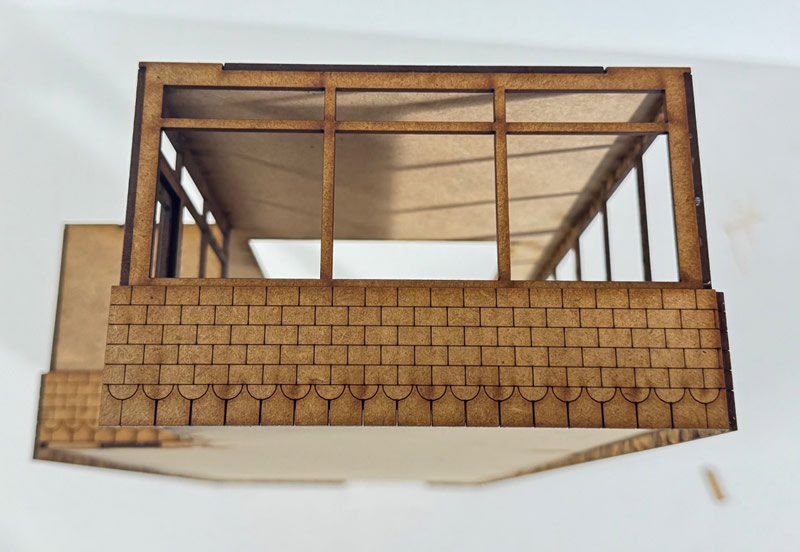
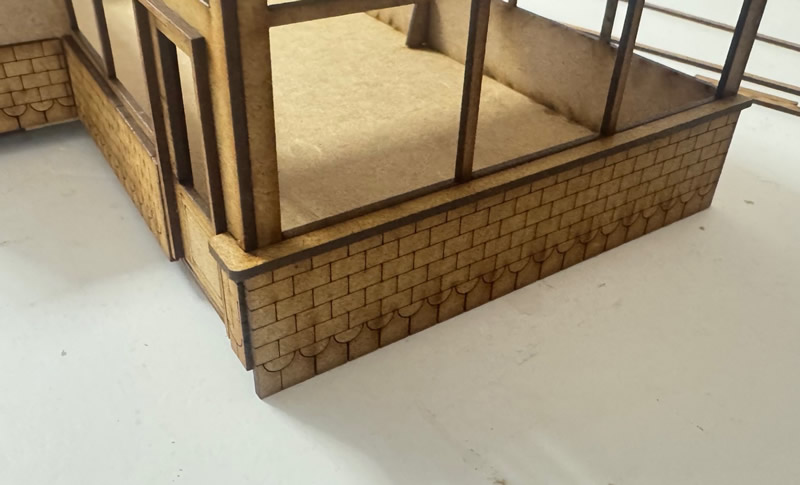
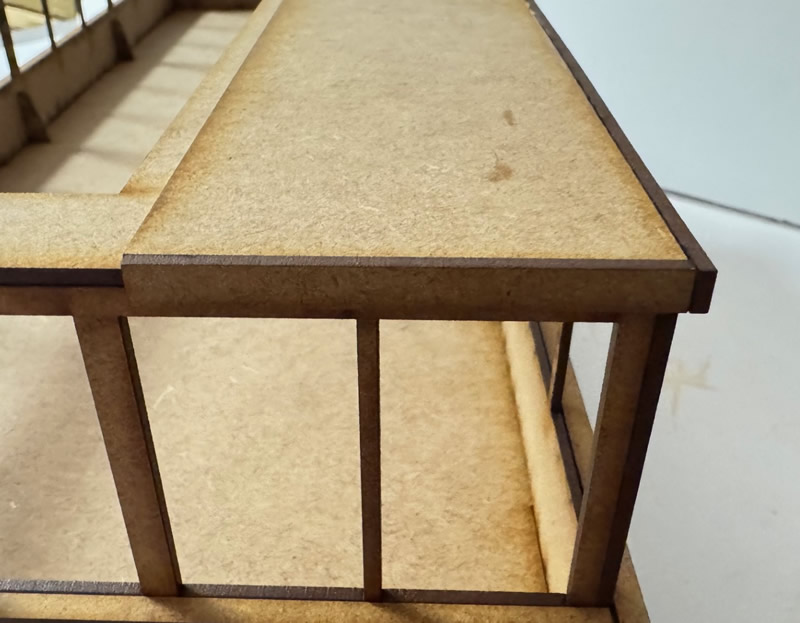
All the pieces line up with this etched line all the way around.
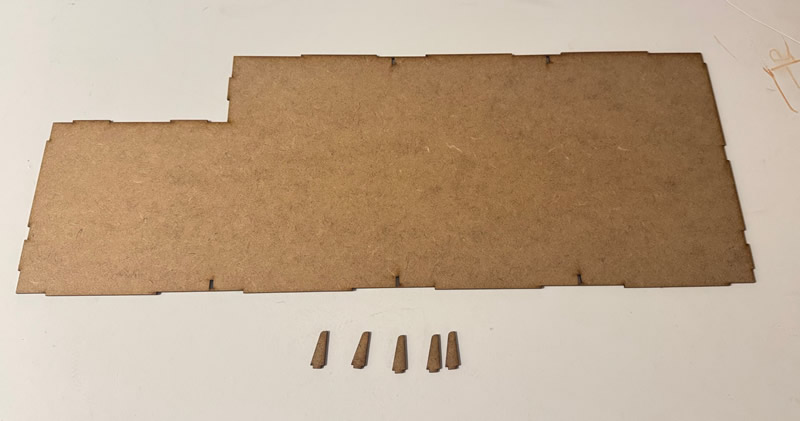
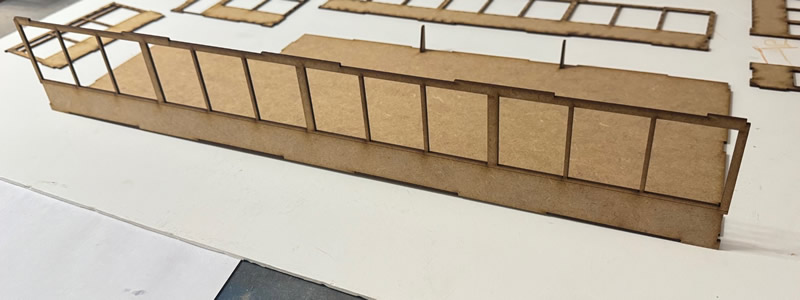
These first 2 pieces don’t meet the boom of the model
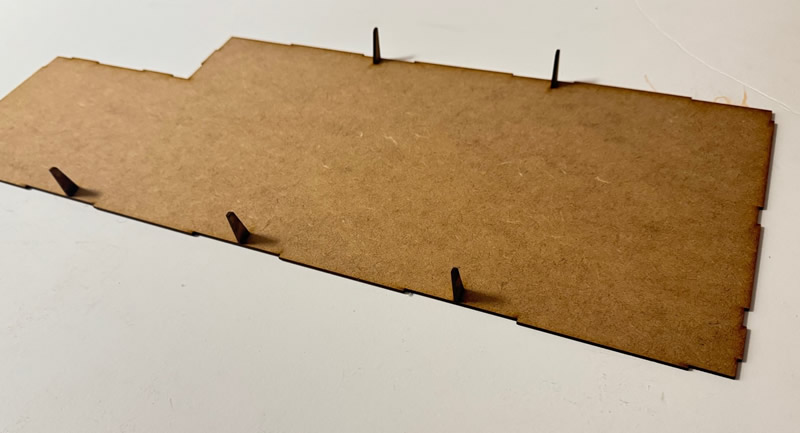
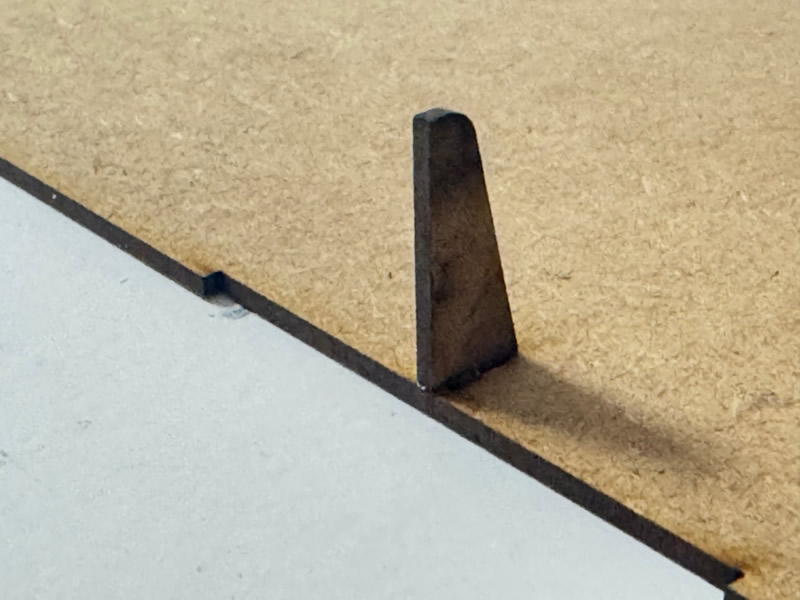
This one and all the rest go below, these will hold this module to the one below, it over laps the second one you just put on. like picture below
Add the door frame

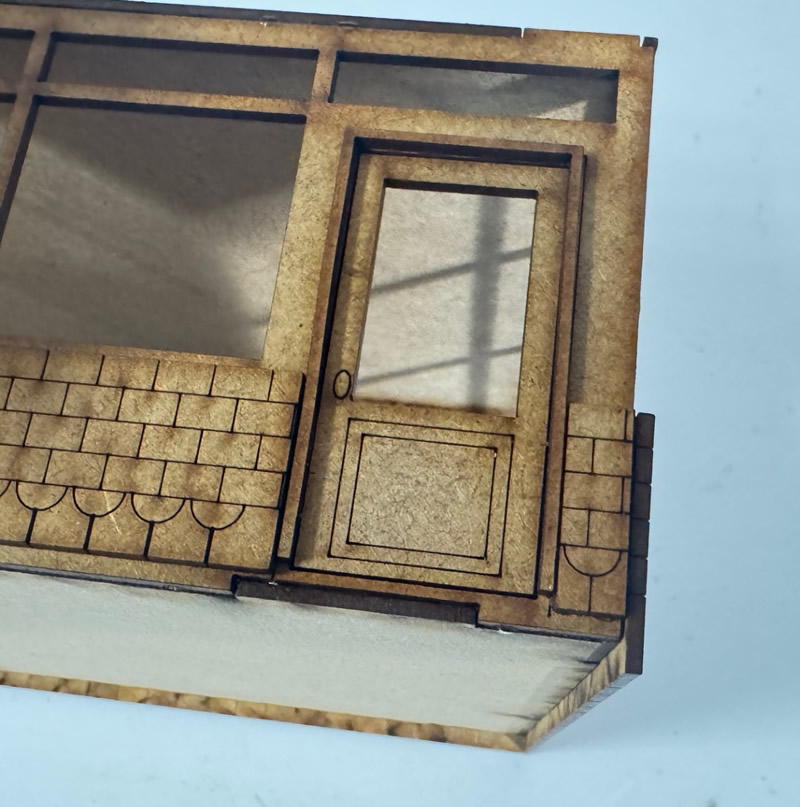
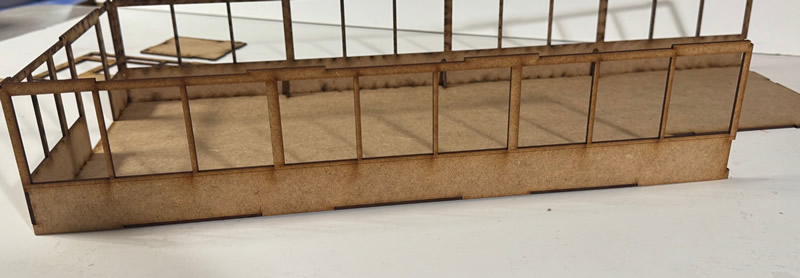
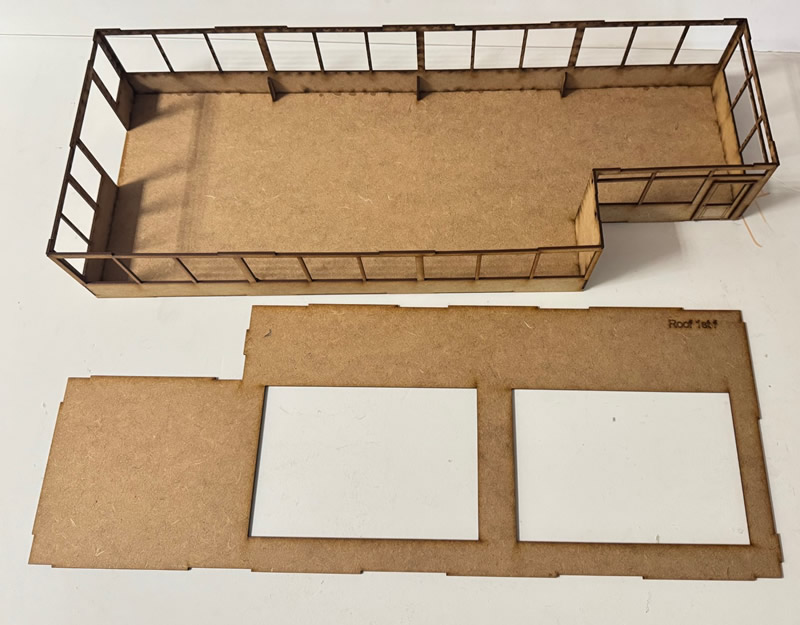
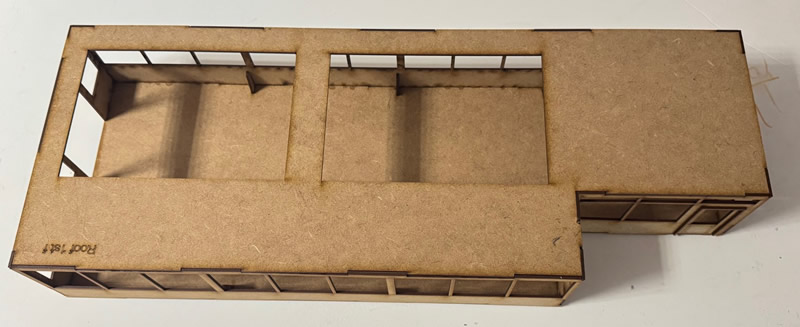
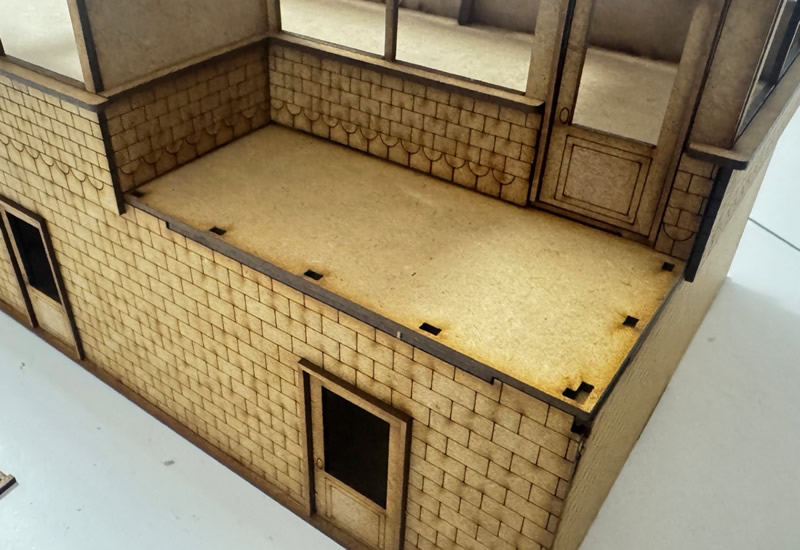
Now check it goes on top of the base module, DONT GLUE IT DOWN
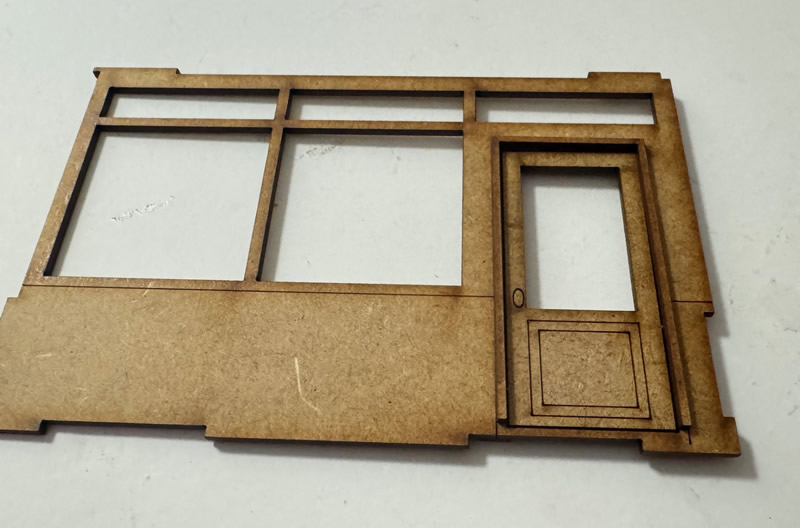
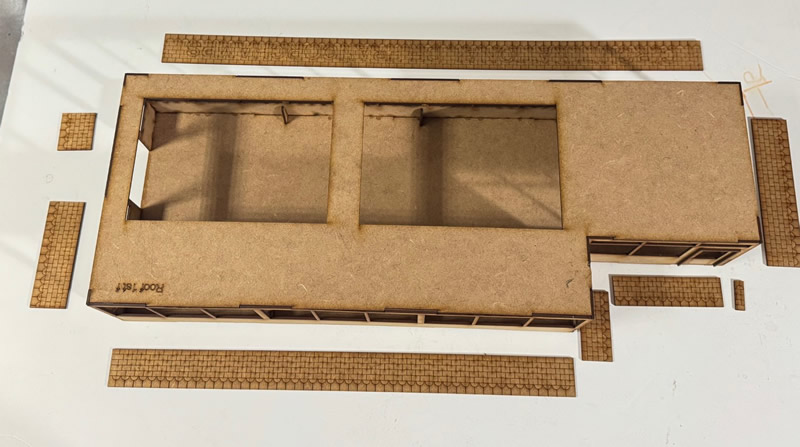
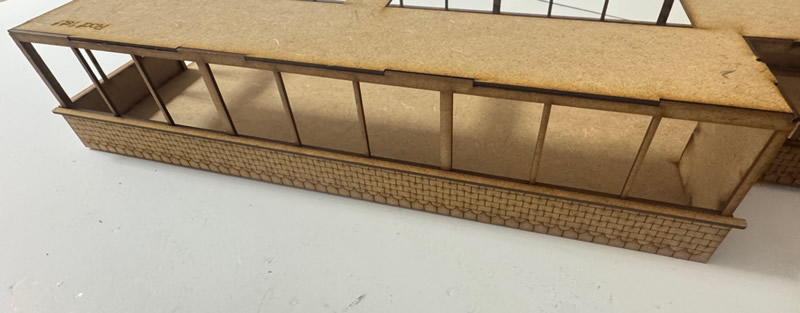
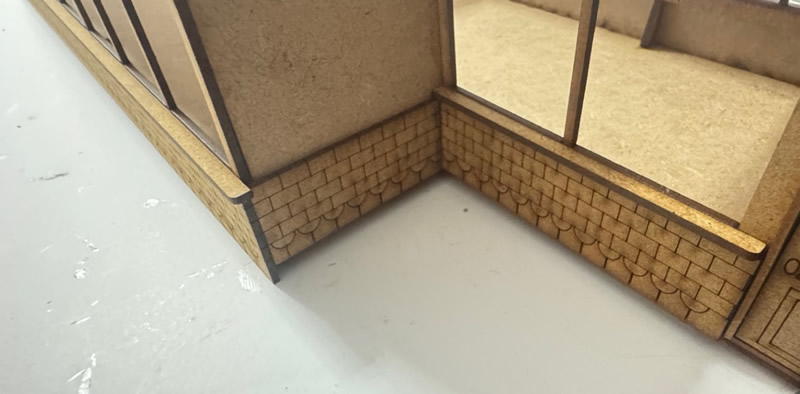
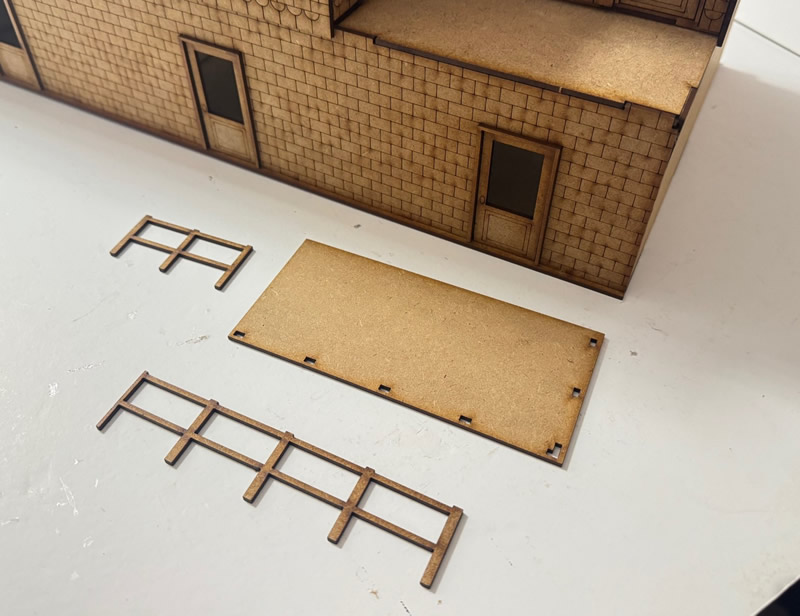
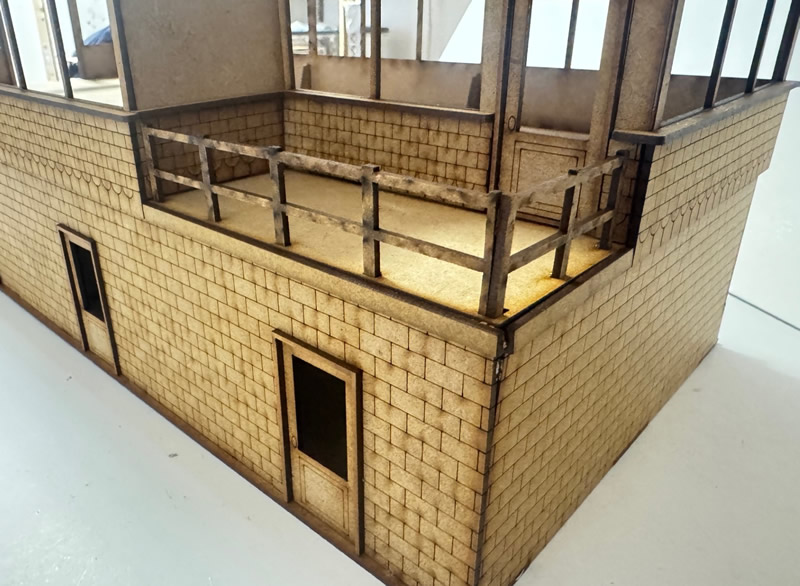
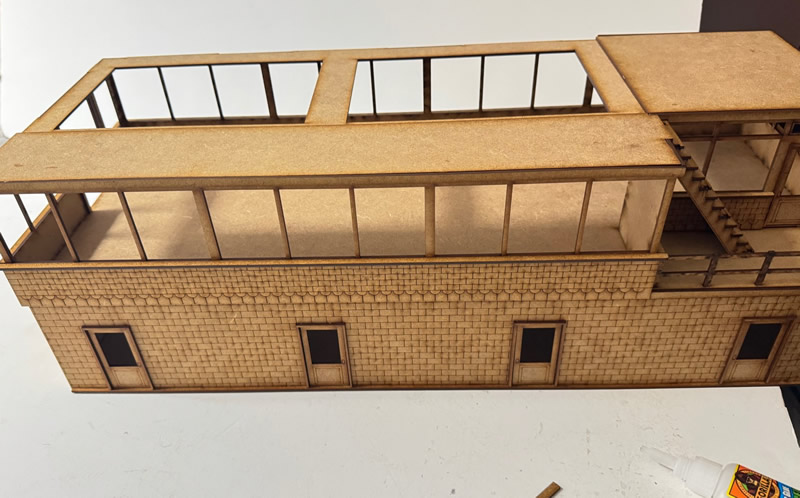
Lets ass the Window ledges
Start with this one
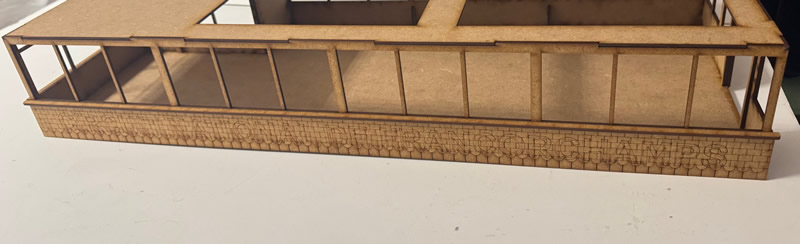
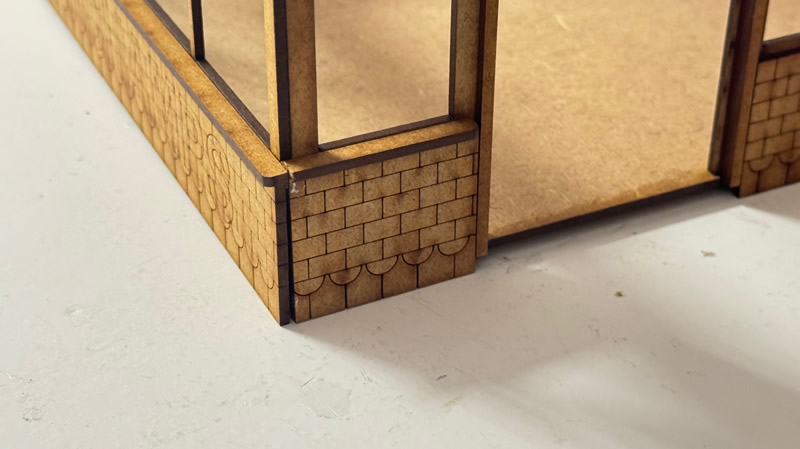
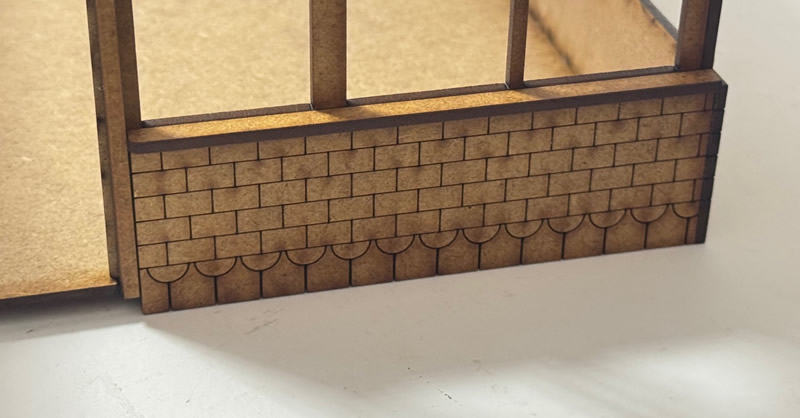
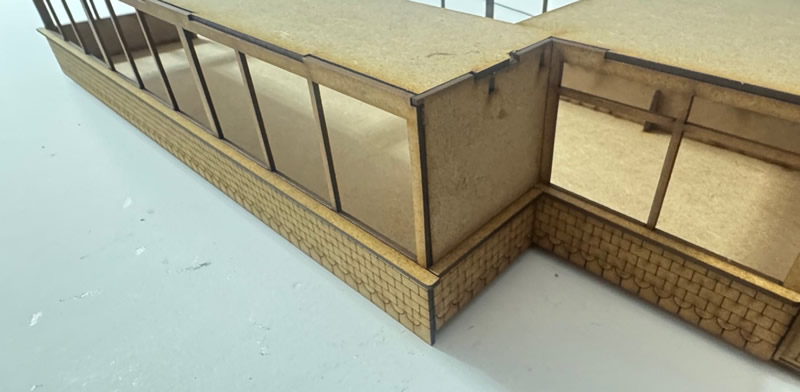
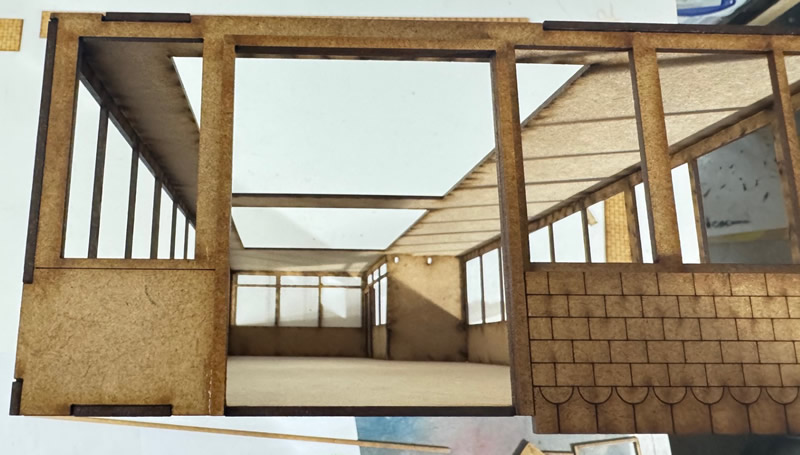
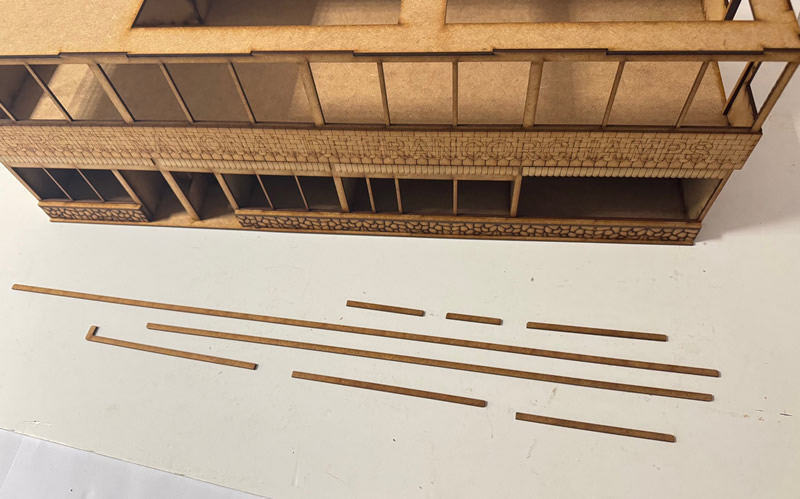
Now we can add these 1mm thick strips above the windows on the base level. We waited until now in case you put the tiles parts a bit low.
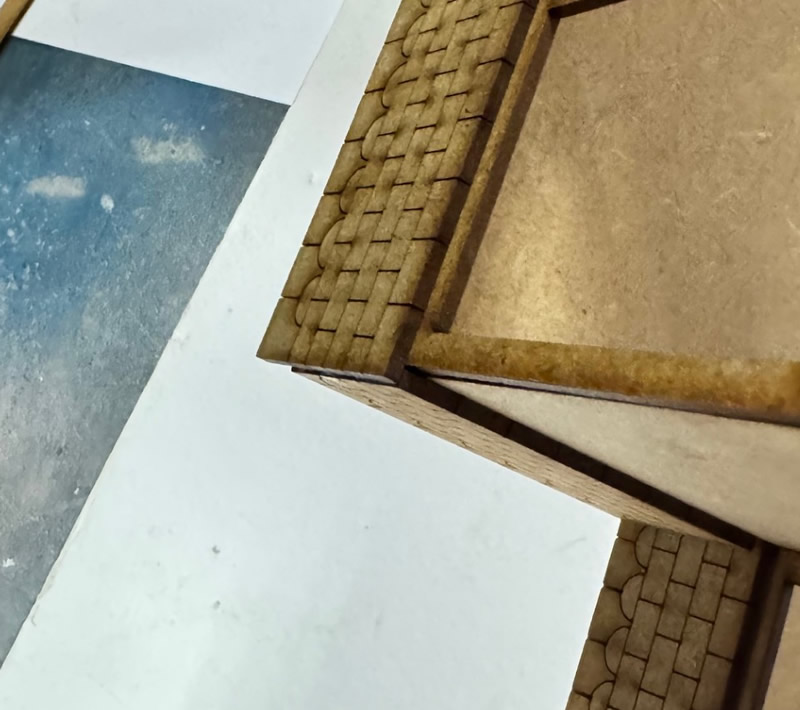
There is a etched line to help you line them up.
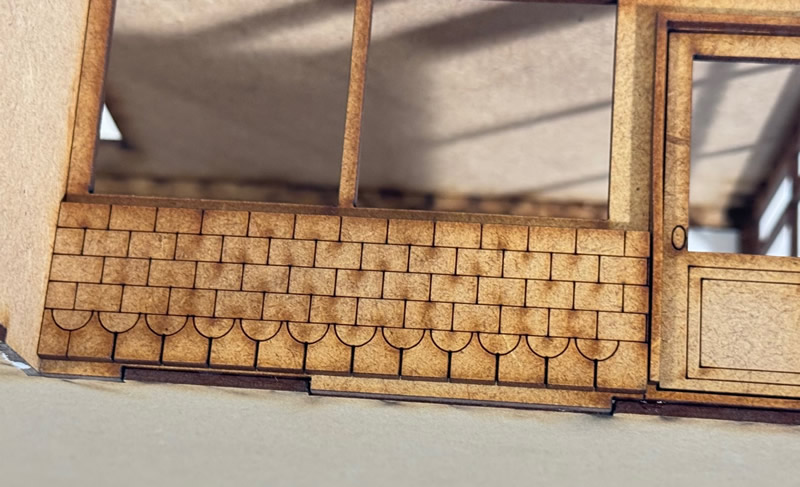
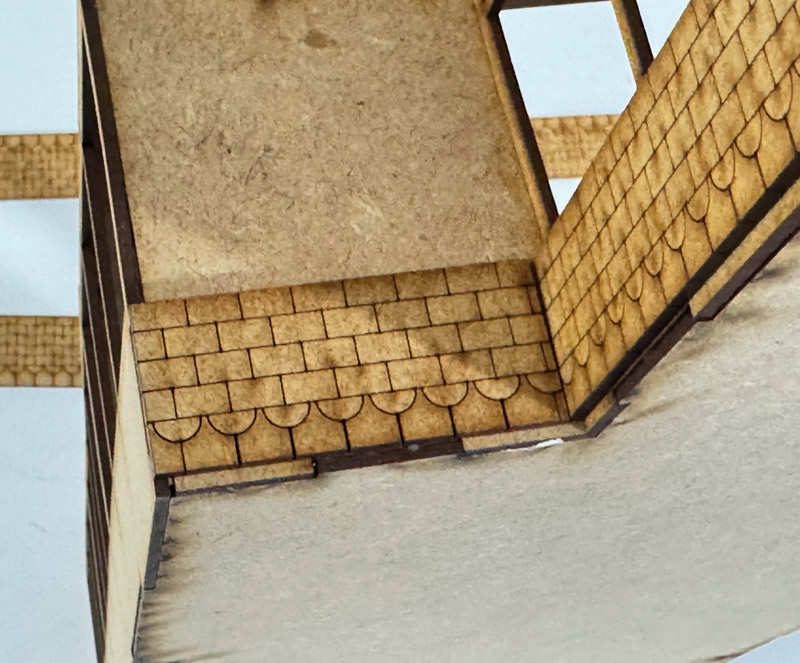
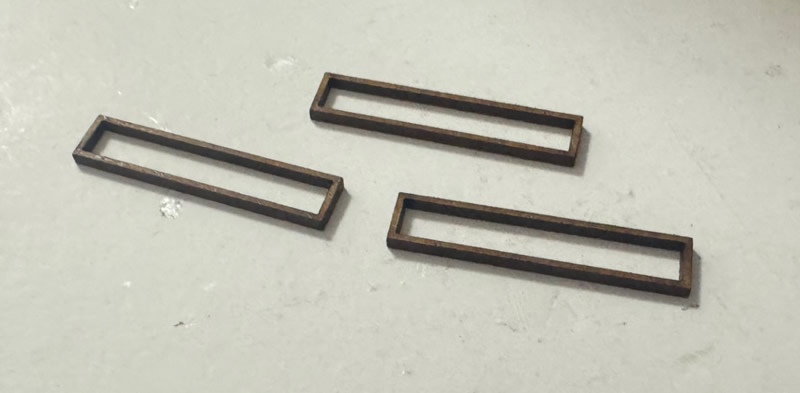
Line this piece up with the corners of the building

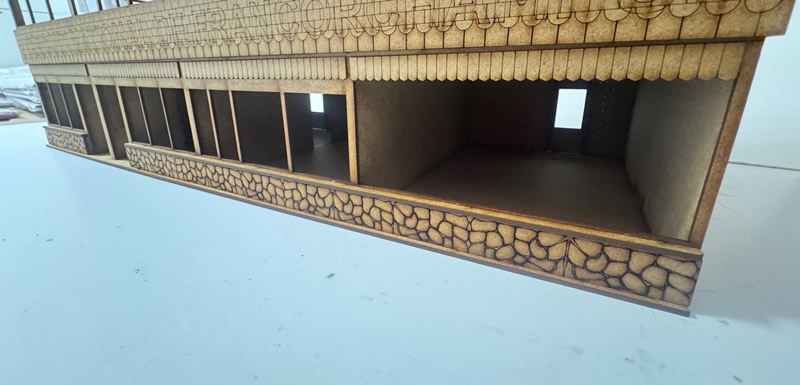
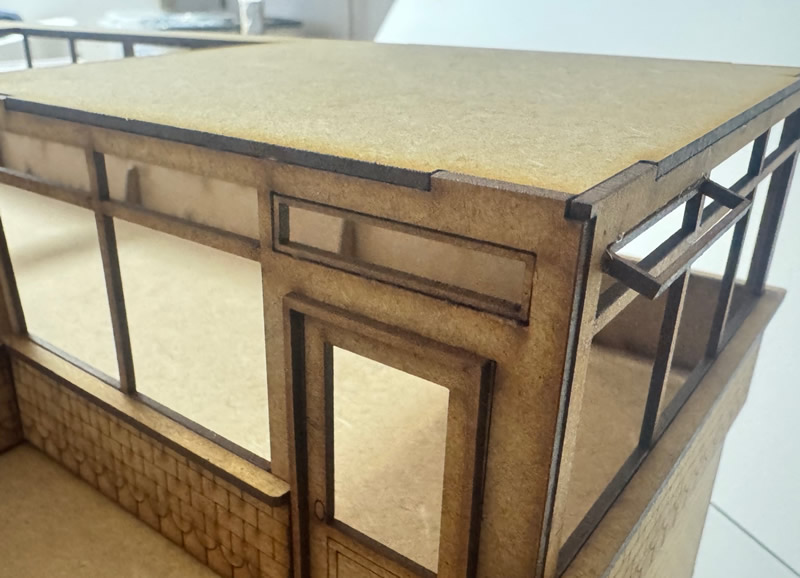
These windows are optional, Put them in as open or closed. Where there are 3 windows side by side, the opening ones are normally the side ones.
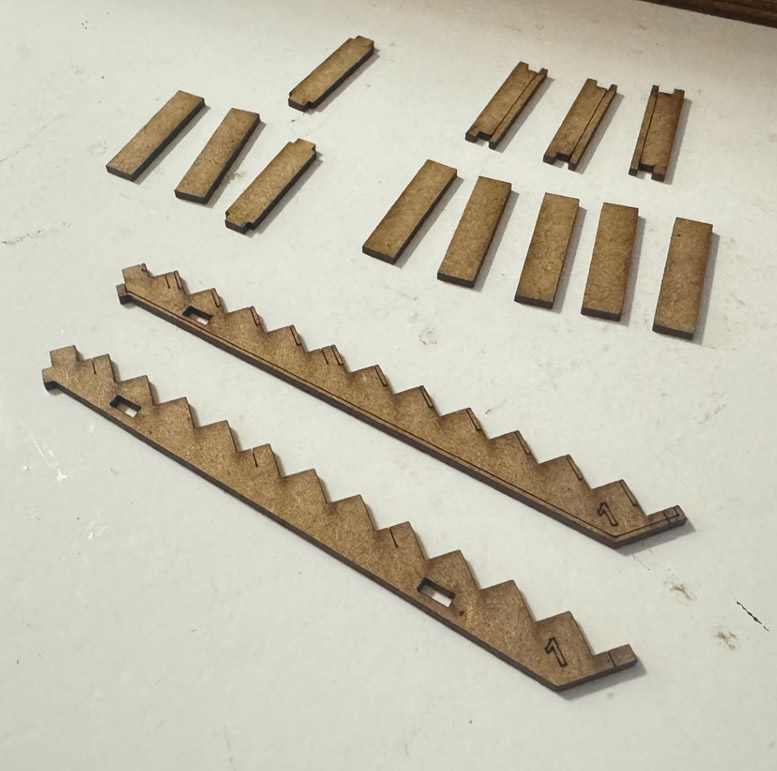
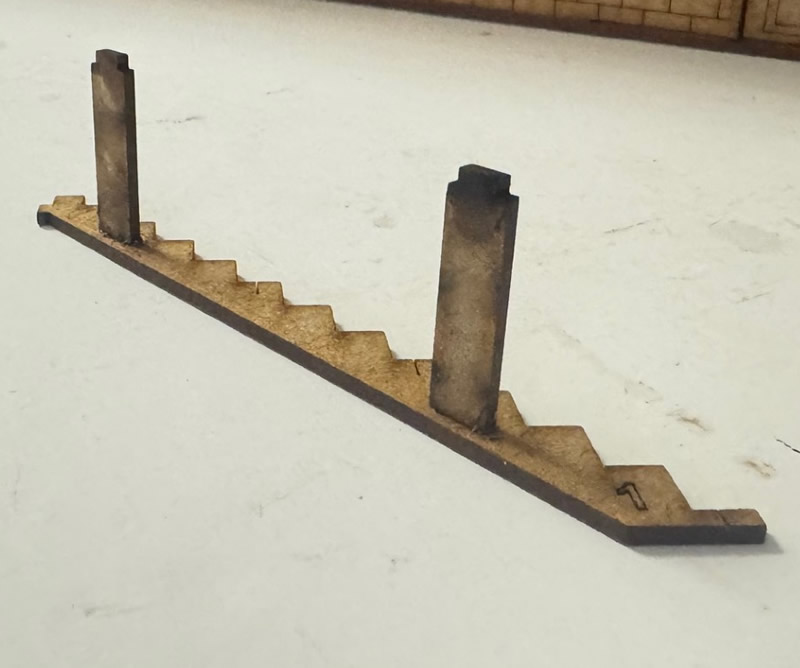
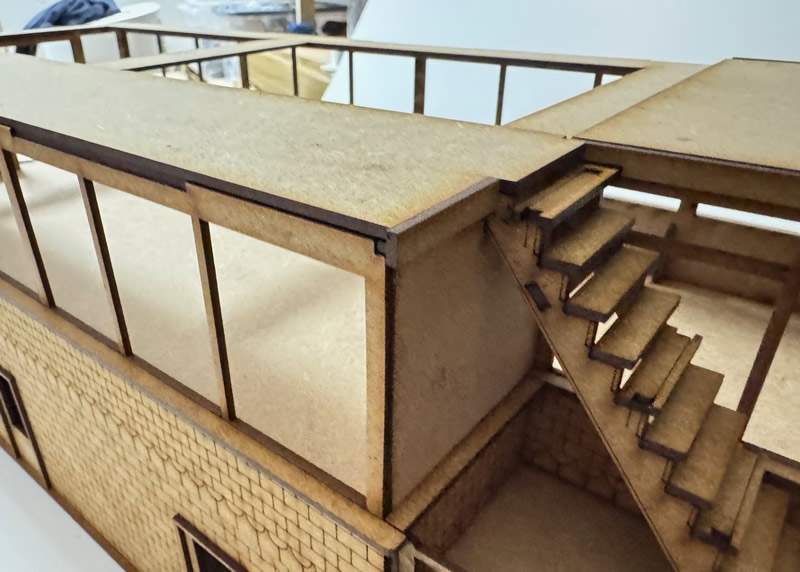
Lets make the first set of steps. The 2 pieces with the number “1” on both have 2 holes in, this picture was a mistake. notice one of them has more etched lines that the other, The one with more etched lines is the outside one.

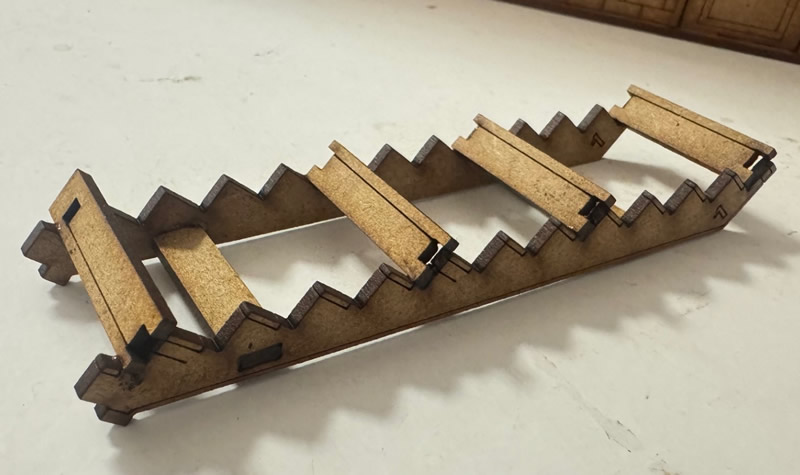
These 4 steps go on the 5 steps with the vertical etched line on, the holes are for the hand rail. Notice the top step is different to the other 3.
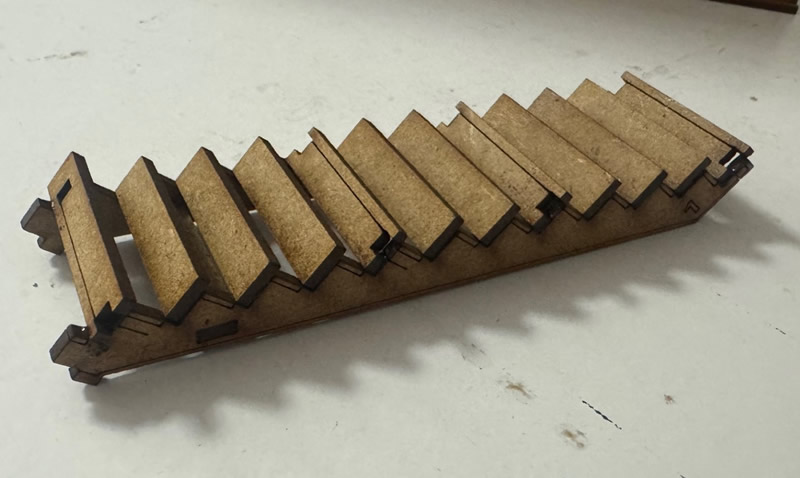
Put the rest of the steps on.
DONT GLUE THE STEPS TO THE FLOOR JUST THE WALL
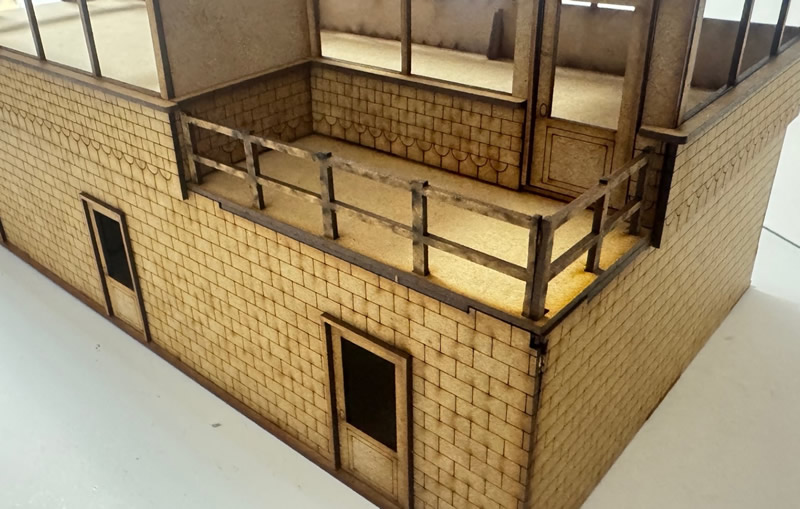
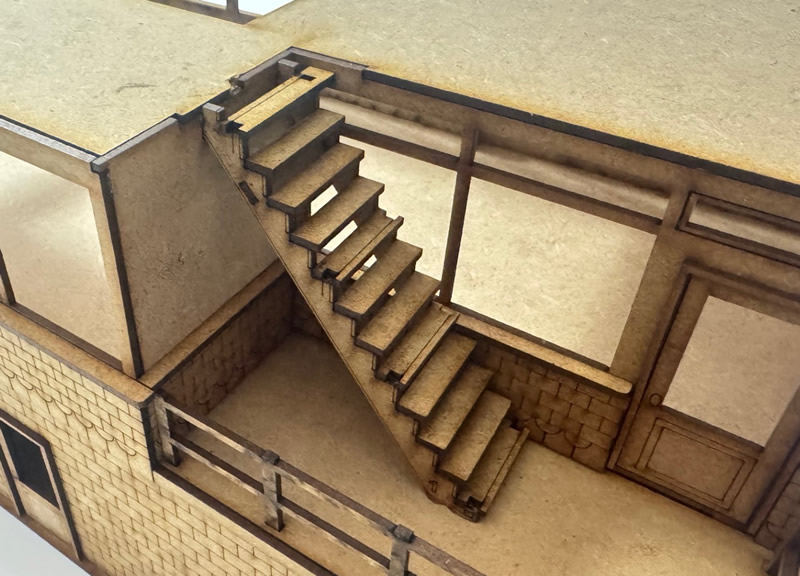
We will put the hand rails on later.

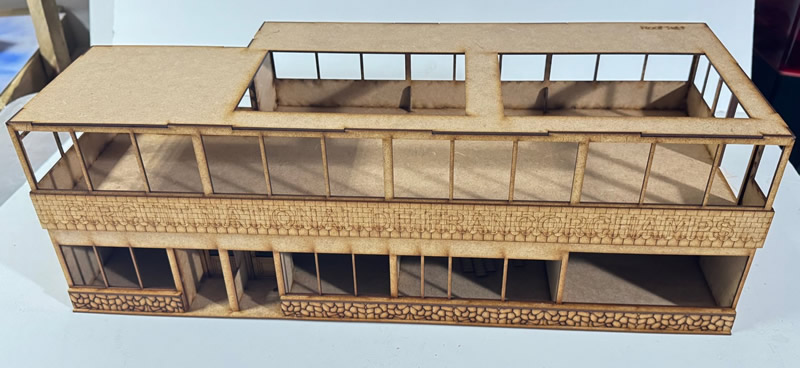
lets build the 2nd floor now CLICK HERE
or