By this time you should now have both towers completed and either one or two crosswalk sections ready for assembly.
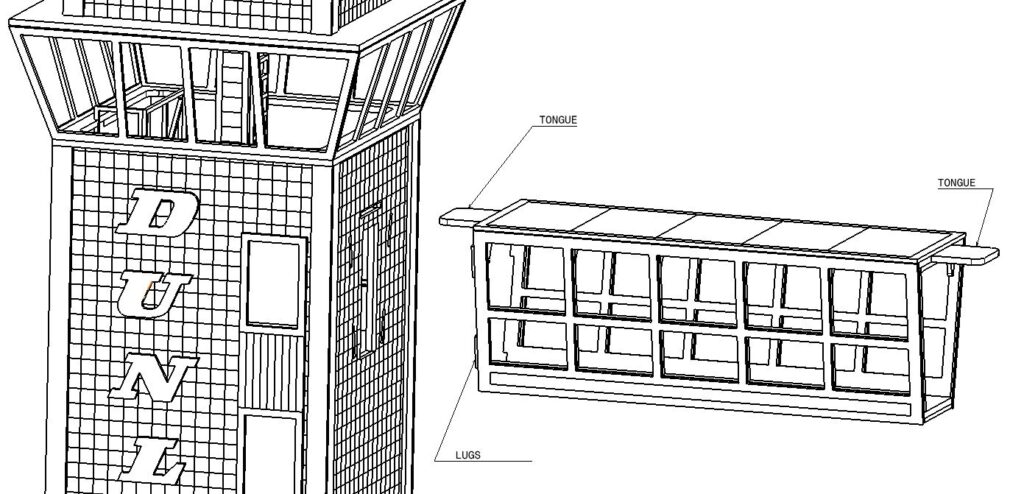
For the single span configuration take the crosswalk which has a tongue either end and push the end with the protruding lugs home into the large tower as shown in the image below. It is recommended if possible to glue this in place. Constant removal and re assembly of this model should be avoided if possible as the model will eventually wear.
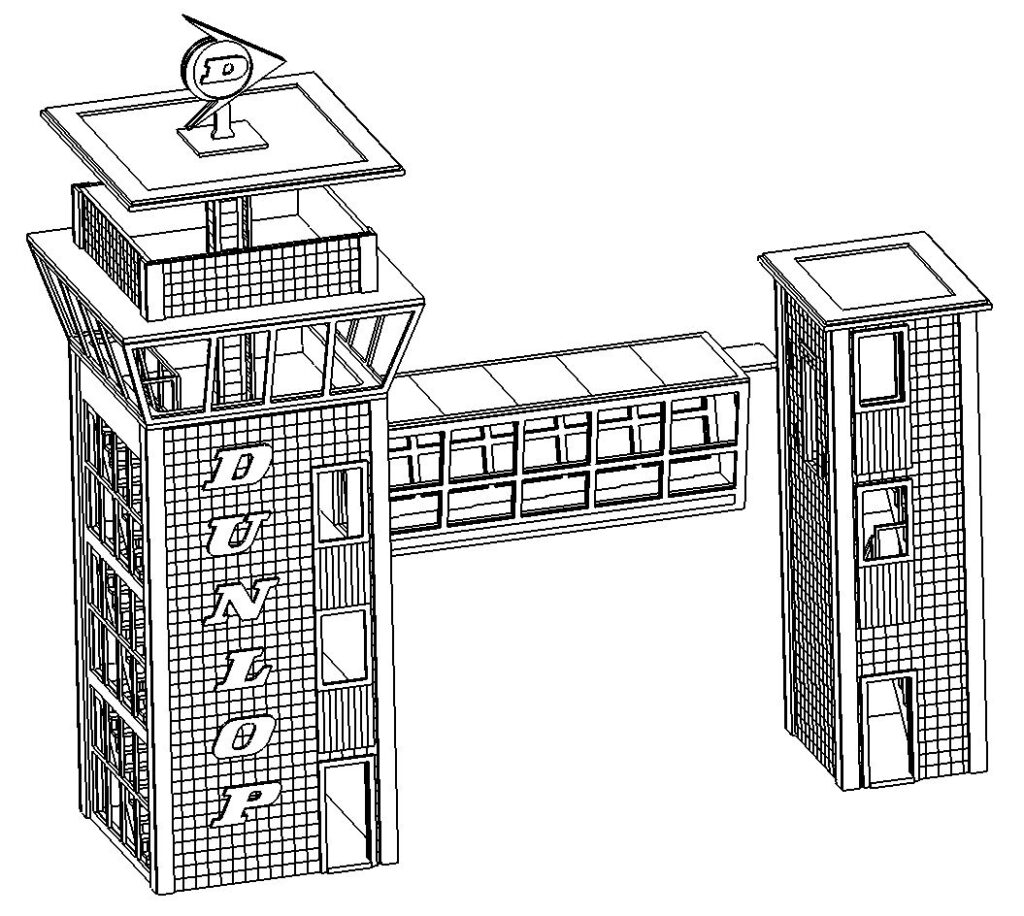
Take this assembly and the small tower and place them both upright on a level surface. Push the models together. There are slots here for the lugs in the tower but they are not used in this configuration, however they are covered by the assembly and are not visible. The model is now complete.
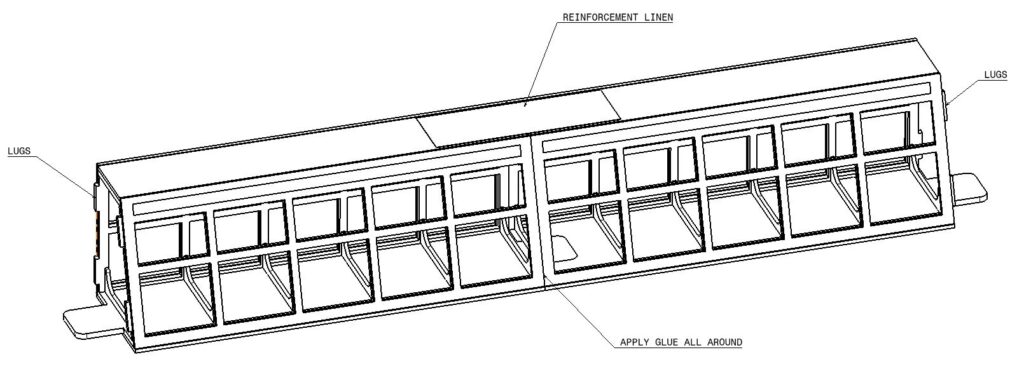
Completing the double span configuration is similar, but we first need to glue the two centre sections together. This is best completed with the two sections inverted and placed on a flat surface. Note there are protruding lugs on both ends, so orientate the parts correctly. Do a trial fit first to see if they all slide together, then apply glue all around and press together. Check everything is aligned and hold until the glue dries. The assembly should be quite strong, but if you want an option is to reinforce it on the underside. You can use strong tape, but a better option is to cut some thin linen from an old shirt or similar, paint on some PVA glue and press it down across the joint. Paint some more PVA glue on to soak in the linen and allow to dry. This makes a very strong join and will not be visible when the model is assembled.
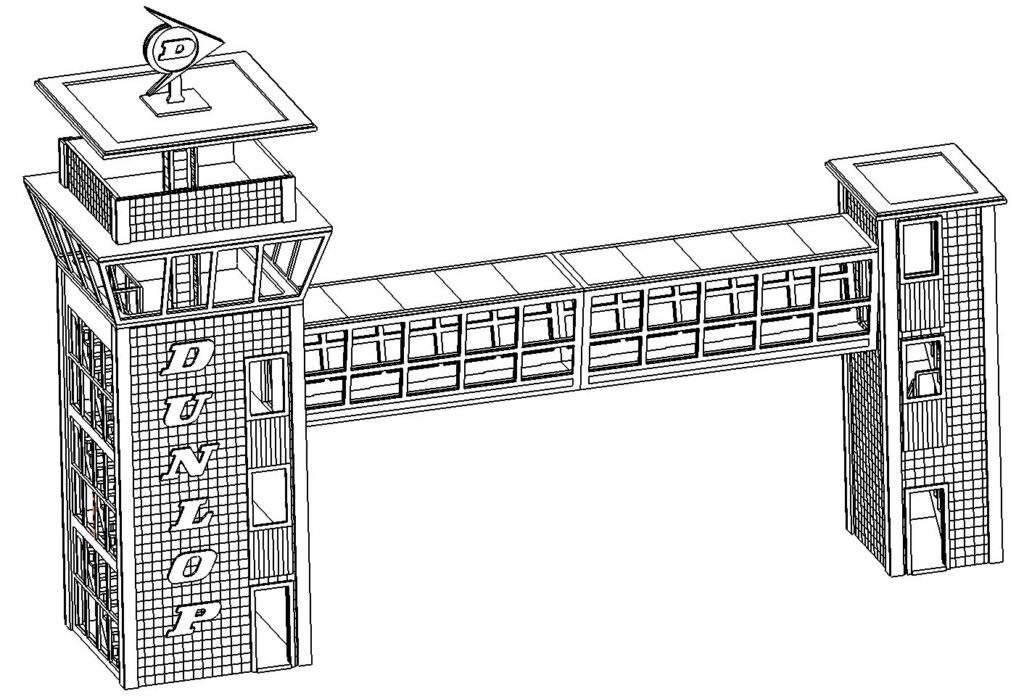
As with the single span build, assemble the three main parts as before to complete the build.
Congratulations on completing this fine model! We hope it was enjoyable and not too taxing. Let us know if you have any suggestions for improvements and ideas for other models. We would welcome any photos of completed models particularly when positioned on your track as we want to compile a gallery of your models to inspire others.

